PRODIGY Pocket® Blood Glucose Meter PRODIGY
Pocket® Blood Glucose Meter
Owner’s Manual Owner’s Manual
32
Important: Be sure that you are in control
solution mode so that the test result will not be
stored in the meter memory.
STEP 4: Apply Control Solution
1. Check the expiration and discard dates on
your control solution and test strip vials.
2. Shake the control solution bottle well, then
remove cap.
3. Squeeze the bottle and discard the rst drop
then wipe the dispenser tip with clean tissue
paper or cotton.
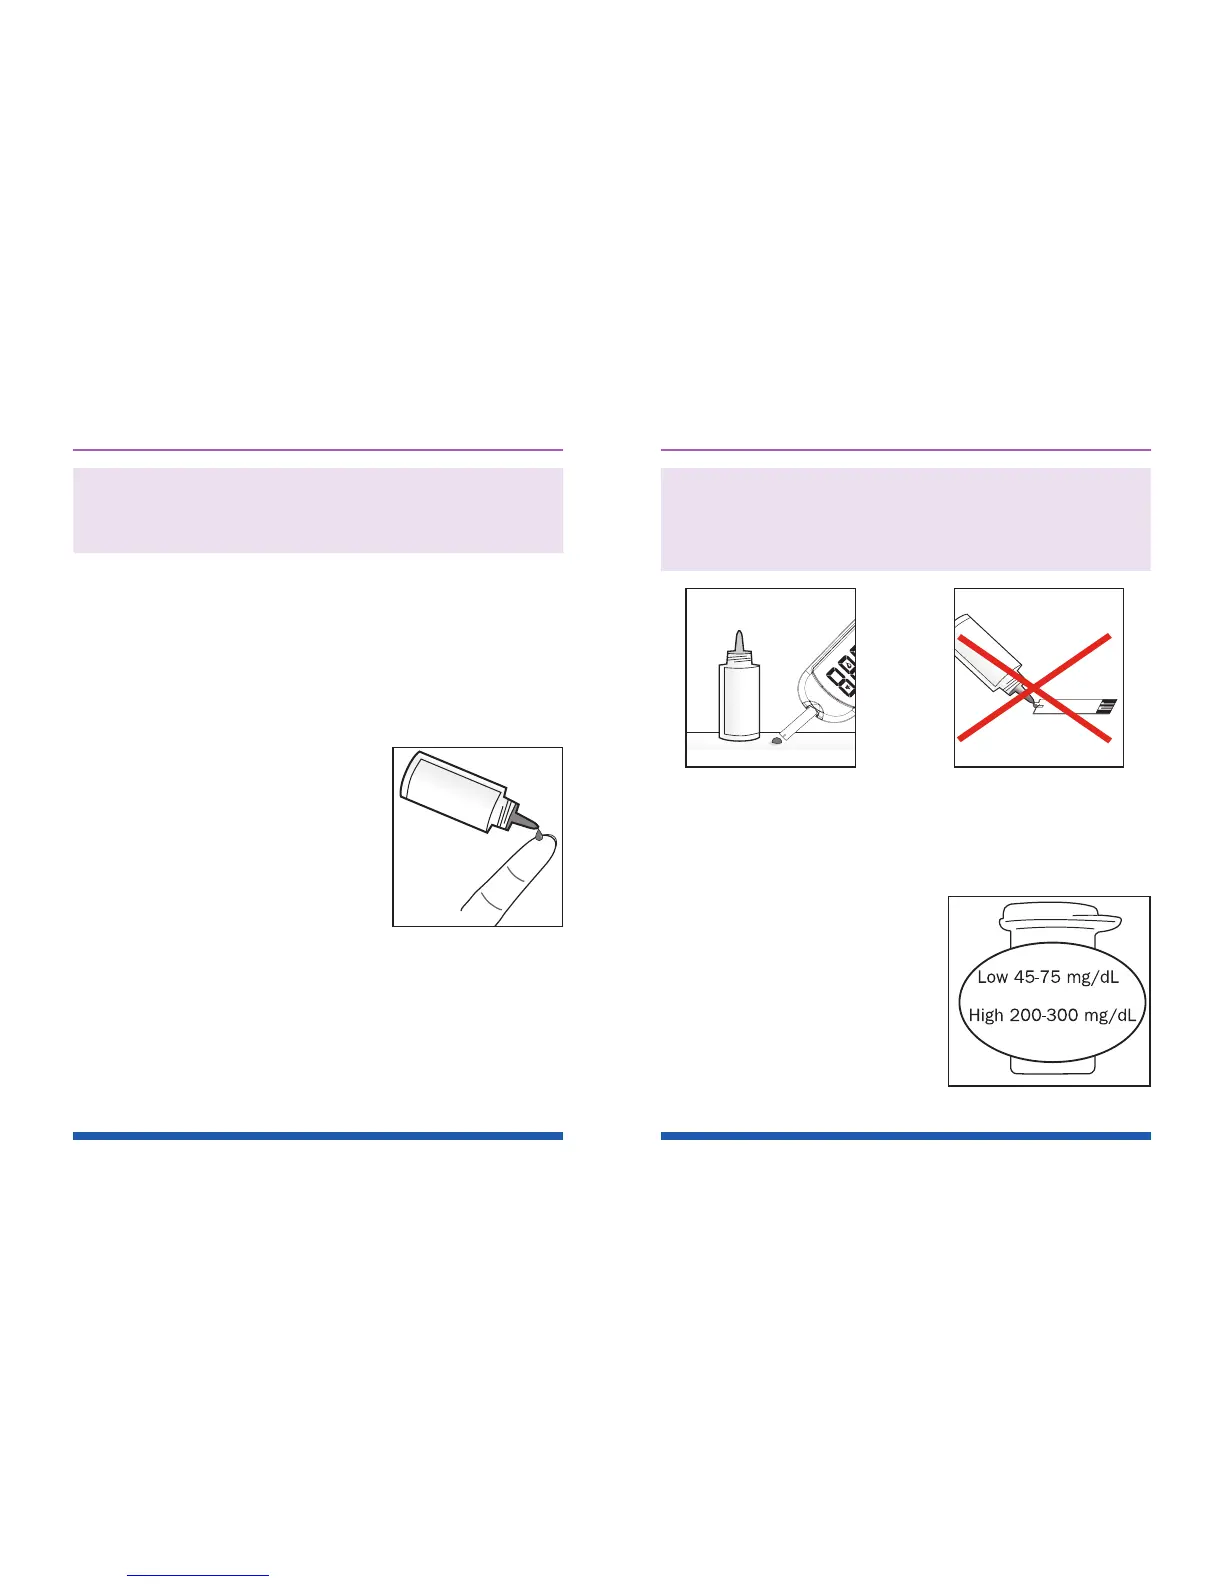
4. Squeeze the bottle again to
get a second drop onto a
clean, non-absorbent surface
or on your clean ngertip. See
Figure 18.
5. Bring the tip of the test strip
to touch the drop of solution
until the meter beeps.
Figure 18
33
Caution: To avoid contaminating the control
solution with the content of the test strip,
DO NOT DIRECTLY APPLY CONTROL SOLUTION
ONTO THE TEST STRIP. See Figures 19 and 20.
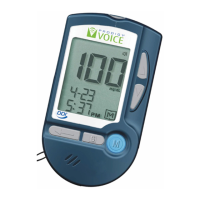
STEP 5 : Check if the Test Result is in Range.
After the meter counts down from 6 to 1
, the control
solution test result appears on the display.
Compare the test result with
the range printed on the test
strip vial.
Each vial of Prodigy
®
No Coding Test Strips may
have a different control
solution range. The result
should fall within the printed
range on the test strip vial.
See Figure 21.
Figure 19 Figure 20
Figure 21