11
english
GENERAL INFORMATION
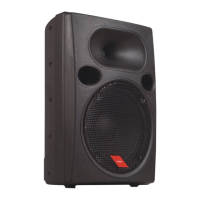
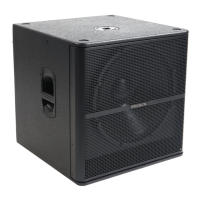
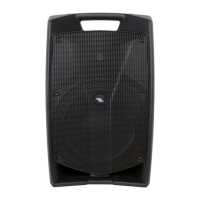
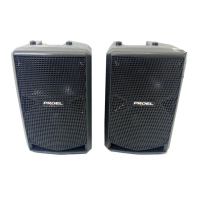
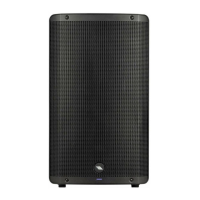
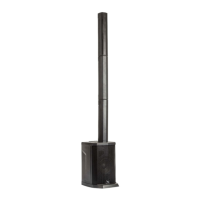
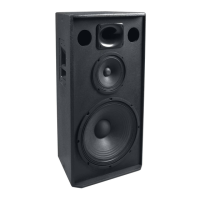
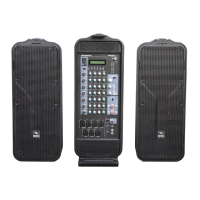
Thank you for having chosen a PROEL product. NET is a new line of loudspeakers designed by PROEL to satisfy all of those
who are looking for quality and high performance sound reinforcement, with state-of-the-art mechanical, acoustic and
electronic solutions. The key elements of the NET design are the new high frequency horn with a wide constant coverage
angle, the use of high performance CELESTION transducers and high effi ciency class H and D amplifi er modules.
The cabinets are made with plywood and fi ve M10 suspension points are provided for installation in a variety of positions,
also using the optional accessories available from PROEL. All models are provided with a preset switch that allows
to select the system response between LIVE or MUSIC confi gurations. In particular the NET12MA model is designed
specifi cally to be used as stage monitor (MON) or if requested as standard loudspeaker (FOH). A double CLIP-LIMITER
circuit protects the loudspeakers against distortion and power overloads.
INPUT AND CONTROL INSTRUCTIONS (FIG. 1 / 2 / 3)
1. LINE IN (combo XLR-JACK input)
This is a female combo connector, which accepts a XLR or a JACK plug from almost any type of equipment with a balanced
or unbalanced line level outputs. The XLR input is wired as follows:
Pin 1 = shield or ground
Pin 2 = + positive or "hot"
Pin 3 = - negative or "cold"
The JACK input is wired as follows:
Tip = + positive or "hot"
Ring = - negative or "cold"
Sleeve = shield or ground
When connecting an unbalanced signal, wire them as follows:
Pin2 / Tip = + positive or "hot"
Pin 1-3 / Sleeve = shield or ground
NOTE: Whenever possible, use always balanced cables. Unbalanced lines may also be used but may result in noise over
long cable runs. In any case, avoid using a balanced cable for one channel and an unbalanced one for the other.
2. LINK (XLR output balanced)
This is a male XLR connector, it is connected in parallel with the respective LINE IN input, so the LINK is wired as LINE
IN input. Connect these to the inputs of other powered speakers to make an array.
3. GND LIFT switch
This switch lift the ground of the balanced audio inputs from the earth-ground of the amplifi er. If you have HUM noise
problem on one or more loudspeaker try to change the position of these switches (often all up or all down for all the
amplifi ers in the system). Please note that to have an effect all cables must be balanced.
4. LINE LEVEL control
Rotary level control: it attenuates the level of the signal sent to the LINE IN input, the attenuation ranges from “0” fully
closed (the signal is completely attenuated) to “10” fully open, nominal level (the signal is not attenuated in any way, so
is fed to the internal amplifi er at the same level at which it arrives on input).
5. LIVE/MUSIC (all models) or MONITOR/FOH (NET12MA only) preset switch
This switch allows the selection between two different equalisation curves adapted to recorded music reproduction or
live sound reinforcement. In the NET12MA the two presets MON and FOH allow it to be used as a stage monitor or as a
front-of-house enclosure.
6. SIGN/LIMIT indicator
GREEN LED illuminates to indicate the presence of the signal at the amplifi er input.
RED LED illuminates when the internal amplifi er's output is limited. When this LED fl ashes reduce the input signal level.
7. ON indicator
GREEN LED: when lighted indicates amplifi er has been turned on and AC power is available.
8. POWER switch
Speaker is "ON" when the switch is in the "I" position, use this switch to set the speaker power to ON or OFF.
NOTE: When you shut down your equipment, turn off the speaker fi rst.When powering up, turn on the speaker last.
9. FUSE holder and AC~ socket
Here is placed the mains protection fuse. Here’s where you plug in your speaker’s mains supply cord. You should always
use the mains cord supplied with the speaker. Be sure your speaker is turned off before you plug in the cord.
 Loading...
