Printer Startup and Demo Build
The purpose of this section is to execute the following:
Power the printer on.
Installing new material cartridge.
Removing material cartridges.
Procedure to empty waste bag.
Procedure for installing and removing print platform.
Perform a successful Demo build.
Completion of this process will familiarize you with all of the “basic” printer operations needed to build parts on the ProJet® MJP 2500W/ IC
and provides a functional “run through” for a new installation. It is strongly recommended that you complete Section 5 before moving on to
larger more sophisticated builds.
POWER THE PRINTER
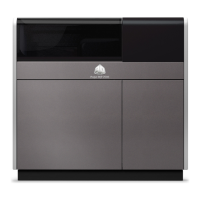
1. If the printer is not already on, turn printer on by ipping the power switch on the back of the printer. UI may take up to a minute or so to come on. After
about a minute the 3D Systems logo should appear and then the Status Screen will appear.
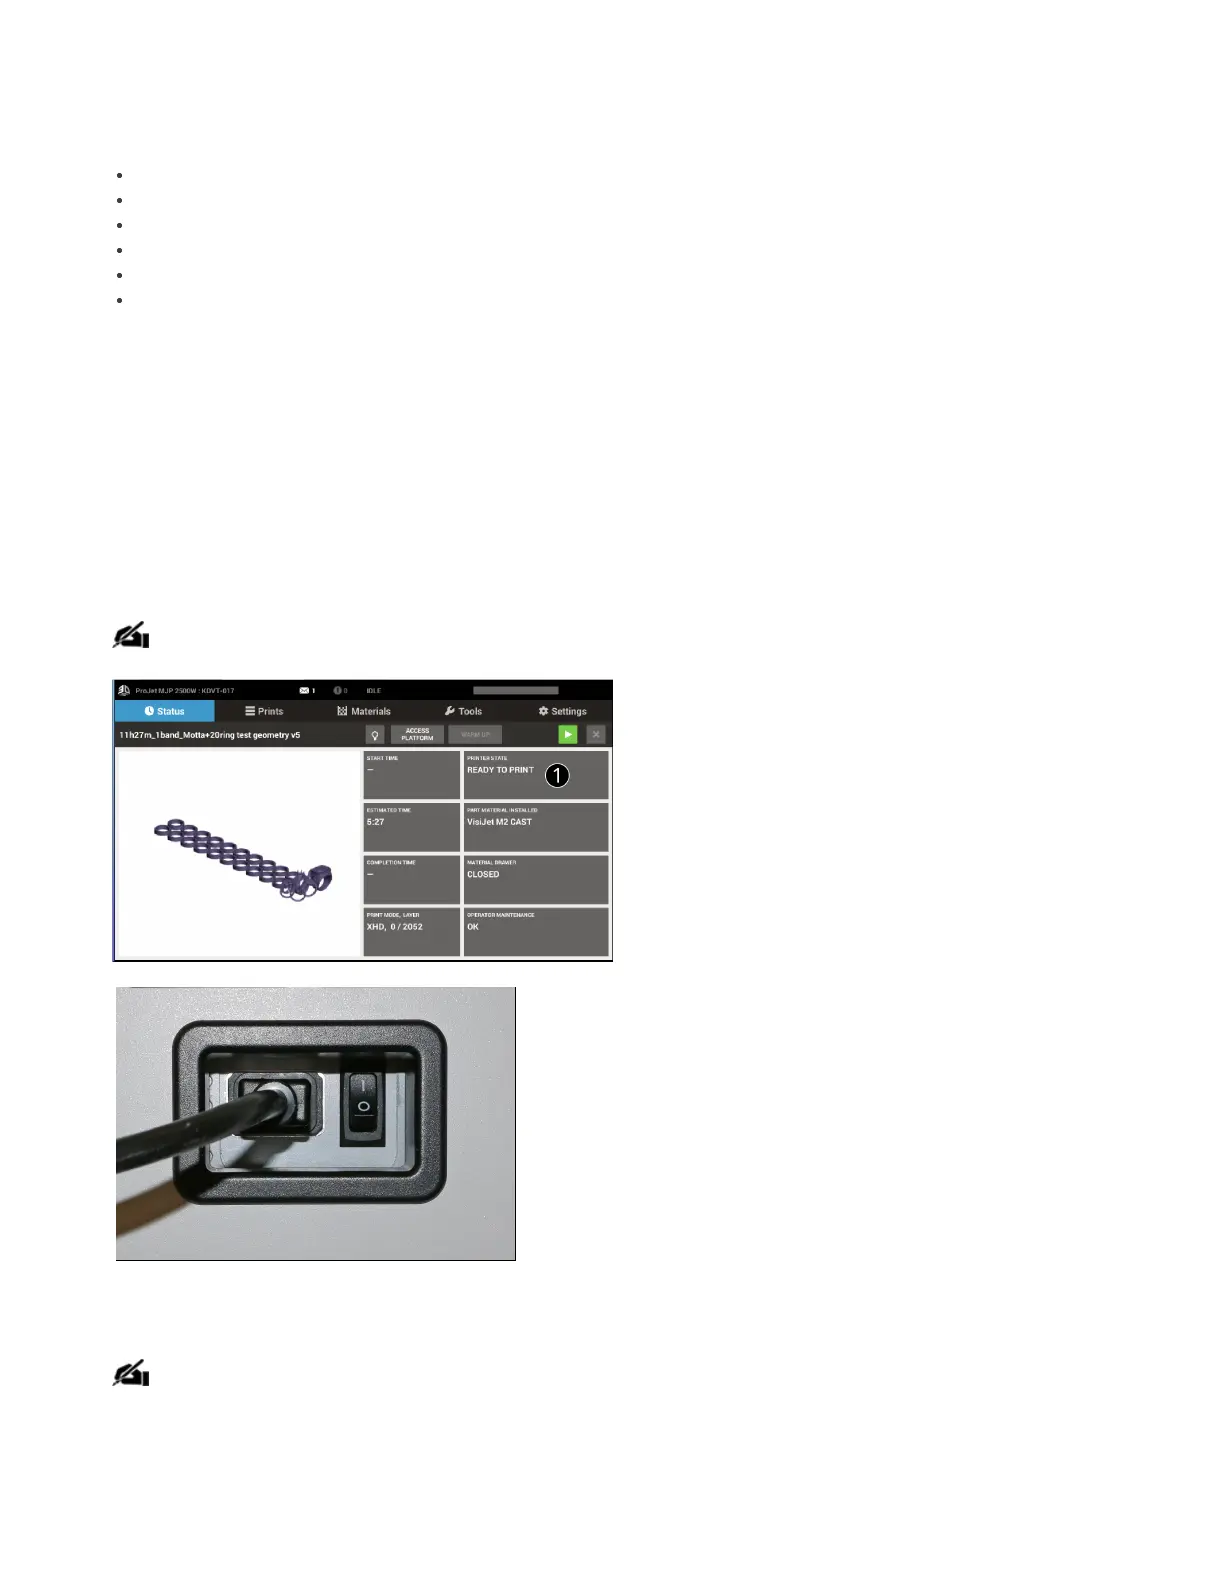
2. If printer has been shut down and is starting from a cold state,wait 2 hours for printer to warm up before startinga build job. UI display will show
Warming on the Status screen under Printer State (1).
NOTE: Build les can be submitted but will not start printing until printer is warm and ready.
Installing New Material Cartridge
NOTE: Cartridges cannot be installed into a cold printer. The printer must be warm before drawer will open and cartridges can be
installed.
To place a material cartridge into the MDM, perform the following steps:
1. Obtain a new material cartridge ensuring that it is the same material as currently installed in the MDM.



 To Next Page