At A Glance
The three dimensional solid partsconsist of two materials (support material and part material). The support material is a wax based material
providing adhesion to print platform, as well as, providing material used to produce supports required to build the your part.
The part material is a wax material. After a layer of material is deposited onthe build plate, the part is immediately solidied by cooling of the
molten wax. When the build is complete, the part (consisting of the two materials) is adhered to the print platformby means of the support
material).
The material delivery module consist of four material cartridge holders; the two left side holders are for the support material (white) cartridges.
The right side of the module are for two part material (grey) cartridges. Once materials are heated, they are fed to the printhead. Material waste
is generated by two processes; cleaning the printhead array plate and planarization. The cleaning process involves purging jets and wiping the
printhead array plate. The planarizer removes excess material during the print process.The combined waste materials are then periodically
emptied into the waste bag. The printhead cleaning process is invoked automatically prior to starting a build.
.
After the build is complete, the print platformand the part arethen removed from the printer. A secondary operation, known as post processing,
is required to provide anished/cleaned part. Refer to yourPost Processing Guide for more information.
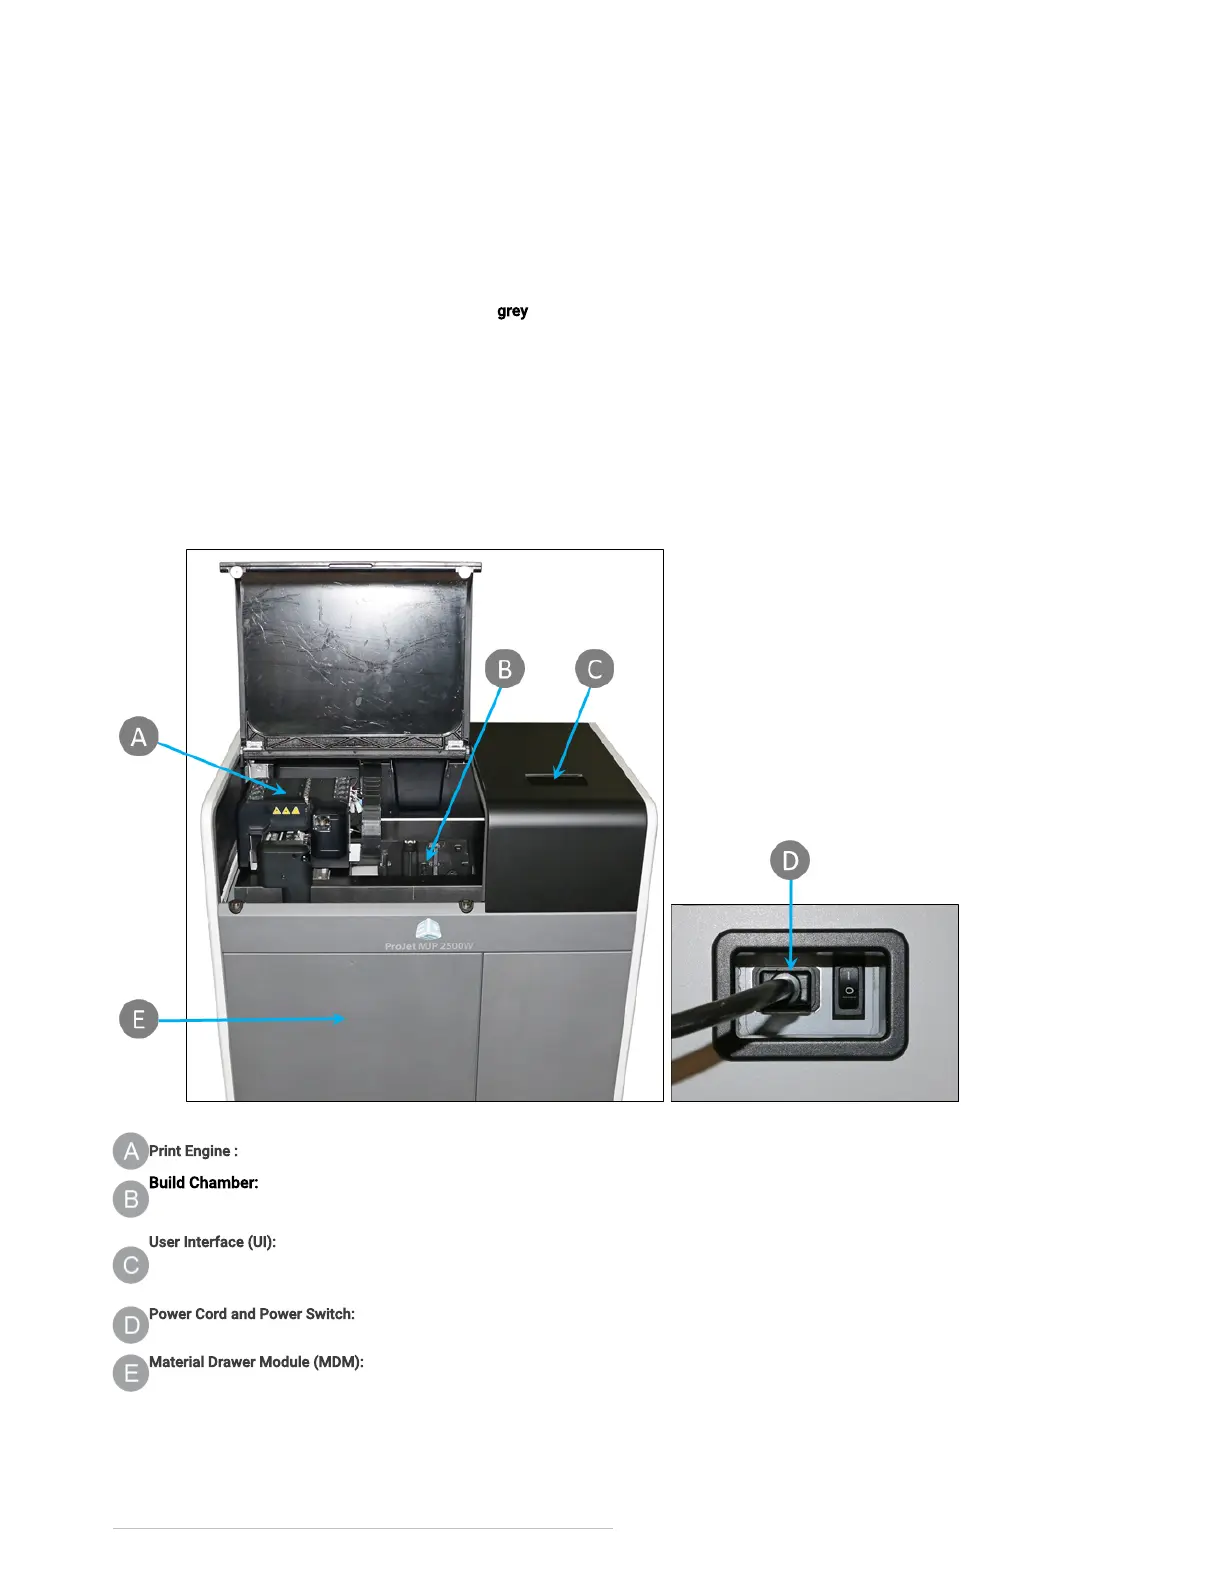
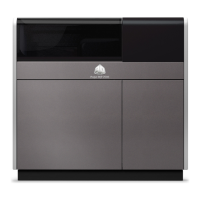
ProJet® MJP 2500W/IC Printer System
Print Engine : The Print Engine contains major systems such as the Printhead, andPlanarizer.
Build Chamber: TheBuild Chamber is the area where the print platform can be found. All print jobs are built on the print platform. For more
information see Printing Area.
User Interface (UI): This is the built-in touchscreen which allows the user to interface with the printer. The touchscreen allows the user to check
printing status, material levels, as well as power printer off. For more information on what user can access through the UI go to the User Interface
section of this manual.
Power Cord and Power Switch:The electrical power cord is plugged into the printer here. There is also a Power Switch located next to the power
outlet.
Material Drawer Module (MDM): The MDM drawer is a push/push type mechanism. To open the drawer push in, drawer should pop open allowing
you to pull it open the rest of the way. The MDM contains the part and support materials and the waste bag.
Printing Area
The actual area that you can print a job consists of the x-axis (left-to-right)times (x) the y-axis (front-to-back) times (x) the z-axis (max height).