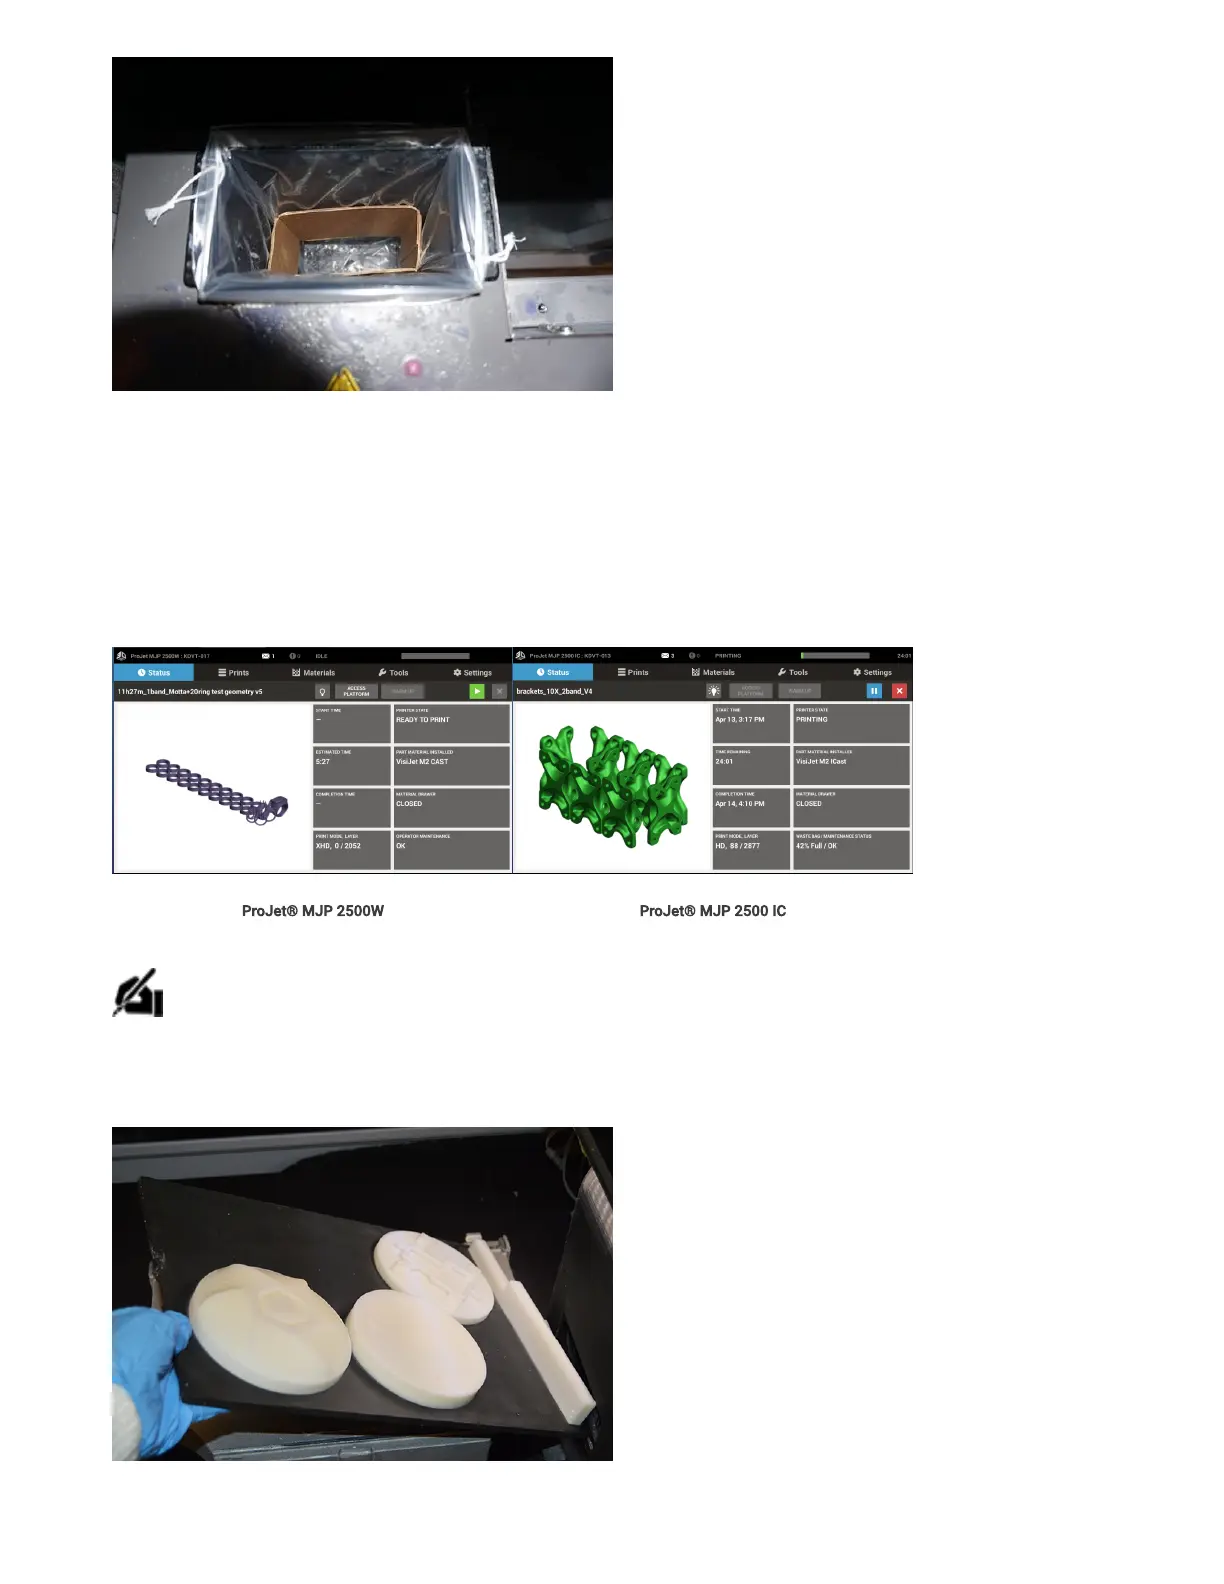
10. Check to make sure the waste bag counter has been reset to 0%.
11. Close MDM
Print Platform Removal and Installation
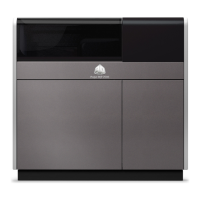
1. Ensure the printer is turned on and the Printer State is in Ready or Standby mode.
ProJet® MJP 2500W ProJet® MJP 2500 IC
2. Select the Access Platform button next to the lightbulbiconon the printer touchscreen.
NOTE: The Access Platform will not be available to select if the printer is not ready for the user to access the print platform.
3. The printer will move into position in order to allow access to the print platform. When prompted, open the door to access the print platform.
4. Lift to remove theplatform.
5. Install clean print platform. Close top door. If it isplaced correctly the platformwill automatically lower and clamp the print platform in place.