WASTE BAG REMOVAL AND INSTALLATION
NOTE: Even though the waste bag may not appear full when the user is notied to change it, it is highly recommended to replace the
waste bag when prompted to avoid unnecessary overow and mess. When waste bag has been changed ensure youconrm the level has
been reset to zero.
1. Verify that the printer is inREADY.
2. Select Materials tab.
ProJet® MJP 2500W ProJet® MJP 2500 IC
3. Select next to the Waste Bag status bar.
4. Wearing protective Nitrile gloves, open the MDM drawer.
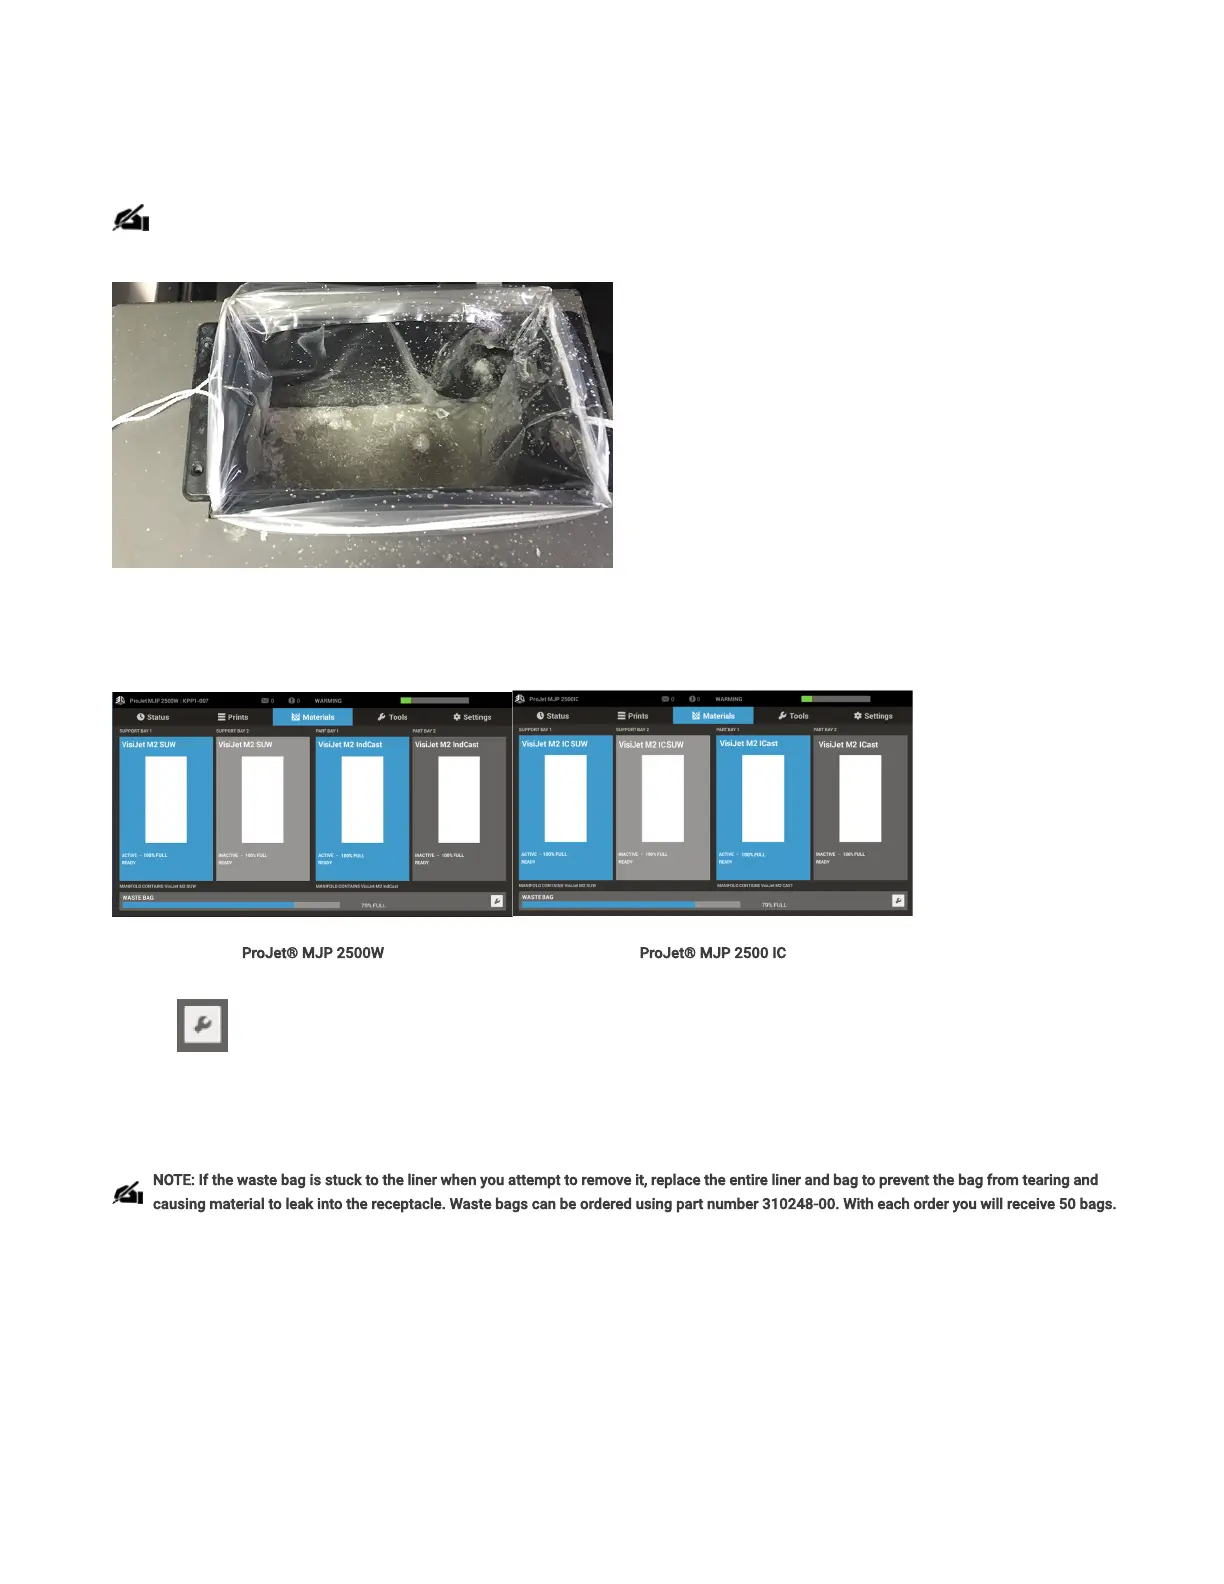
5. Remove the waste bag and dispose of bag according to local regulations.
. Inspect the waste bin for any remaining waste. If necessary, wipe out any waste that exists with a lint free cloth and isopropyl alcohol.
NOTE: If the waste bag is stuck to the liner when you attempt toremove it, replace the entire liner and bag to prevent the bagfrom tearing and
causing material to leak into the receptacle.Waste bags can be ordered using part number 310248-00.With each order you will receive 50 bags.
7. Conrm on the printer UI when you have completed replacing the waste bag.



 To Next Page