Ultra100™ TX2 User Manual
5
Controller Card Installation
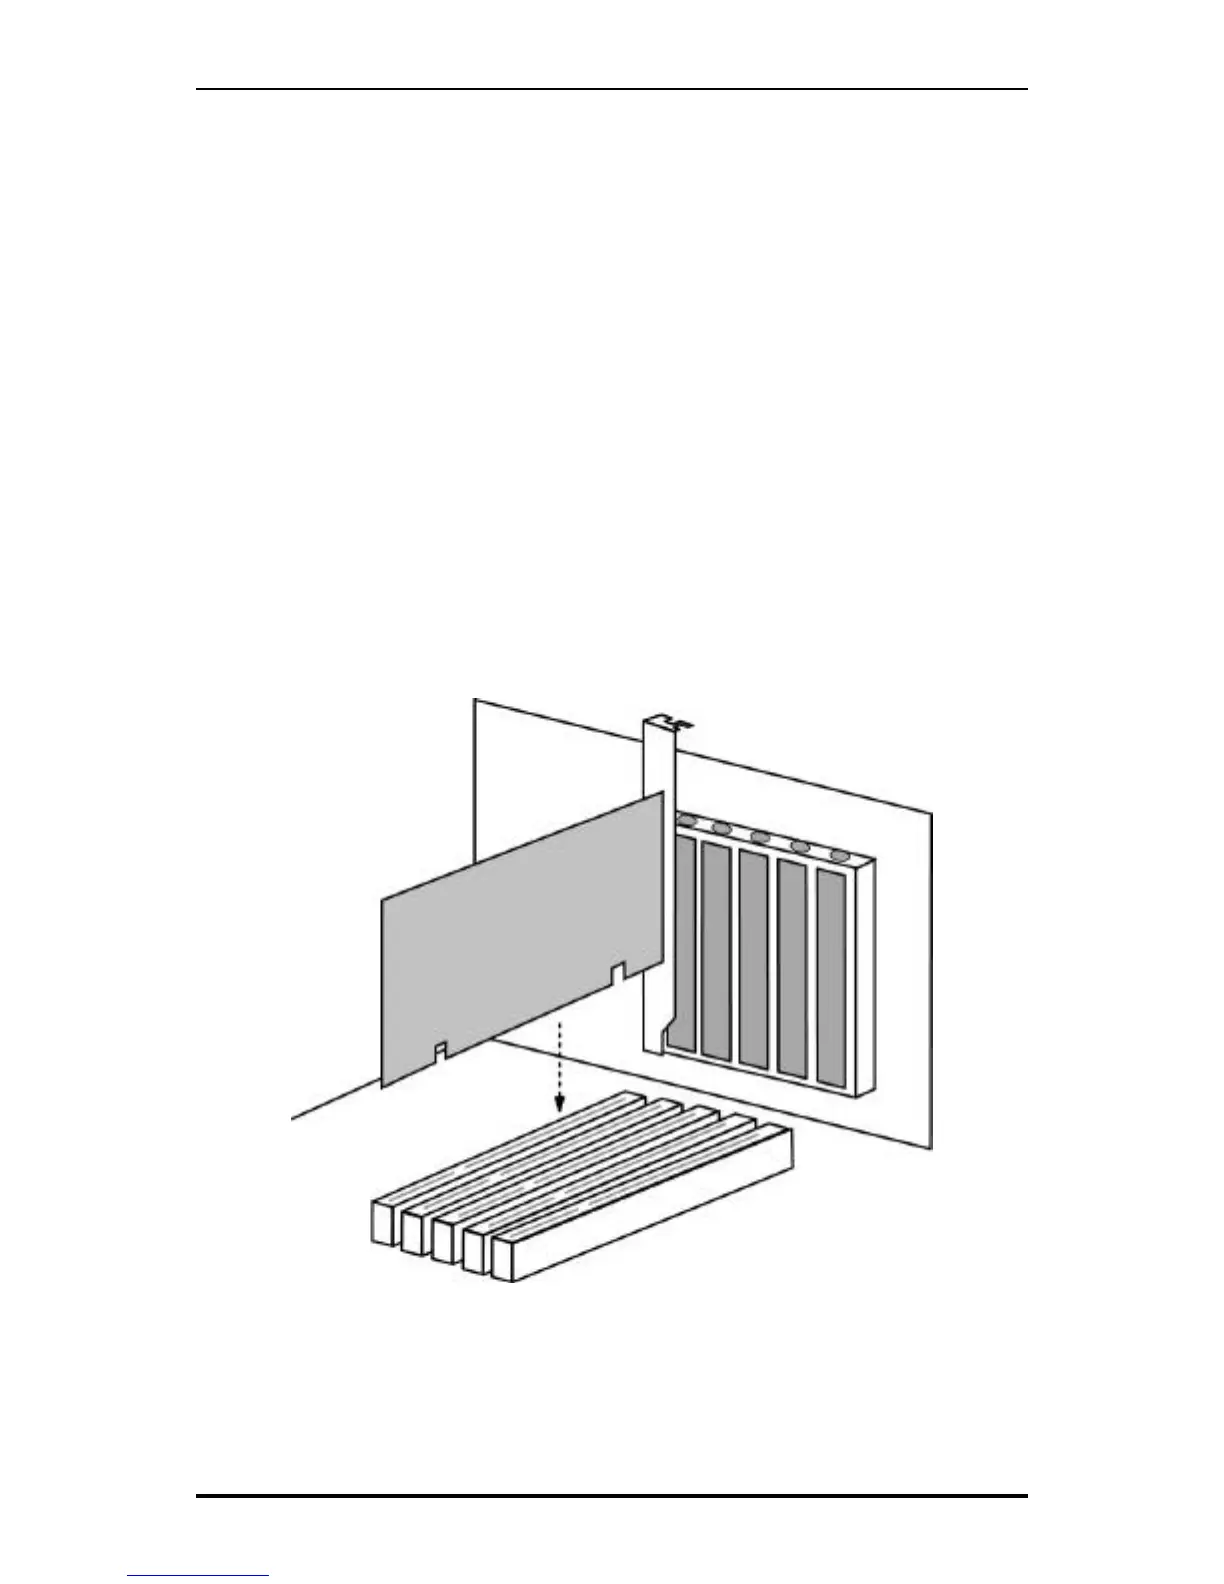
Installing the Ultra100 TX2 controller card in a system is a simple process. The card
fits into any available 32-bit PCI slot (must be PCI 2.1 or 2.2 compliant), or the 32-bit
portion of 64-bit PCI slot on the system’s motherboard (see Figure 1 below).
1. Remove the cover of your system.
2. Remove the inside slot cover of an available 32-bit PCI slot on the
motherboard.
3. Install the Ultra100 TX2 controller card into the open slot (see Figure 1
below).
4. Attach your system case’s 2 - or 4-pin LED cable to the LED connector on
the Ultra100 TX2 controller card (see Figure 2 next page). Make sure that
pin 1 on the connector is aligned with pin 1 of the cable.
5. Fasten the controller card bracket to the system case (see Figure 1).
Figure 1
 Loading...