13
2.09.21.RH.rev A
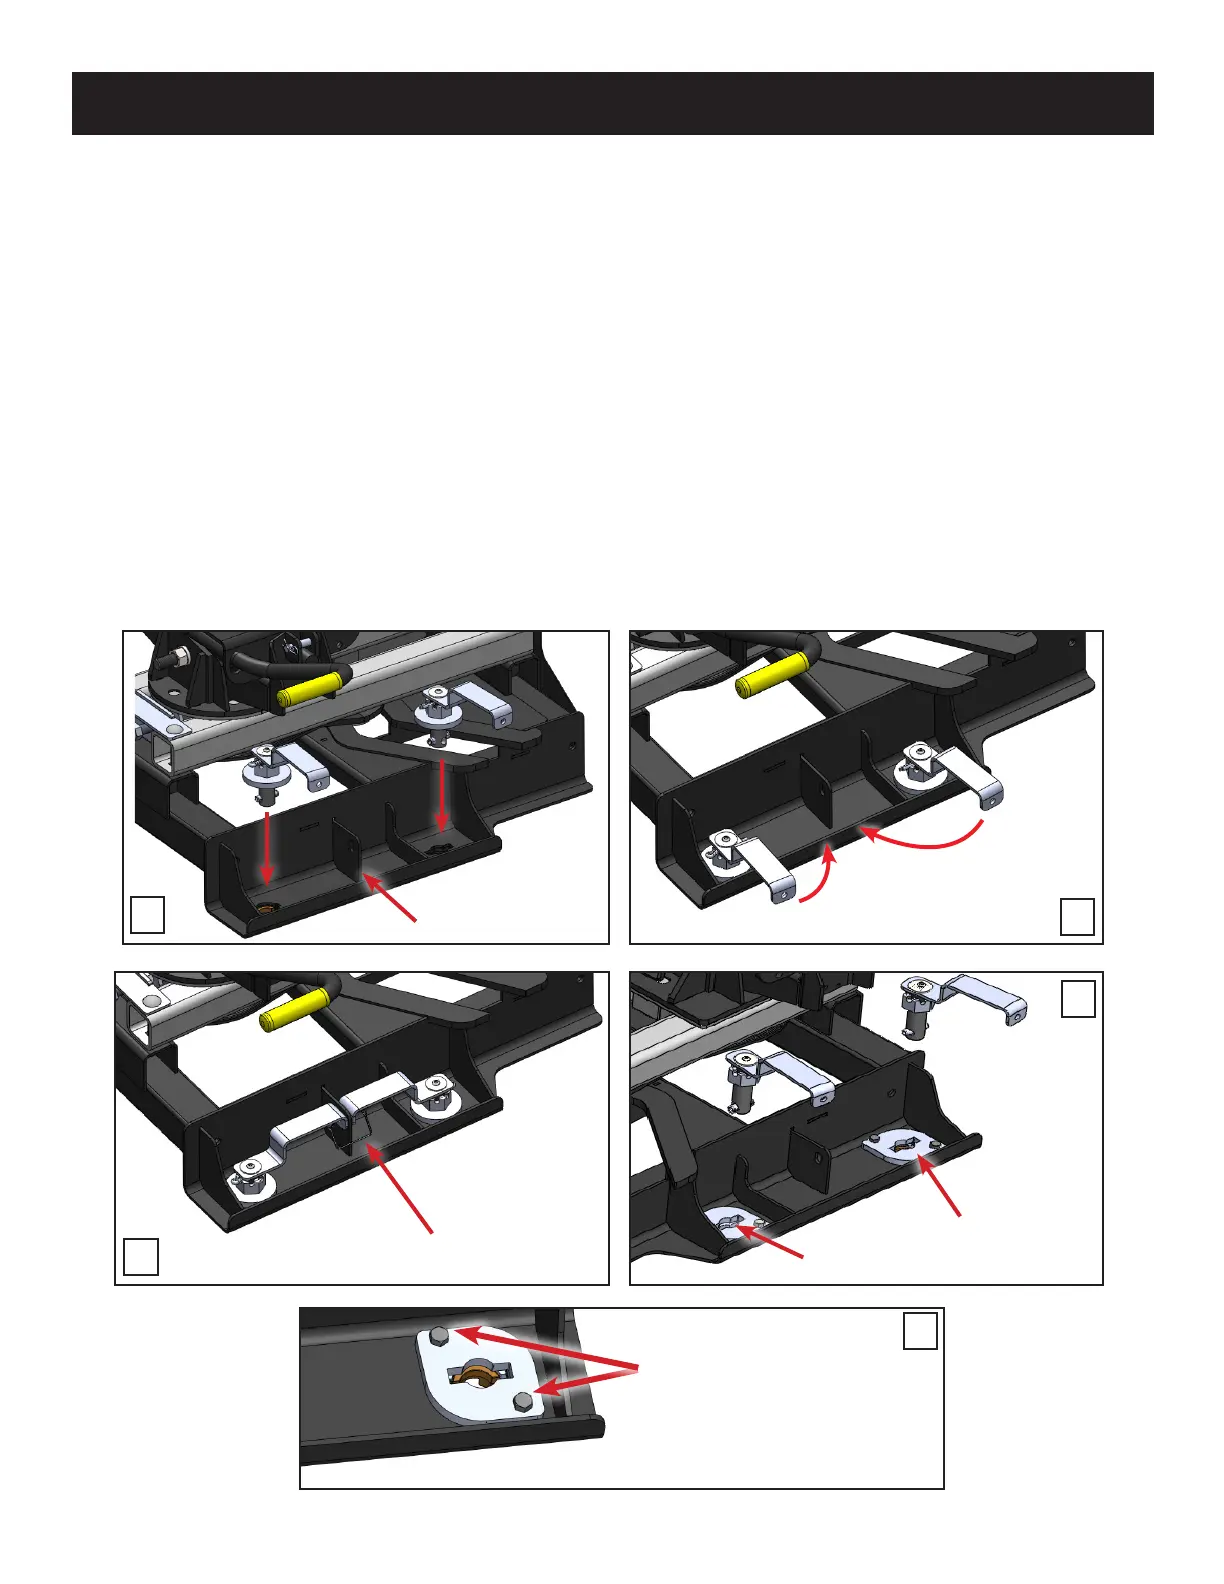
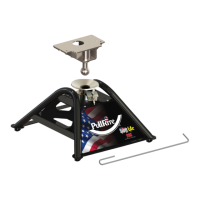
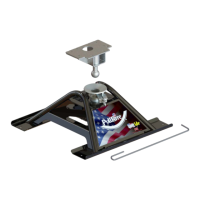
MOUNTING POST INSTALLATION
Place the hitch post holes directly over the puck, you should be able to adjust hitch base so that each Mounting Post falls
into place as you go. You may have to loosen the Adustment Washers on the passenger side of hitch (see step 5).
NOTE: The rear posts (tailgate side) have larger cross pins than the front posts (cab side). The driver side posts have
the washer under the castle nut, the passenger side does not have these due to Adjustment Washers.
1. Insert each Post Assembly handle into the hitch and orient as seen below (driver side shown below).
2. Rotate handles 90º. Posts may need to be adjusted (see next page).
3. Slide bail pins in through each lock tab and handle. A padlock can also be used here.
4. Repeat steps for the passenger side. Puck Adjustments Washers are present if posts are not easily inserted into the
puck (see step 5).
5. Use a 1/2” Socket Wrench to loosen bolts and move Adjustment Washer plates until posts can be inserted.
6. Re-tighten bolts to 14 foot pounds.
BAIL PIN OR PADLOCK
ADJUSTMENT WASHERS
ON PASSENGER SIDE
LOCK TAB
LOCK POSTS BY
TURNING INWARD
3
4
2
1
LOOSEN THESE BOLTS
FOR POST ADJUSTMENT
ON PASSENGER SIDE
5