Page 33 of 52
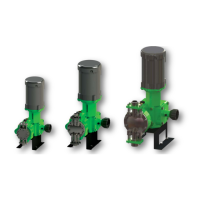
Removal and Replacement of Piston Seals (small piston sizes 7/8” and under)
o With any maintenance performed, follow safety procedures in place. Lockout/Tagout,
relieve pressure, close valves, flush the reagent head, drain the hydraulic oil.
o Remove the reagent head from the pump head.
o Remove the four bolts that secure the pump head to the intermediate head.
o Loosen the nut at the end of the cylinder that holds the piston seals.
o With the nut removed from the cylinder, remove the piston seals. Install new piston seals
into cylinder, follow same direction as removal.
o With the new seals installed, apply Loctite #242 (blue) to the threads of the nut and tighten.
Torque nut to 50-foot pounds.
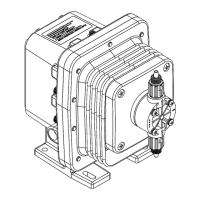
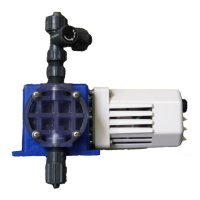
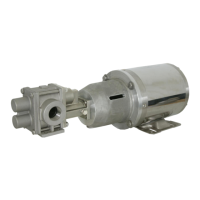
Figure 44 Figure 45 Figure 46
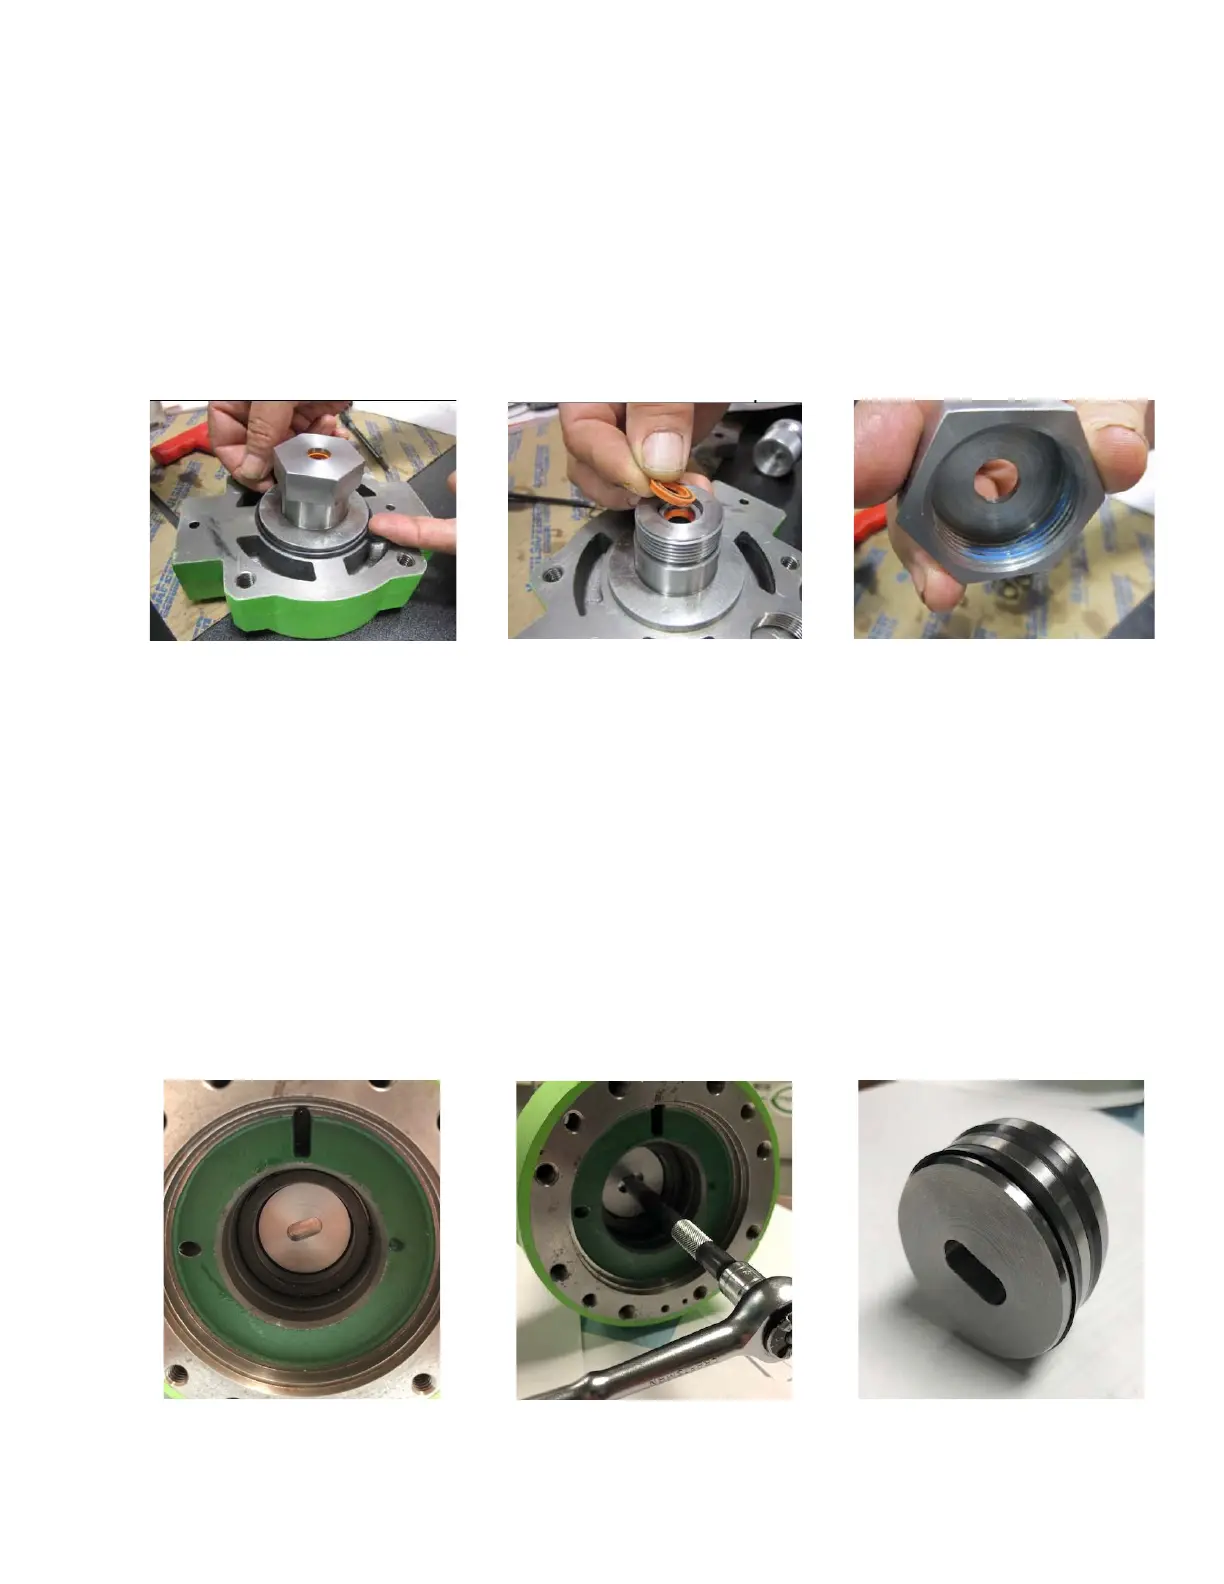
Removal and Replacement of Piston Seals (large piston sizes above 7/8”)
o With any maintenance performed, follow safety procedures in place. Lockout/Tagout,
relieve pressure, close valves, flush the reagent head, drain the hydraulic oil.
o Remove the reagent head from the pump head.
o Remove the dish plate from the pump head to have access to the piston.
o Using an Allen Wrench or rachet, you can loosen the piston from the crosshead assembly
(approximately 10 - 12 turns).
o Loosen and remove the four bolts that secure the pump head to the intermediate head. If
the piston is unscrewed fully from the crosshead threads, it will come out with the pump
head.
o Replacing the piston seals requires the purchase of a new piston assembly.
o Apply Loctite #242 (blue) to the back of the threads of the piston.
o Tighten piston assembly to crosshead.
o Reassemble the pump in reverse order.
Figure 47 Figure 48 Figure 49