User Manual
PT-E-HD10
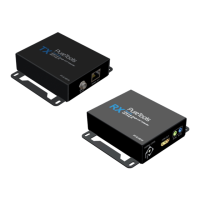
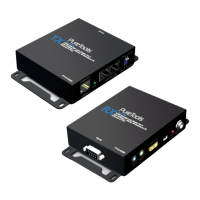
1. Connect a HDMI or DVI source (such as a Blu-ray Disc player) to the transmitting unit PT-E-HD10-TX
2. Connect a HDMI or DVI display (such as a LCD TV) to the receiving unit PT-E-HD10-RX.
3. Connect IR Blaster/Receiver to both TX and RX units.
4. Connect a Cat-5/5e/6 cable between the transmitting and receiving units.
5. Make sure this Cat-5/5e/6 cable is tightly connected and not loose.
6. Plug in 5V DC power supply unit to the power jack of the receiving unit PT-E-HD10-RX.
7. Plug in 5V DC power supply unit to the power jack of the transmitting unit PT-E-HD10-TX.
8. If you see ickering or blinking image on the display, please adjust the rotary control switch to improve the
cable skew. MAX stands for the strongest HDMI signal level for longest possible transmission length while MIN
stands for the weakest HDMI signal level for short transmission length. Please adjust the signal level from 7 to
0 and stop turning the rotary switch whenever the audio/video is playing normally. Inappropriate signal level
setting may cause overpowering issue that would shorten the product life signicantly!
1. Turn on to the transmitting unit (TX) of PT-E-HD10.
2. Set the MODE rotary switch on the transmitting unit to 7.
3. Use a HDMI cable to connect the transmitting unit (TX) of PT-E-HD10 and the display. The LED on the RJ-45
port of the transmitting unit (TX) of PT-E-HD10 will dim and light again, which indicates the EDID learning
process is nished.
4. Unplug everything and resume the steps in [Installation].
9. Hardware Installation
10. EDID Learning
9