More Security ,More Convenience
For firmware upgrading or connection with an external, refer to detailed instructions contained in the CD.
2. SOFTWARE OPERATION
2.1 IP Camera Tool
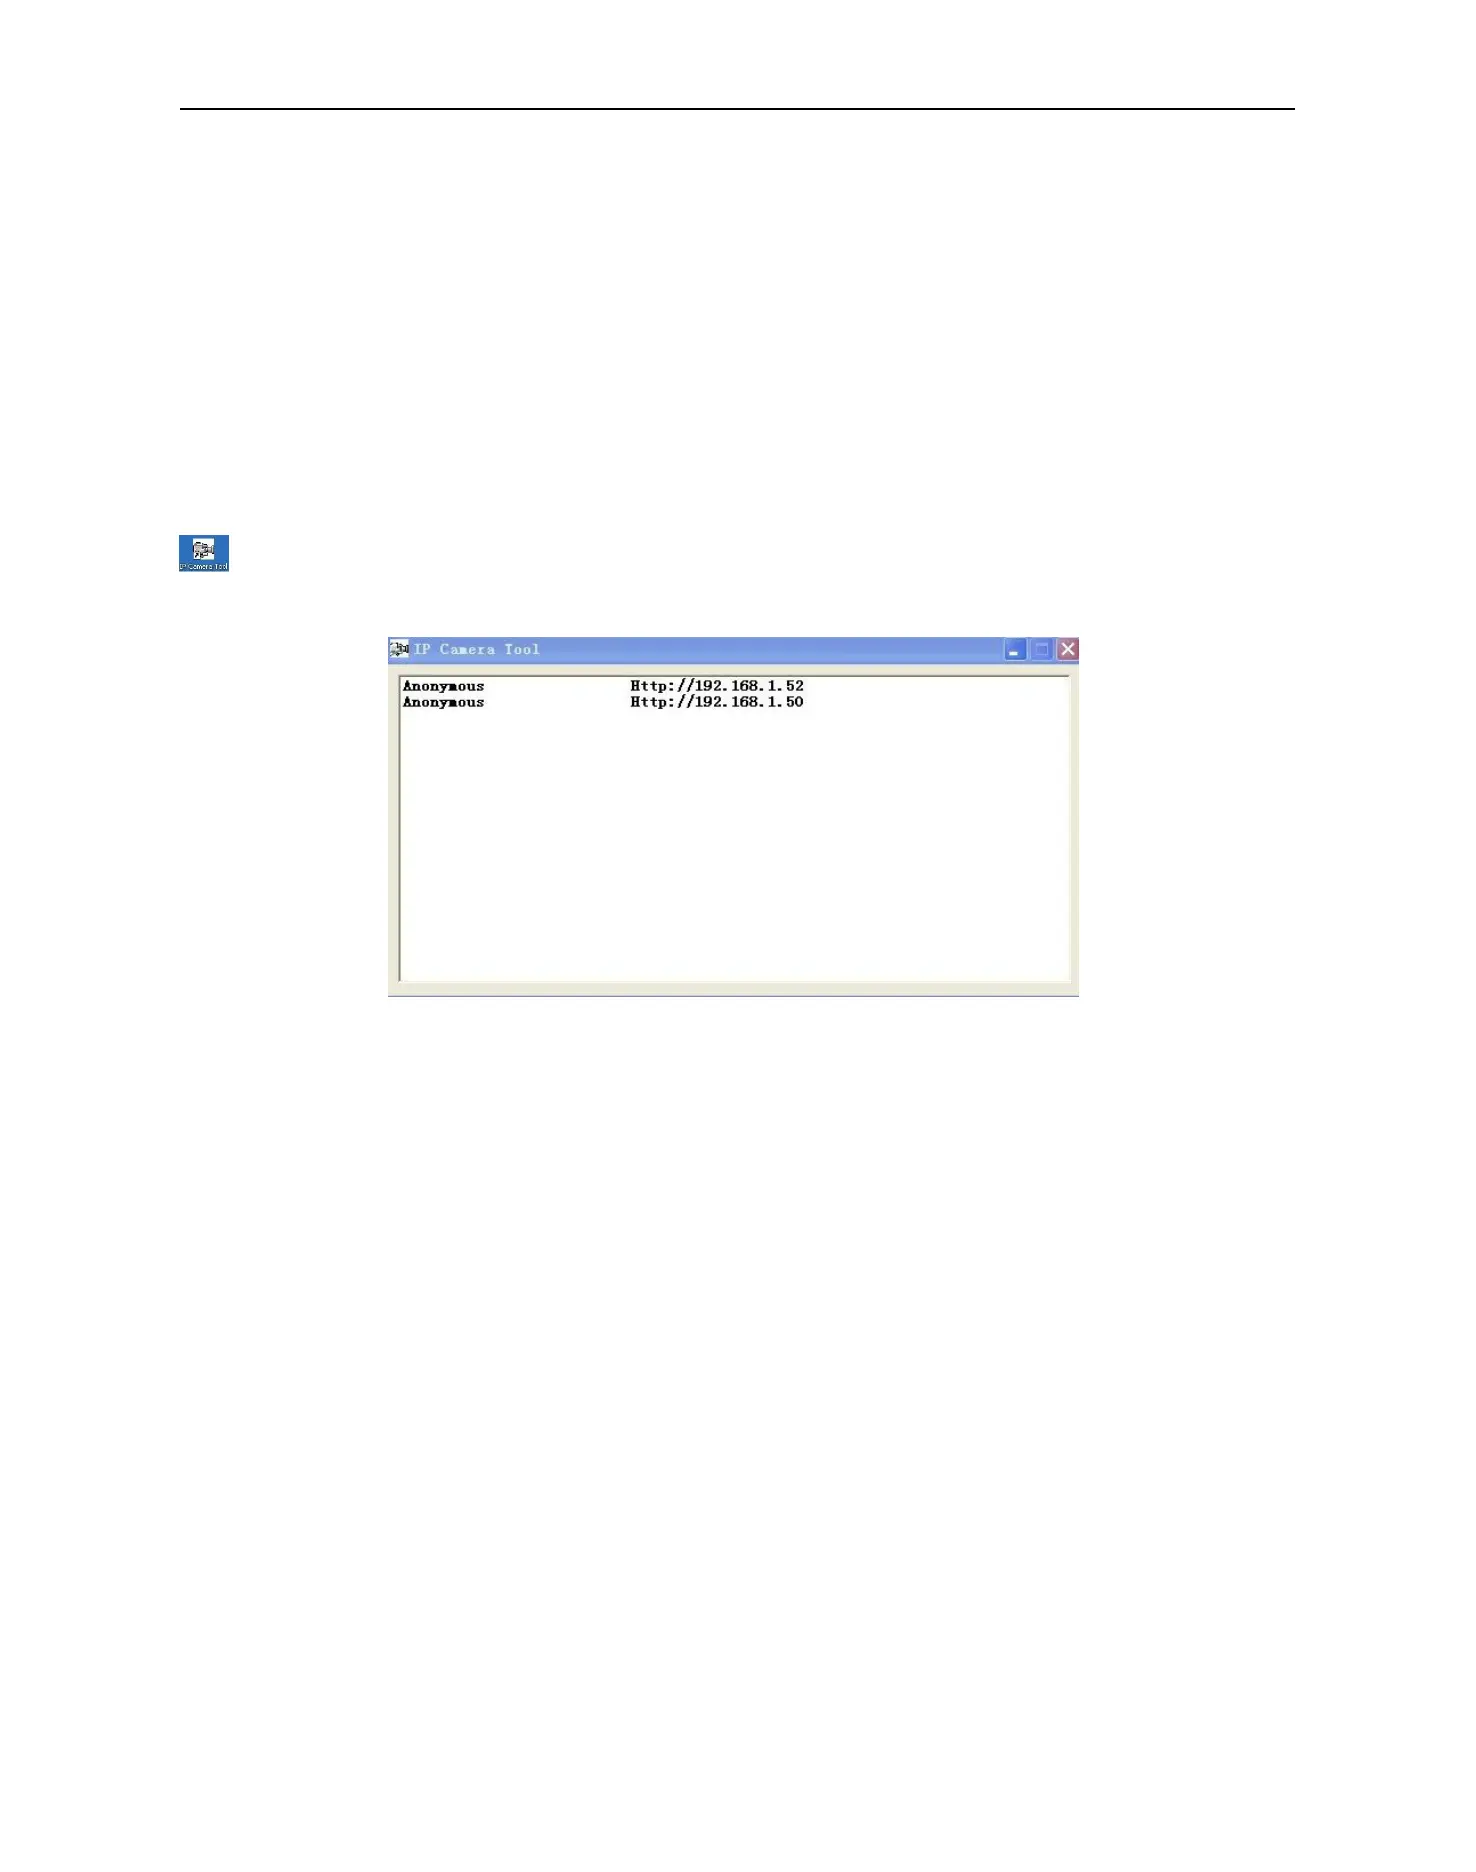
When the Device has been mounted properly, you can double click the icon “IP Camera Tool”
and a dialog box as Figure 1.9 will pop up.
Figure1.9
Note: The software searches IP Servers automatically over LAN.
There are 3 cases:
1. No IP Cameras found within LAN. After about 1 minute search, the Result Field will show “not found IP
Server” and the program shut automatically.
2. IP Cameras have been installed within LAN. All the IP Cameras will be listed and the total number is
displayed in the result field as shown in Figure 1.9
3. The IP Cameras installed within LAN do not share the same subnet with the monitoring PC. A prompt as
shown in result field (prompt: Subnet doesn’t match, double click to change!). Click the left mouse button to
choose the prompt and click the right mouse, choose Network Configuration to set the static IP address of
the Camera to the same subnet as LAN. (Figure 2.3)
NOTE: If it shows” Subnet doesn’t match, double click to change!”, you can also choose ”Obtain IP from
DHCP Server” to get a dynamic IP. (Figure 2.2)
2.1.1 Six Options
Choose the IP Camera list and Click right mouse, there are six options: (Figure 2.0)
Basic Properties, Network Configuration, Upgrade Firmware,
Refresh Camera List, Flush Arp Buffer, About IP Camera Tool.