38 39
PICTURE 6-3
PICTURE 6-4
Please read the passage entitled “About Passwords” in Section 3.3 earlier in
this manual for important considerations regarding password security, including
not sharing your login information to share your camera.
Once complete, click on Signup to return back to the Homepage.
Click on Login to proceed. You may receive pop-up notifications regarding needed
software updates.
Please note that eView requires that your browser’s version of Adobe Flash Player
is up-to-date. For this reason, users of Macintosh computers with operating
systems earlier than 10.6 will be unable to access their camera via their browser
since Adobe Flash no longer supports that OS.
The browser access also requires
Oracle’s Java Virtual Machine.
The pop-up windows should provide
you the option to download one or both
pieces of software as needed. Please
accept and allow the software to down-
load and install to ensure that you will
be able to access your cameras.
Links to the required software can also
be found in the lower left of the web
page under Download Software.
When logging into your account for
the first time, you will likely also get
a security warning - especially on
PCs - asking whether you wish to trust
the eView program. You will need to
check the box where needed and click
Accept.
IMPORTANT! Apple and Oracle are constantly updating
their respective versions of Java and the two often conflict with
each other. Users of Macintosh computers who experience alerts
regarding Java and/or who are having difficulties viewing their cameras should
try using a different browser (Safari or Firefox). If you continue to experience
difficulties solutions are provided in the Troubleshooting section in Chapter 7.
6.2 ADDING CAMERAS
Once you have logged into your account and installed the needed software, you
may add cameras for viewing.
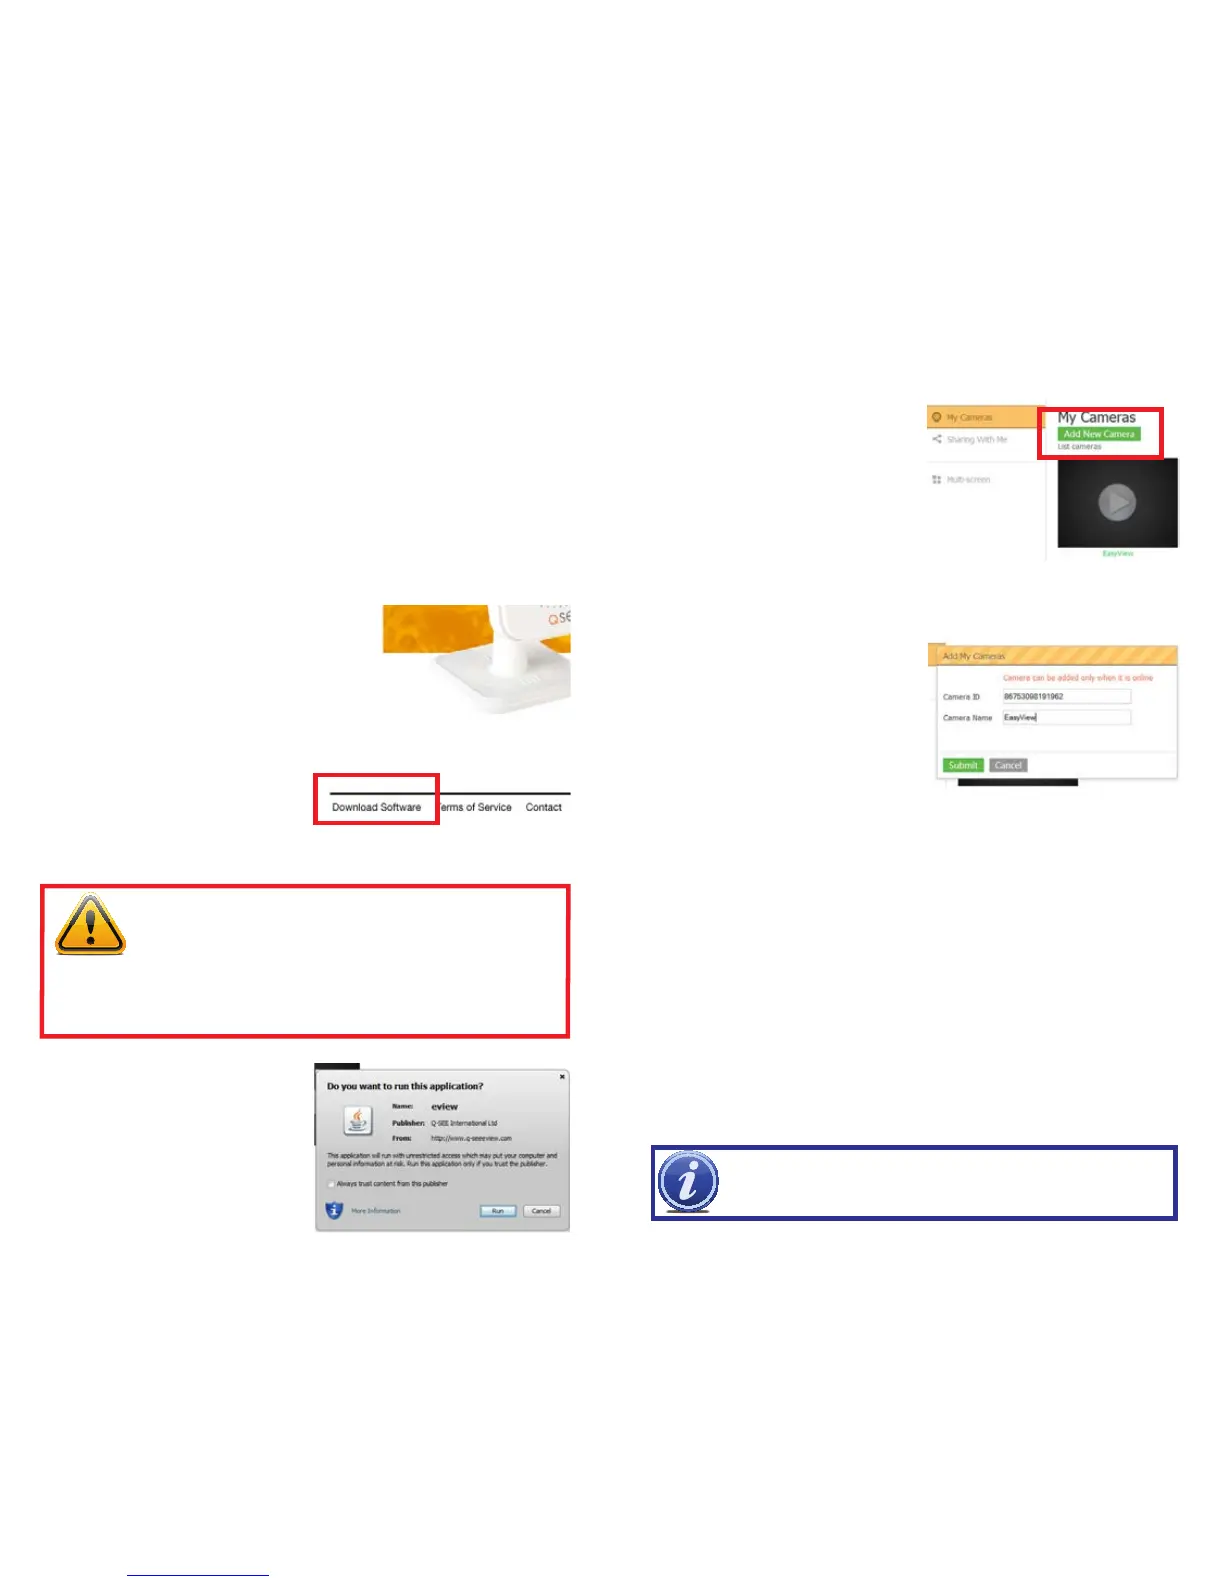
Click on the Add New Cameras button
to begin. Your camera must be con-
nected to your network and online as
described in Chapter 4.
PICTURE 6-5
PICTURE 6-6
Since you cannot scan the QR code on
the back of the camera into the web
application, you will need to enter the
ID number printed below it into the area
marked Camera ID. While you can pick
a generic name, if you plan on adding
more cameras or sharing this one, a
unique name will help you - or those
you’re sharing with - easily select the
right camera. Camera names may only
consist of letters, numbers and the
underscore “_” character.
Click Submit to enter your information and return to the MyCameras window.
To begin viewing your camera’s video, simply click on it. There will be a brief delay
while the computer, network and camera communicate to deliver the video feed to
your desktop.
Cameras with names shown in green are online and available for viewing. Those
with names in red are offline and cannot be accessed.
If you wish to operate your camera using WiFi, please proceed to the next section.
Operating instructions for the camera are in the next chapter.
IMPORTANT! A camera can only be registered to one owner at a time.
If you plan on giving your camera to someone else, you MUST remove
it from your account or it cannot be re-registered to a new account.
 Loading...