9. Connect all cables and external attachments.
10. Connect the power cord to the electrical outlet.
11. Power on the NAS.
Installing Expansion Cards
A dual-port 10 GbE SFP+ network expansion card is pre-installed on the PCIe slot. You can replace it with
another supported PCIe expansion card.
QNAP-branded expansion cards purchased from the company website are shipped with the brackets
necessary to fit all QNAP NAS models. The TS-873U, TS-873U-RP,TS-1273U, and TS-1273U-RP use low-
profile brackets, and the TS-1673U and TS-1673U-RP use full-height brackets.
Warning
• Only qualified personnel should perform the following steps. Failure to follow
instructions can result in serious injury or death.
• Observe electrostatic discharge (ESD) procedures to avoid damage to components.
1. Check the expansion cards and brackets supported by your model on the QNAP website.
a. Go to www.qnap.com/compatibility.
b. Click Search by NAS.
c. Specify the number of bays and the specific model of your NAS.
d. Under Category, select the component or device type.
e. Locate a specific component or device model in the list.
f. Optional: Click the corresponding Note icon to view more information.
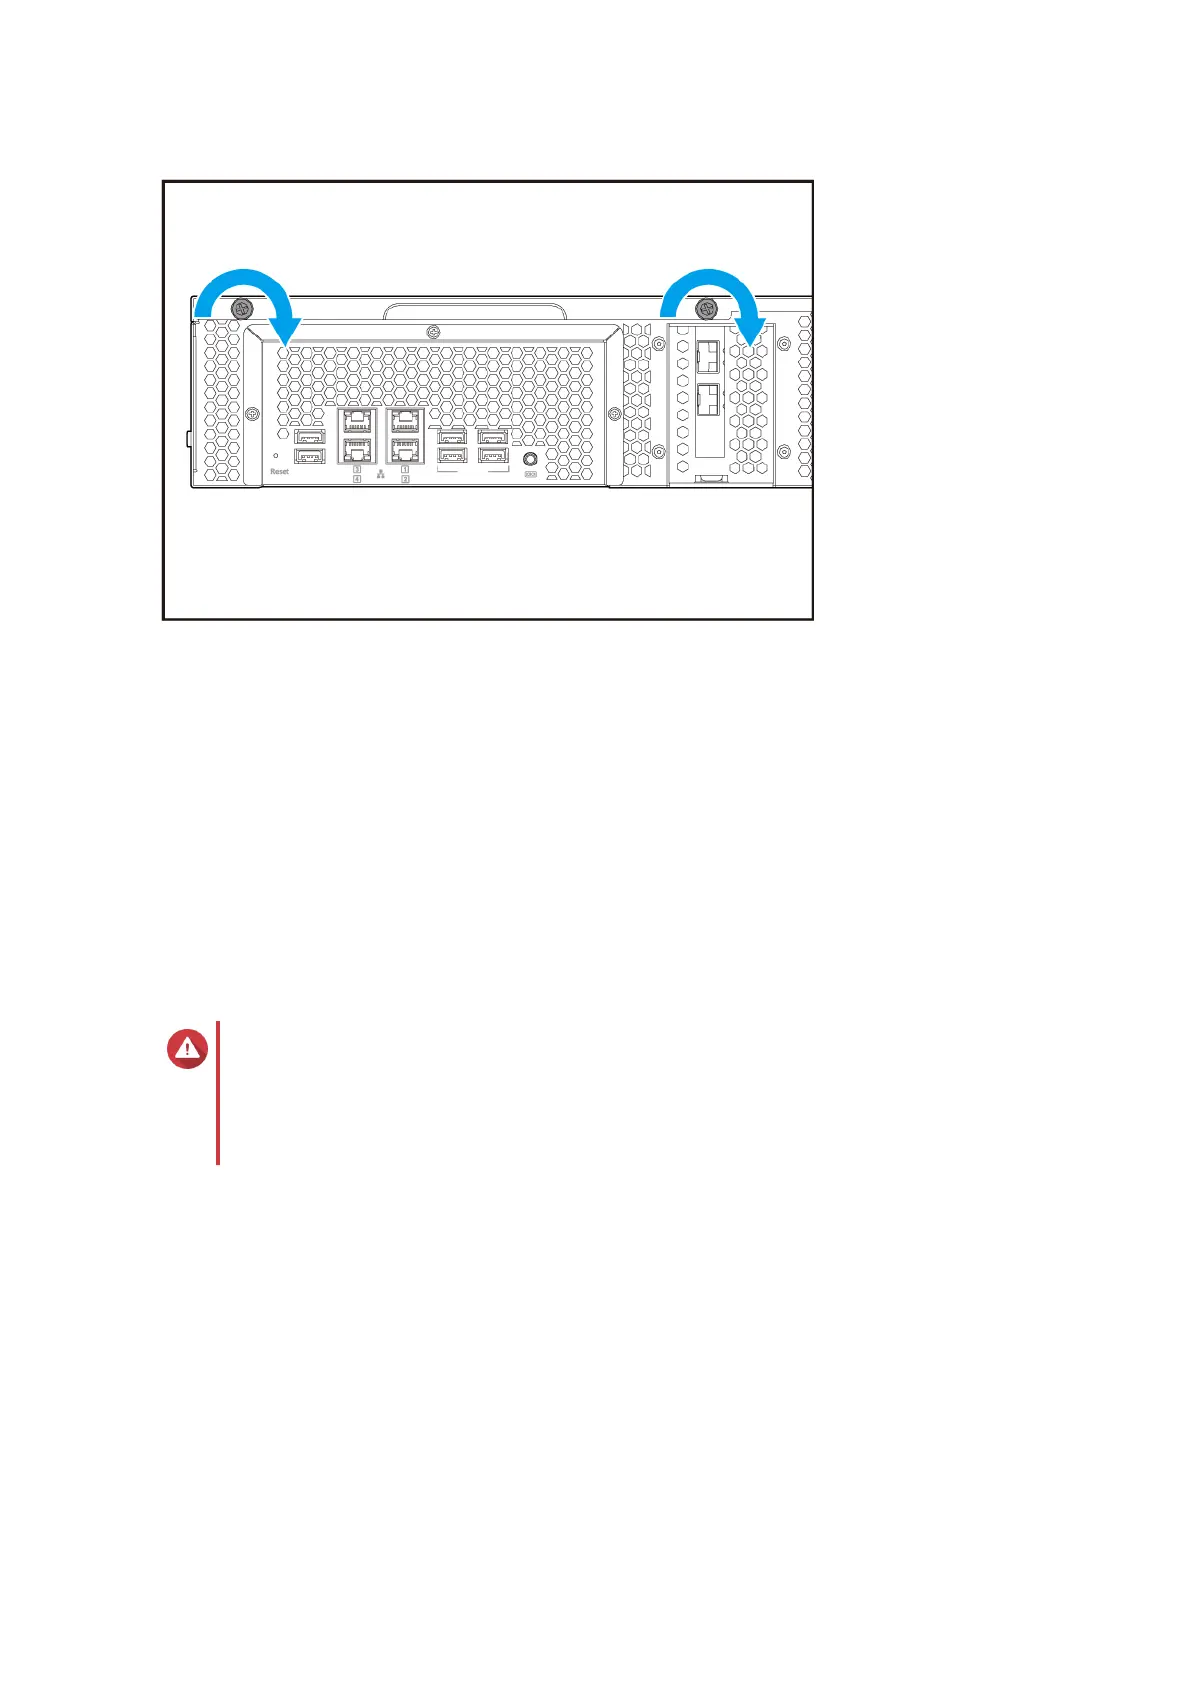
2. Power off the NAS.
TS-x73U User Guide
Installation and Configuration 27
 Loading...