3. Power on the NAS.
The Welcome screen of the Smart Installation Guide appears.
4. Select Start Smart Installation Guide.
5. Select No, skip this process.
Enabling the multimedia functions allows you to install multimedia applications after configuring the
disks in Storage & Snapshots.
For details on enabling multimedia functions on QTS, see the System Administration section of the
QTS User Guide.
6. Select Configure later.
For details on configuring disks, see the Storage & Snapshots section of the QTS User Guide.
7. Review the settings.
8. Click Next.
9. Review the settings.
10. Click Next.
The Confirm screen appears.
Warning
Clicking Next deletes all data on the drive before installing QTS.
11. Click Next.
QTS is installed.
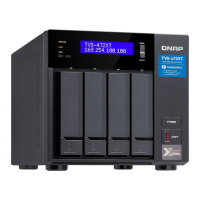
TVS-x72XT User Guide
Installation and Configuration 42
 Loading...