2. Installation
2. Installation
1.
Chooseasuitablemountingplacement.
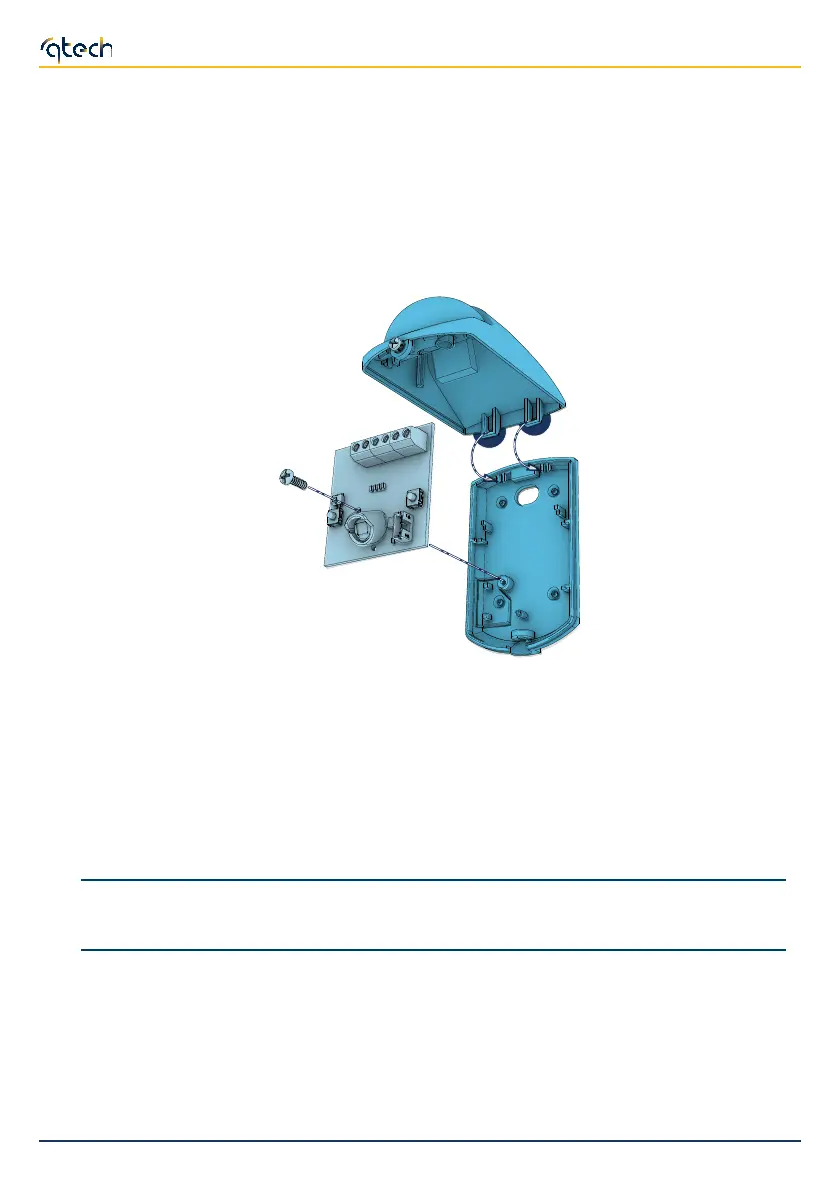
2.
Loosenthefrontcoversecuringscrewandopenthecoverbyspreadingthetwosurfacesapartfrom
thesideofthesecuringscrew.
3.
Opentheholesforthesecuringscrews,openthecableglandsandinsertthecables.
4.
Holdthebasetothechosenmountingplacementandmarkthescrewholesposition.
5.
Usingthescrews,securethebaseinposition.
6.
Completetheconnectionsontheterminalboard.
7.
Ifnecessary,carryouttheprogrammingusingthebuttonsonthePCB.
8.
Re-attachthecovertothebaseandreplacethesecuringscrew.
Note
When using the optional XBK100 swivel, the function that allows detection of removal from the mounting surface
(anti-dislodgement) is void.
6
Installation and programming manual- 100