35
INFRARED
Adding Functions
Unlike Q-Logic 2, there are no Single, Double, or Triple
options for Q-Logic 3. You may add a function (another
button command) and stack it on the existing programmed
command.
Multiple button presses are programmed for one function
under Learn Mode. Example, select 1, 2, and 3 and all three
codes will be learned at the same time.
Helpful Hints to Remember
Make sure the Enhanced Display has a clear line of sight to
the device being programmed.
Depending on the lighting, the signal can deteriorate quickly
cutting down the effective range of the IR.
If you are having issues getting an IR signal to actually be
accepted by the Q-Logic system, use a plain white piece
of paper that will block the light and allow the signal to be
learned by the system.
Importing a Q-Logic 2 IR Project to Q-Logic 3
If you have a end user using Q-Logic 2 with an IR setup,
the project can be saved with IR signals and loaded into the
Q-Logic 3 system with the saved signals.
The Q-Logic 2 PC Programming Station and programming
cable are needed and can be downloaded and installed from
prideprovider.com under the Q-Logic Resource Center.
Saving the IR Menu from Q-Logic 2
1. Open the Q-Logic 2 PC Programming Station.
2. Click on Communication.
3. Click on Connect.
4. Once connected, click on Parameters.
5. Under the Parameter Editor, click on Enhanced
Display.
6. A new section will open up. Click on Remote Control.
7. Another new section will open up. Click on Menu Tree
Editor.
8. Under the Remote Control Menu Tree Editor, all
the menus programmed into the system are visible,
regardless if they have signals sent to them or not.
9. Click on the Save button on top off the toolbar under
Remote Control Menu Tree Editor.
10. When the Save button is clicked, a new windows will
appear.
11. Make sure that the Include learned IR Codes is checked
in that new window.
12. Click on Save as.
13. Name the file whatever you wish, but keep in mind to put
the file in a location where you will easily find it.
14. Once the file is named, click on Save.
Importing Saved Q-Logic 2 IR Project to
Q-Logic 3
1. Connect to the Q-Logic 3 system using Econ-W.
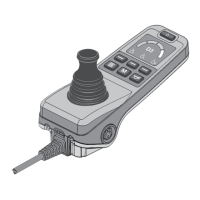
2. Click on the Infrared Remote Control Menu on the top
toolbar.
3. Click on the folder icon on the left most of the new tool-
bar Open IR Project.
4. A new window will appear. Find the IR project that was
recently saved from the Q-Logic 2 system and click
Open.
5. When the project opens, you will see all the menus that
were on the Q-Logic 2 PC Programming Station.
6. The Check Mark on the left side of the menus mean
that those menus have been programmed and have IR
Codes associated with them.
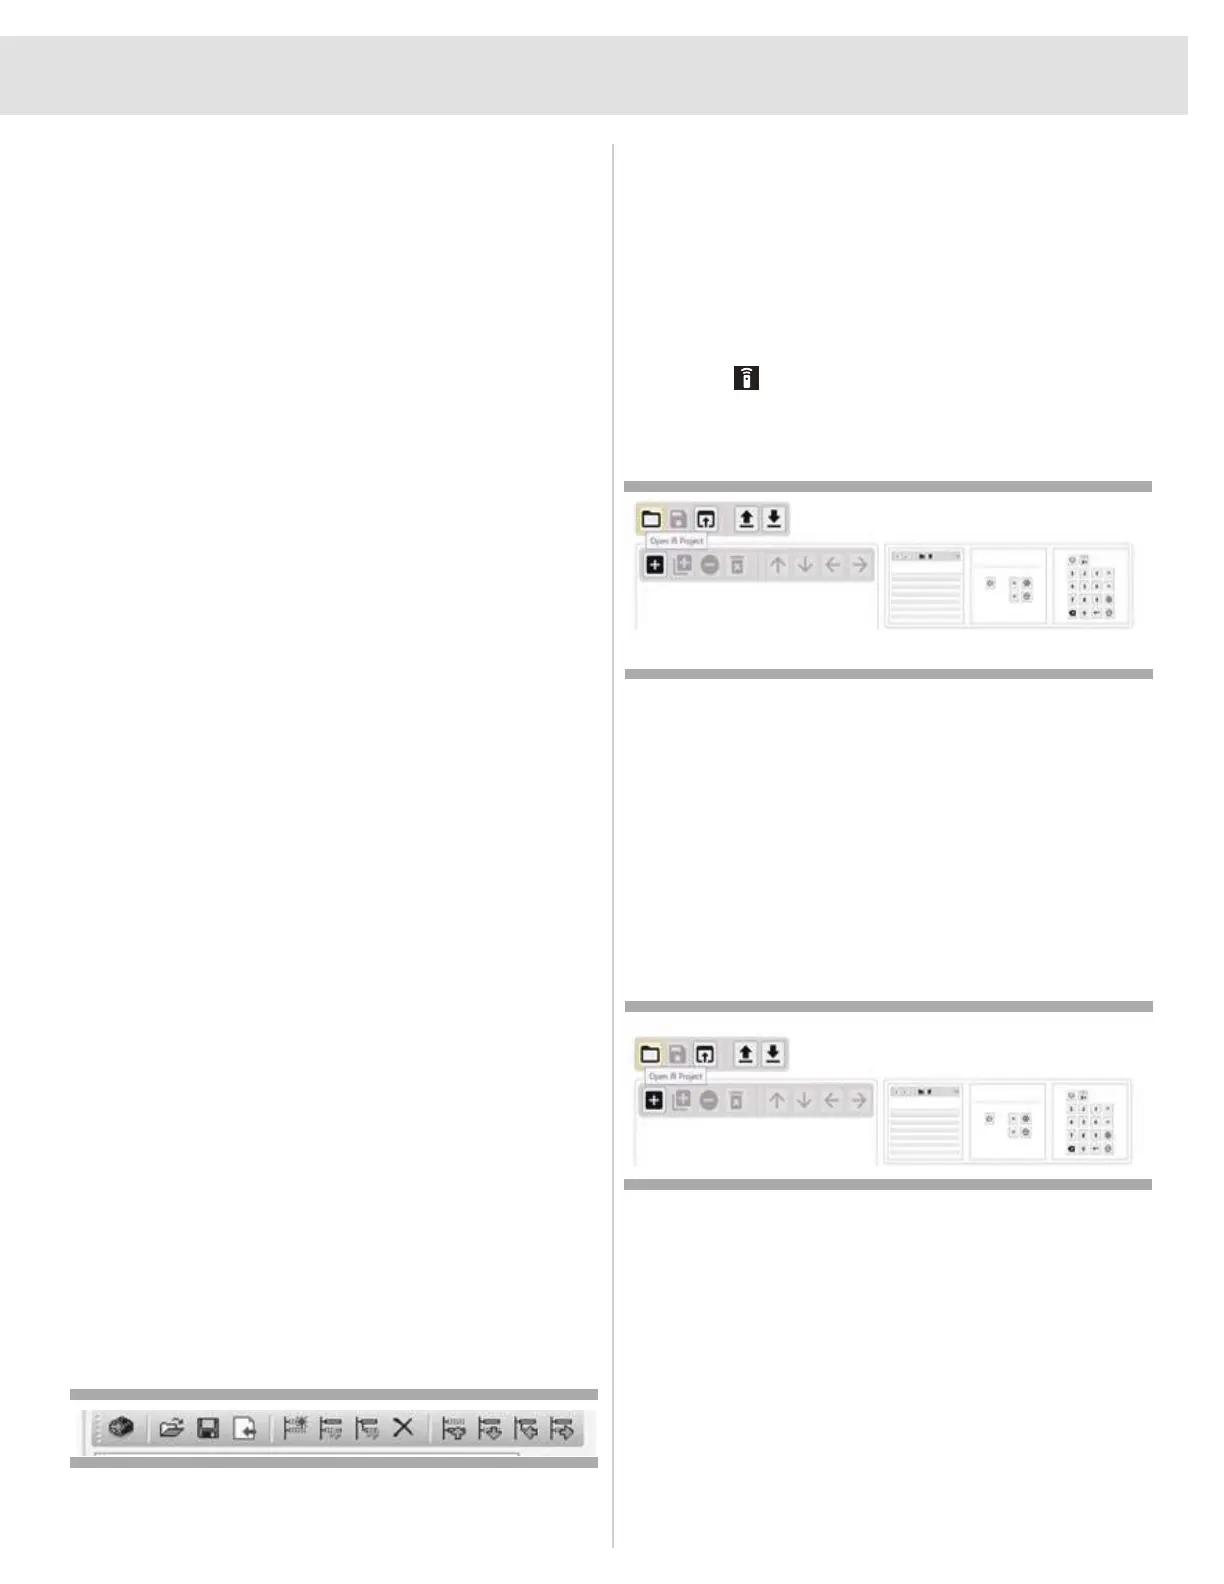
7. Click on the Save IR Project to Device on the tool bar.
8. The system will go into Power Cycle Required mode.
9. Once the configuration is saved to the Q-Logic 3 system.
a pop up window will come up.
10. Click on OK then reboot on the Q-Logic 3 system.
Figure 27. Saving the IR Menu from Q-Logic 2
Figure 28. Importing Saved Q-Logic 2 IR Project to
Q-Logic 3
Figure 29. Importing Saved Q-Logic 2 IR Project to
Q-Logic 3
 Loading...