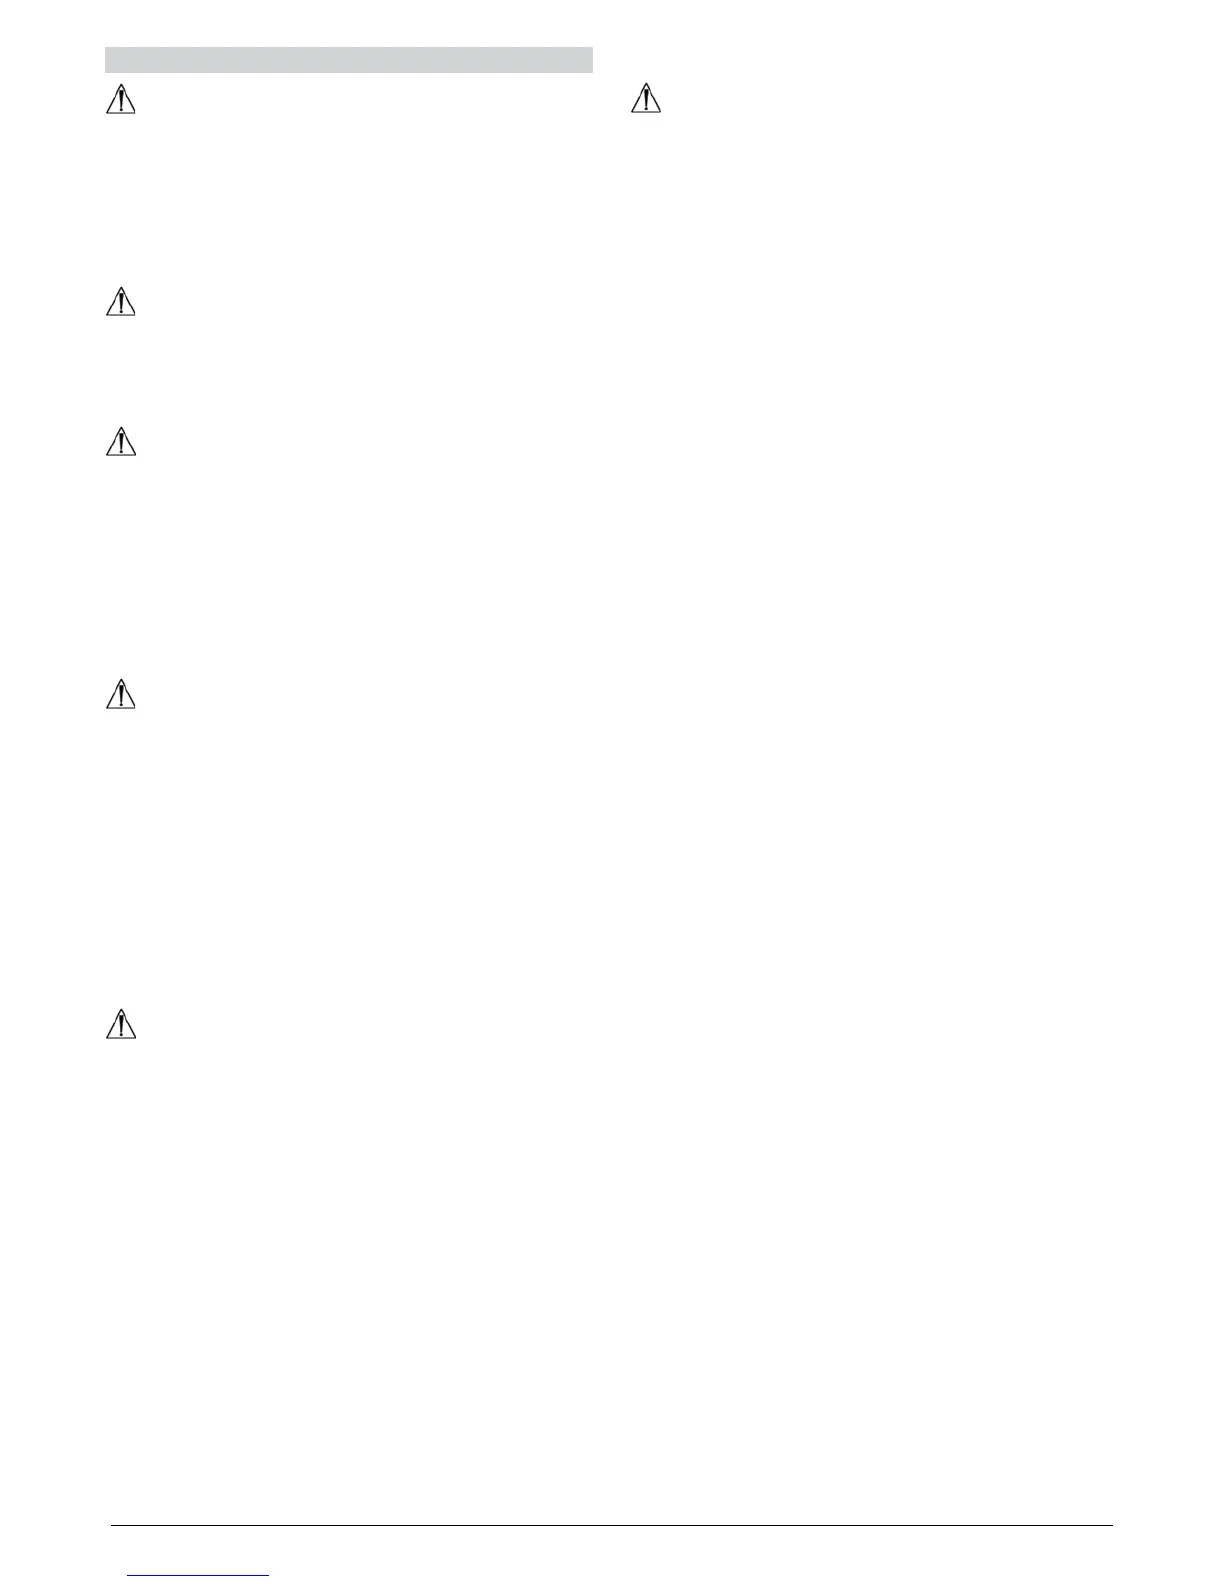
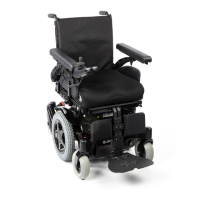
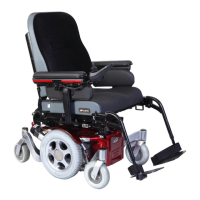
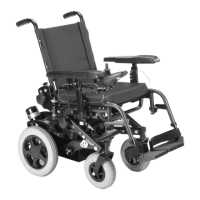
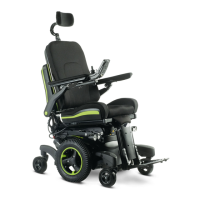
13.0 Maintenance and Cleaning
CAUTION!
It is important that you follow the following cleaning and
maintenance schedule in order to keep your wheelchair in
tip top condition.
13.1 Tyre maintenance and pressures
WARNING!
If pneumatic tyres are fitted to your wheelchair it is
important to regularly check the air pressure and for signs
of wear.
CAUTION!
The correct pressures are between the minimum of 137
kilo Pascals (20 psi, 1.37 bar) and the maximum 241 kilo
Pascals (35 psi, 2.41 bar) for rear and front wheels. The
pressure will need to vary, depending on the weight of the
user.
NOTE: See side of tyre for max pressure and tyre size.
WARNING!
• IT IS IMPORTANT that wheels on a common axle are
inflated to the same pressure as a pair, and likewise
the rear.
• The inflator pump provides the safest method of
inflating your wheelchair tyres and the pressure can
be checked with a standard motor vehicle pressure
gauge.
• Do not inflate beyond the maximum allowed tyre
pressure.
13.2 Tyre wear
WARNING!
Check the tyres weekly.
Bald or damaged tyres can cause punctures or reduce
traction, both of these problems can lead to loss of control
of the wheelchair.
When inspecting the tyres for signs of wear, look for
significant scuff marks, cuts and a diminished tyre tread.
Tyres will need to be changed when such damage is
evident or if the tread cannot be seen over the complete
surface of the tyre.
13.3 Drive wheel tyre repair
WARNING!
Wheel removal and tyre changing is a safety critical task.
If you do not feel confident in carrying out the following
instructions, please contact your Sunrise Medical
Approved Dealer.
• Insert a at blade screwdriver into the slot & lever the
hub cap off, (Fig13.1).
• With the drive wheels still on the ground, use a 6.0mm
Allen key to loosen the FOUR studs, (Fig.13.2).
• Lift the wheel off the ground & secure the chair with
blocks or stands, (Fig.13.3).
• Use a 6.0mm Allen key to remove the loosened studs,
(Fig13.4).
• Lift the drive wheel off the hub, (Fig.13.5).
• Remove the spacer, (Fig.12.6, 14” wheel only).
• Ensure any remaining air is expelled by pressing the
valve with a small screwdriver and squeezing the tyre,
(Fig.13.7).
• Use a 6.0mm Allen key to undo the FIVE rim studs,
(Fig13.8).
• Lift the tyre and tube off the outer rim, (Fig.13.9).
• Gently get hold of the inner tube just behind the valve.
• Carefully feed the tube out of the tyre, (Fig.13.10).
To ret
• Place the tube inside the tyre & rest it on the outer rim
• With the valve stem aligned with the cut out in the rim.
Face the valve stem outward, (Fig.13.11).
• Place the inner rim over the tyre, tube & outer rim.
Align the cut out to fit over the valve stem & match it up
to the cut out in the outer rim, (Fig.13.12).
• Make sure the stud mounts are in line on both rims.
• Tighten the studs in the sequence shown earlier taking
care not to pinch the tube.
• Slowly inflate to the pressure marked on the tyre.
• Refit the wheel back onto the motor shaft and fix it
safely with the 4-bolts to a torque of 47Nm.
In case a solid tyre is used the wheel needs to be replaced
as a complete assembly.
The SALSA solid tyre drive wheel can be removed
and repaired/exchanged by following the procedure for
removing the drive wheel, as above.