1
3
2
4
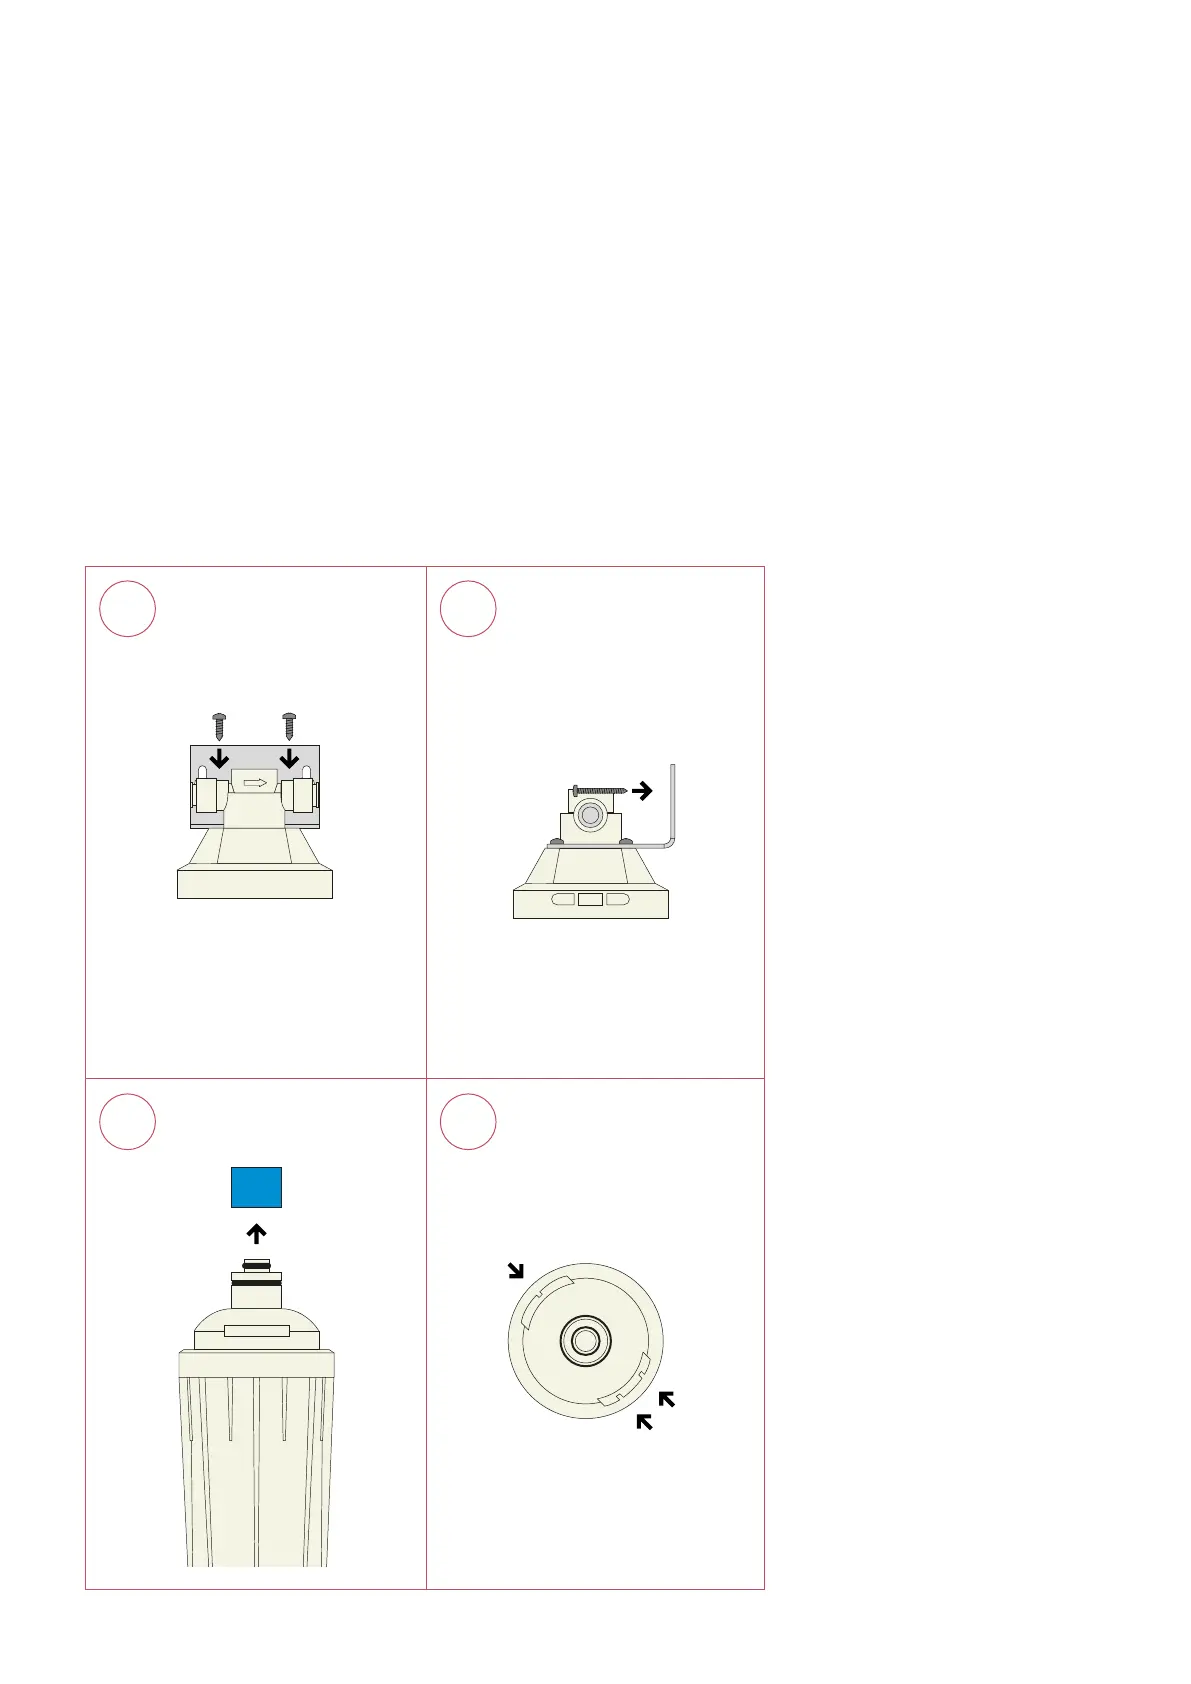
Mounting the Scale Control Plus
• When mounting the bracket, make sure to leave enough space for the cartridge to be replaced.
• For PRO3, PRO7 or COMBI.
1. Mounting the bracket
Screw the bracket into the head of the
cartridge using the four short screws
provided.
2. Mounting the bracket
Screw the bracket onto the kitchen
cabinet wall using the two long screws
provided.
3. Removing the cap
Remove the blue cap from the top of the
cartridge.
4. Aligning the cartridge
In order to insert the cartridge into
the head of the Scale Control Plus,
the protruding parts on the side of the
cartridge need to be aligned with the
notches in the head. When doing so, keep
in mind that there are two grooves on one
side of the cartridge and only one on the
other side.
C
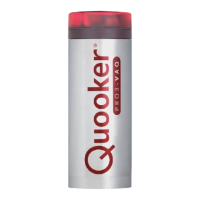
Scale Control Plus
cartridge
Reduces limescale
Step 1 When alarm sounds, 0% blinks.
Step 2 Unscrew th e old cartridge (counter
automatically.
Step 3 Screw in the new cartridge
(clockwise).
Step 4
The Scale Control meter is 100%.
Step 5 Run boiling water for 20 seconds.
Step 6 Check for leaks.
Operational data
Life span: 550L @ 15 dH
Max pressure: 8.6 bar
Temperature range: 2-38°C
Service and order: www.quooker.com
• Only to be connected to drinking water.
•
cartridge prior to use.
• Please dispose this cartridge with your
general waste.