Speaker box parallel connection
Be sure to read the caution on page 6 re: -30dB Parallel Speaker Pad.
Careful... this fun feature can also get you into trouble. We recessed the switch
to make the use of this function deliberate and protect the JDV’s input from
being damaged through accidental (mis)use.
Sometimes, you may wish to get the sound of the bass or guitar after it has gone
through the amplifier. The JDV allows you to tap the sound off the speaker cabinet
to achieve this. This can be a useful solution when mic'ing the amplifier is
impractical. It can also lead to some great sounds when combining mic'ed and
direct signals.
Using a regular speaker cable, connect the signal from the parallel speaker jack
to input-A on the JDV. Use a pen or small screwdriver to activate the recessed
-30dB pad and connect as shown above. The Drag control will have no effect.
Note that most amplifiers have a lot of self-noise. Try using the lo-pass filter to
roll off some of the high frequency noise. Have fun!
Traditional live set-ups
Bass guitar setup
A common use for a direct box is on stage with a bass guitar. This same set-up
is also often used in the studio where the musician's amp may also be mic'ed
alongside the direct feed and then mixed together by the engineer.
The signal goes from the instrument to the JDV, where the thru-put is connected
to the musician's amp and the XLR output is connected to the mixer. To start,
we recommend all switches be in the out position. The JDV thru-put is a passive
output that passes the bass signal directly to the amplifier. With the Vary-Z switch
in the out position, we will present the highest impedance to the instrument and
therefore the least possible loading. (See discussion on loading in page 3 of this
manual). This will provide the most natural sound to an instrument amplifier.
10
engineeringengineering
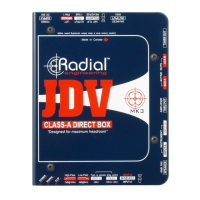
JDV Mk3 Owner’s Manual
-30dB pad
activated
!
Powering Up
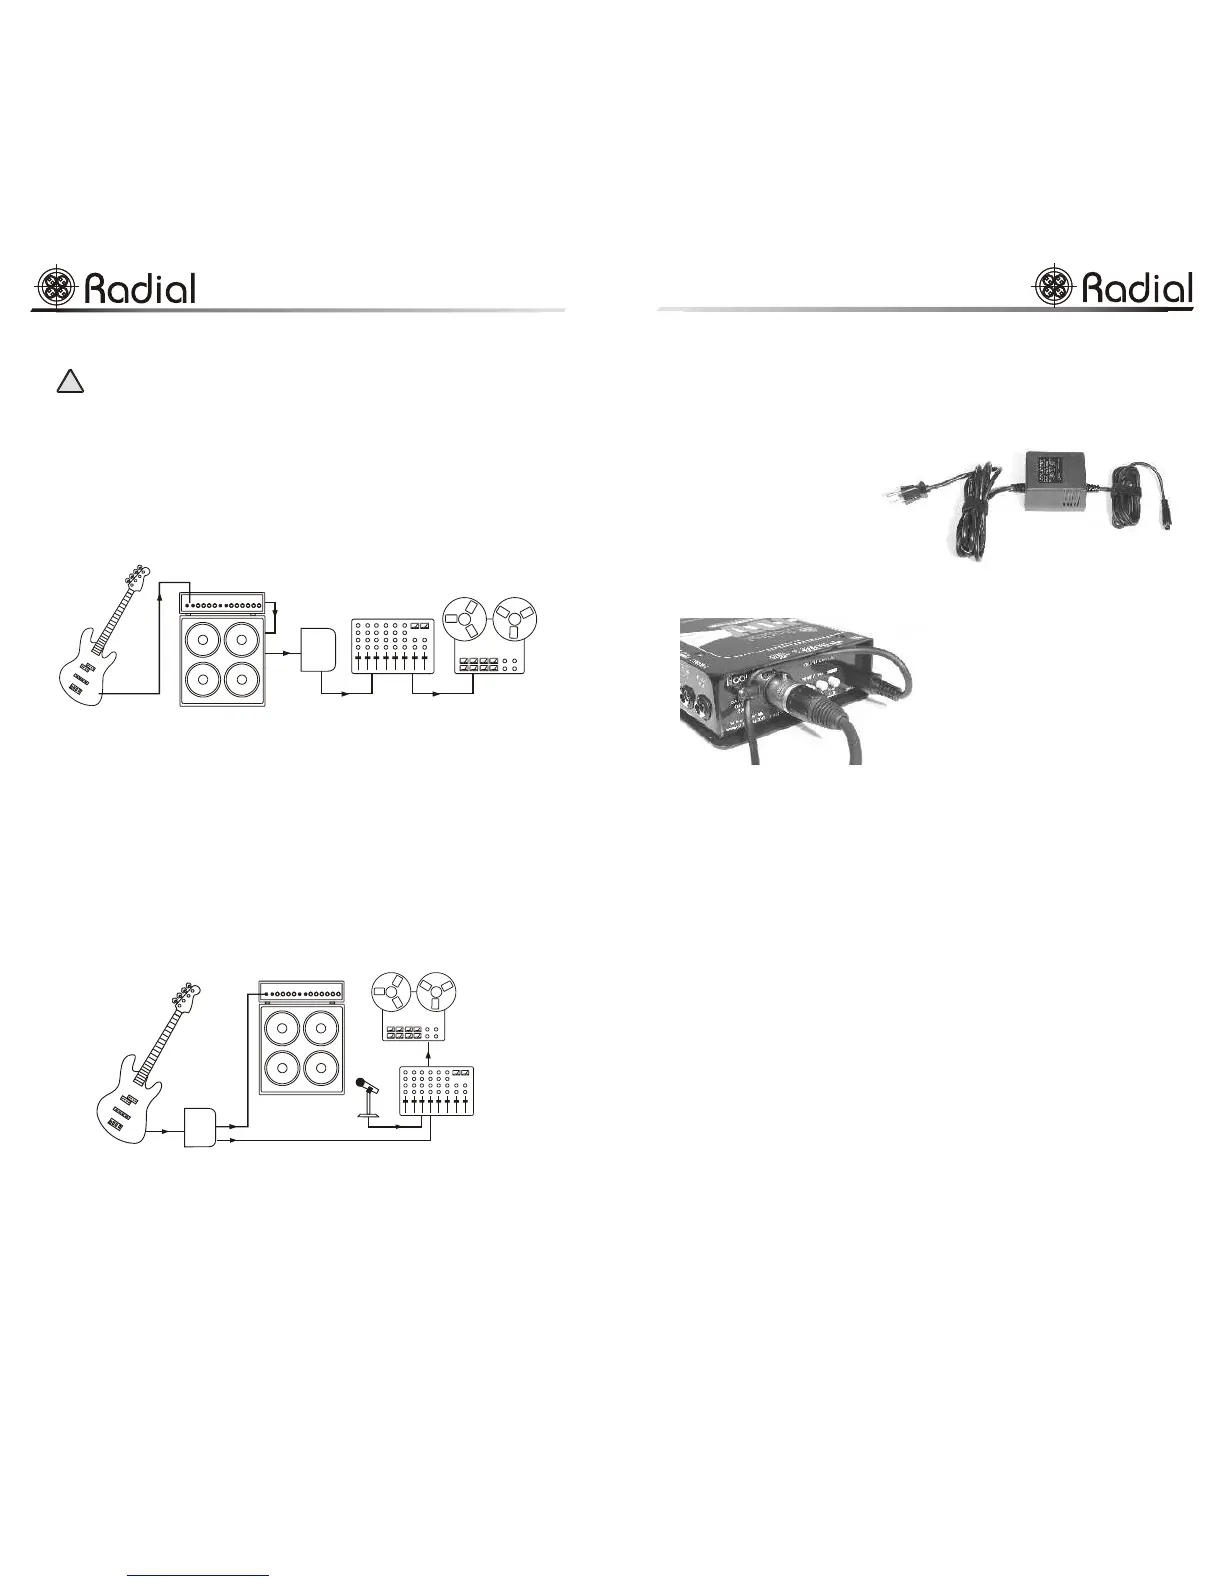
Inside the JDV packing box you will find the JDV, the power supply and the
manual. The connection on the power supply is a 3-pin mini-DIN. You should
not attempt to use any other supply other than the one that comes with the unit.
As we expect the Radial JDV
to be used in 'real-world'
conditions where it may be
dropped, kicked and stacked,
the JDV has been outfitted
with several abuse resistive
features including: A
‘bookend’ design that creates a
protective zone arund the
switches, controls and jacks, a
full bottom non-slip rubber pad that
provides mechanical and electrical
isolation while ensuring the JDV will
stay put, and an innovative cable-
locking strain relief.
To use the strain relief, simply loosen
the nut with a hex wrench (Allen key),
pass the cable through the clamp and
tighten. Using the strain relief prevents
accidental un-plugging... a good idea
especially on action-packed stages!
Turning the Radial JDV On
As soon as you connect the power supply to the JDV, it is on. A green LED on
the control panel will light up at this time. Leaving the JDV connected will not
harm the unit. In fact the JDV, like all other electronic audio equipment, will
sound better once it has reached its stable working temperature. This should take
no more than 5 minutes.
Before you start, make sure all levels on your amp and mixer are turned off.
Connecting the JDV in a traditional fashion is simply a matter of connecting the
instrument to the input, the thru-put to the instrument amplifier and the XLR
output to the mixer. Complete connection options are discussed further in this
manual.
We suggest you start by leaving all switches in the OUT position and use input-
A to connect the guitar. Now slowly bring up your amp level and then your
mixer level. Signal should be present at both. If you encounter buzz, try lifting
the ground on the JDV. You should now be set to go.
Dealing With Ground Hum and Noise
In developing the Radial JDV Mk3, we took painstaking measures to ensure
noise was reduced to an absolute minimum so that the JDV would be ready for
the most demanding analogue and digital recording environments. To get the
most out of your JDV, it is important to understand how noise can degrade the
signal and how some simple preventative measures can ensure maximum signal
integrity.
Noise, the curse of any audio system, can be greatly reduced by following some
simple rules of thumb using basic electrical principals. As this is beyond the
Use only the JDV’s supplied
power adapter.
7
The JDV’s strain relief in action.
JDV Mk3 Owner’s Manual
engineeringengineering
JDV
Mk3
JDV
Mk3
 Loading...