MODEL II OPERATION
2 / Installation
Carefully unpack theSystem. Remove all packingmaterial andsave it in case
you
ever
need to transport the System. Be sure you locate all cables, papers,
diskettes, etc.
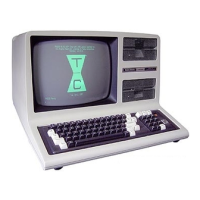
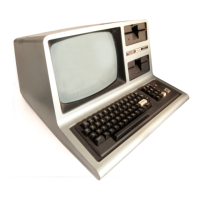
Place
the
DisplayConsole
on
thesurfacewhere you'll be using theComputer.
The
Computer
should be near a 120 V
AC
outlet, so that extension cables
won't
be
necessary. (See Notes
on
AC
Power Sources.)
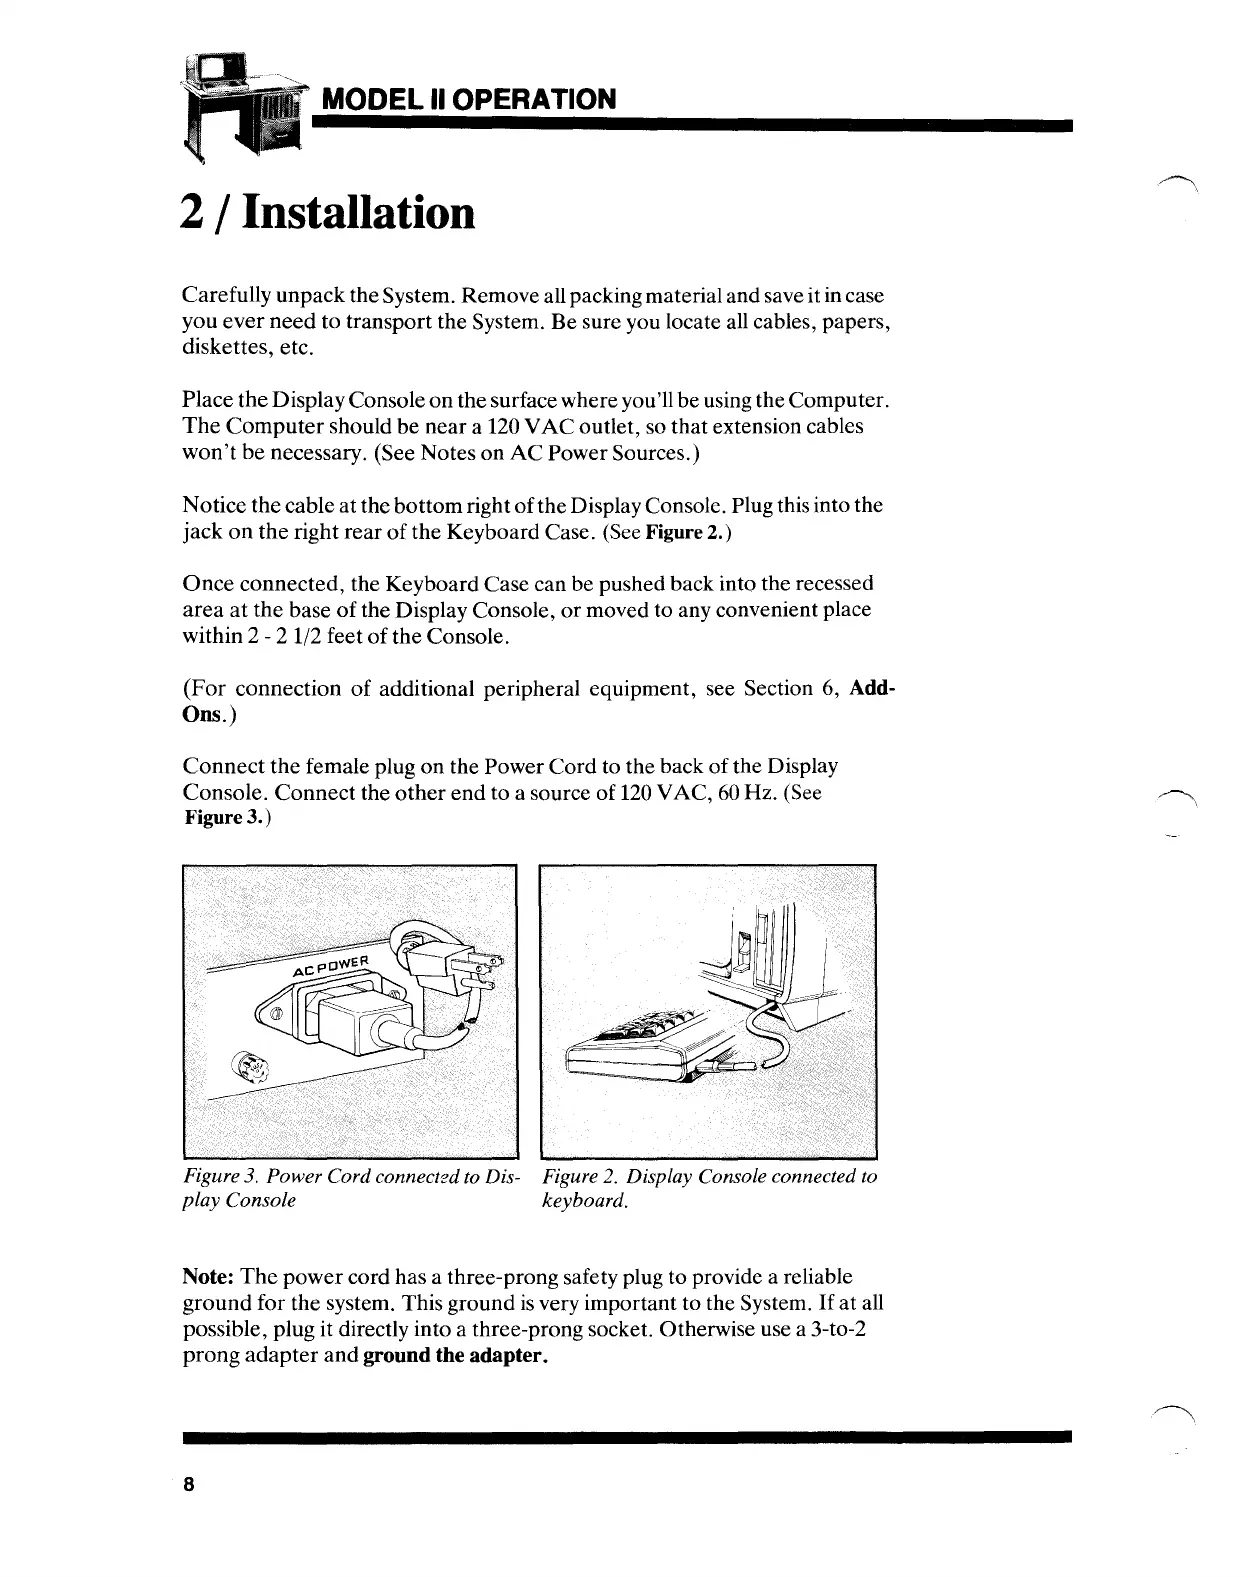
Notice the cable at the bottom right
of
the Display Console. Plug this into the
jack
on
the right rear
of
the Keyboard Case. (See Figure 2.)
Once
connected, the Keyboard Case can be pushed back into the recessed
area
at
the base
of
the Display Console,
or
moved to any convenient place
within 2
- 2 1/2 feet
of
the Console.
(For
connection
of
additional peripheral equipment, see Section 6, Add-
Ons.)
Connect
the
female plug
on
the Power Cord to the back
of
the Display
Console.
Connect
the
other
end
to a source of
120
VAC,
60
Hz. (See
Figure
3.)
Figure
3.
Power Cord connectzd to Dis-
play Console
Figure
2.
Display Console connected to
keyboard.
Note:
The
power cord has a three-prong safety plug to provide a reliable
ground
for the system. This ground
is
very important to the System.
If
at all
possible, plug it directly into a three-prong socket. Otherwise use a 3-to-2
prong
adapter
and
ground the adapter.
8

 Loading...