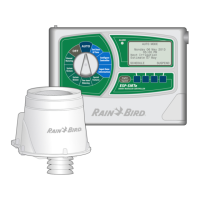
45ESP-LX+ & LXi+ Installation, Programming, & Operation Guide
INSTALLING THE CONTROLLER
This section of the manual explains how to mount the controller
on the wall and connect the wiring.
NOTE: This controller must be installed in compliance
with local electrical codes.
The ESP-LXi+ controller must be installed indoors only. The i
in the model number stands for indoors.
The ESP-LX+ controller may be installed either indoors or
outdoors.
Installation Checklist
To install the ESP-LX+ controller, we recommend that you
complete the following steps in order. For your convenience, a
check-off box (❐) is provided for each step.
❐ Select location. ...................................................................... Page 46
❐ Remove door and face panel. . ............................................. Page 48
❐ Mount controller on wall. . ...................................................... Page 50
❐ Connect field wires. . ............................................................. Page 52
❐ Connect sensor system (optional). . ...................................... Page 54
❐ Connect main power wires. . ................................................. Page 56
❐ Install battery. . ....................................................................... Page 62