How to Replace the Thermocouple -V1.0 Date: 11/20/2020
- 6 / 8 -
www.raise3d.com
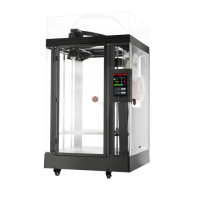
7) Pull the thermocouple wire out from the extruder carrier.
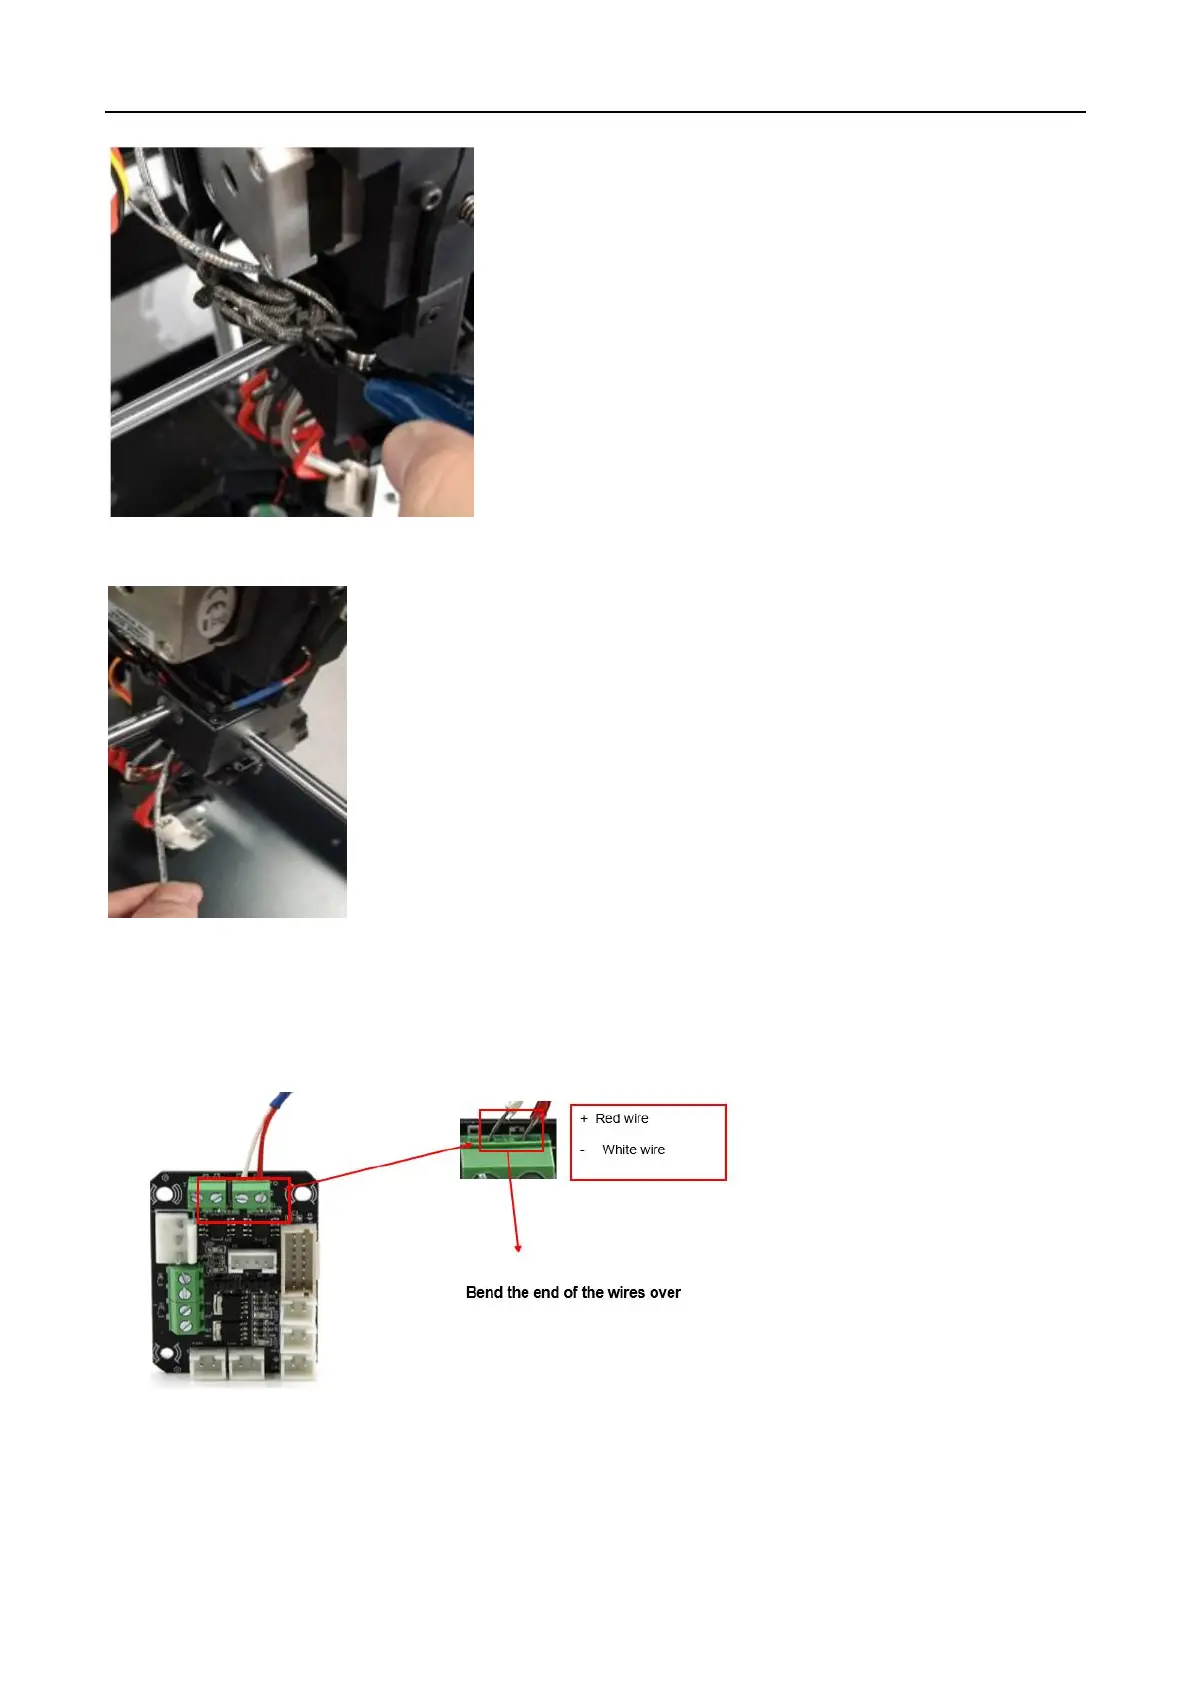
6. Install the new thermocouple.
1) Insert the cables of the thermocouple through the block at the back of the extruder into the
terminal and use the flat head screwdriver to reinstall the screws. Make sure that no exposed wires
are in contact with the printer, otherwise it may cause injury to the printer.
7. Final step.
1) Bind the wires together with zip ties and re-install the cord cover.