MTR221/A - MTR221/A DHHS
MANUALE ISTRUZIONI / INSTRUCTION MANUAL
Modello/Model R221/A - R221/A DHHS
OPTIONAL ITEMS
50
R221/A - R221/A DHHS - Optional Items
Ralco srl
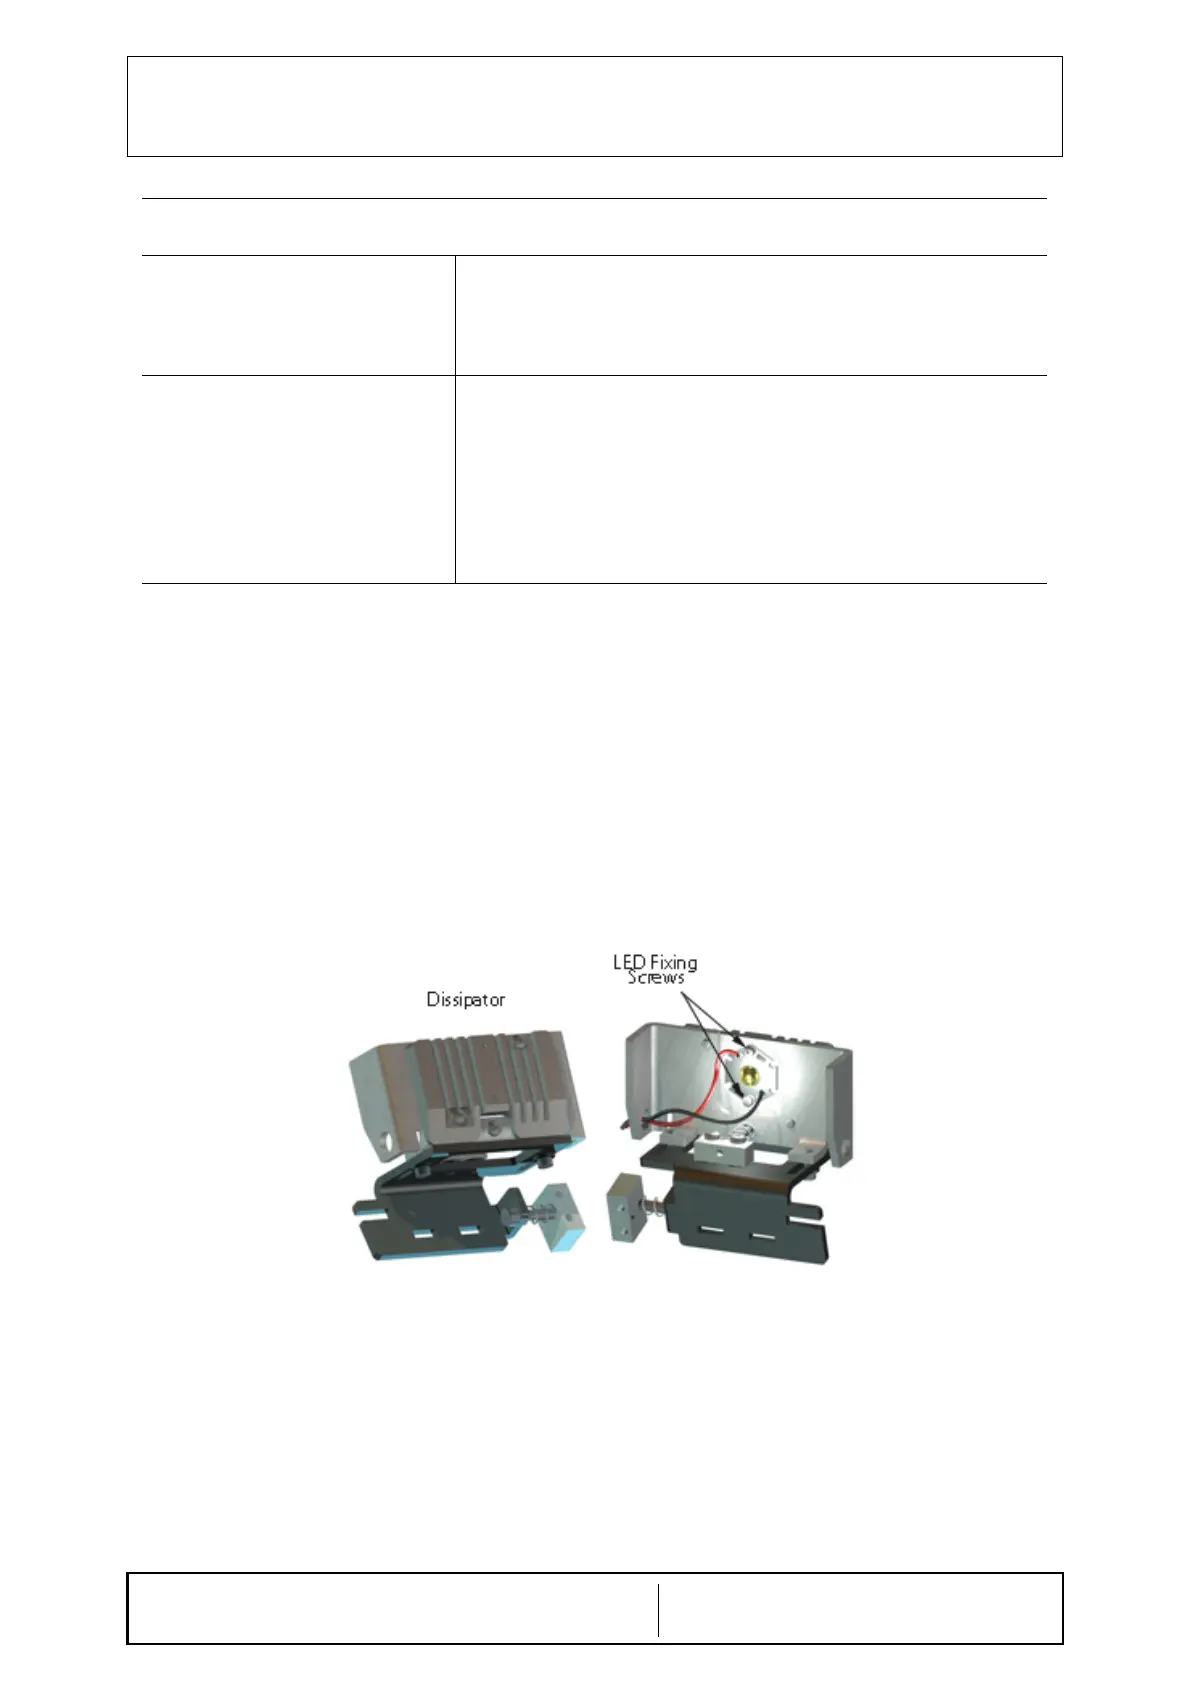
LED Substitution
• Disconnect supply.
• Remove the cover, see Chapter - C
OVER REMOVAL.
• Remove the LED protection heatsink.
• Unsolder two wires, see Fig. LED Substitution.
• Unscrew two fixing screws, see Fig. LED Substitution.
• Remove the faulty LED.
• Substitute the LED with an identical item; handle it gently and make sure it doesn’t get dirty.
• Tighten the two fixing screws.
• Solder the two wires.
• Check on light field/X-ray field correspondence.
Fig. LED Substitution
Trimmers
TR1- CURRENT CONTROL
Adjust the output current intensity to the LED.
Step-less current adjustment from 0 to 5.1 A. Adjusting
current to approximately 4.7 A will increase LED life without
a significant loss of luminosity.
TR2 - TIME ADJUSTMENT
Adjusts the time from 30s to 120s up to 90% of run,
maximum light ON time is 15 min. for safety reasons.
When the timer is regulated at over 120s (i.e. 100% of its
adjustment), the timer performs as power supply: it starts
by powering-up the LED and other features such as laser
and fan. In this case, maximum light ON time is 15 min. for
safety reasons.
 Loading...