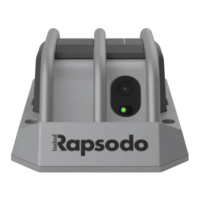
a
b
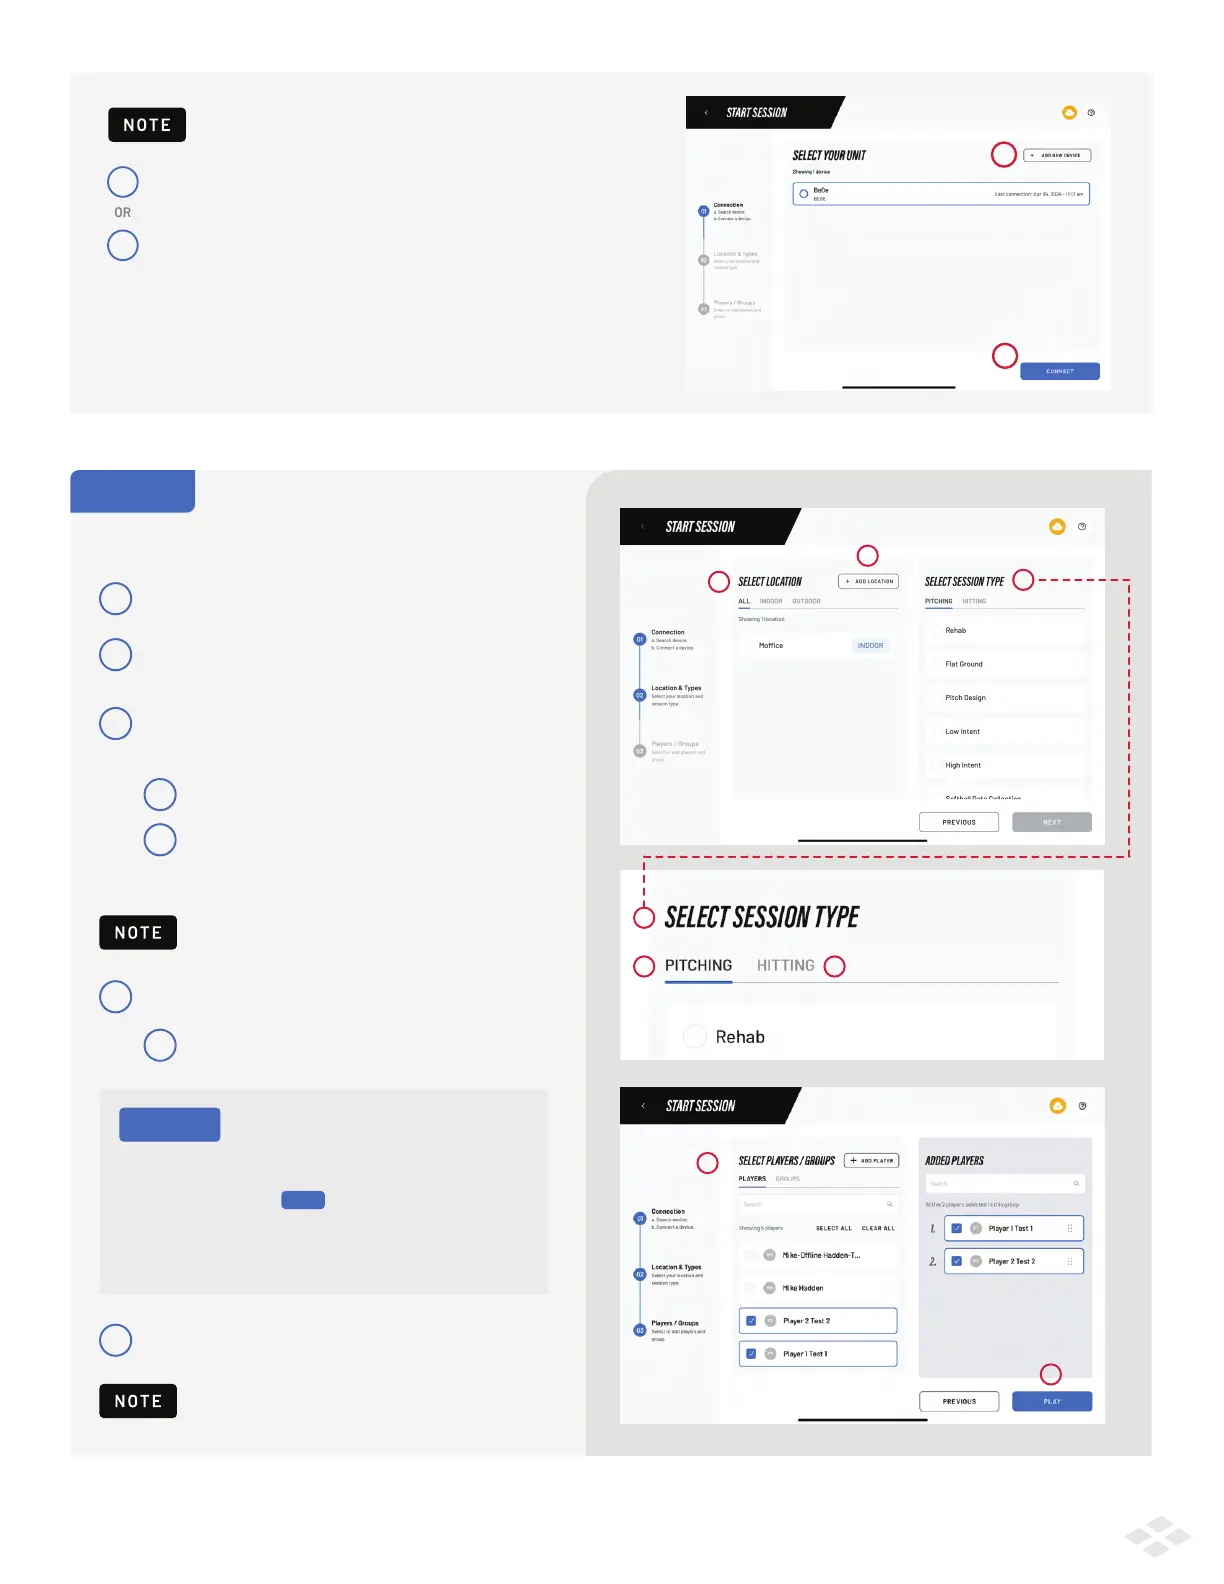
Select a desired device and click Connect.
Click ADD NEW DEVICE to open the QR Quick Connect
screen, or Manual Connection. Then proceed to Step 2.
b
a
IF YOU’VE ALREADY CONNECTED AND SAVED A PRO 2.0
Select Location
If you do not see any locations to choose from,
click “+ Add Location” to create one
Select Session Type from the Pitching
or Hitting Tab
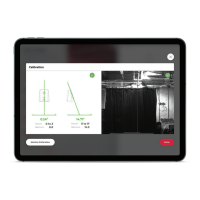
STEP 2
Follow the prompts to configure your session:
1
2
3
1
2
3
3
a
Pitching: The device will only provide pitching info.
b
Hitting: The device will only provide hitting information.
It will provide inbound pitch velocity when Soft Toss
or Live/BP are selected.
Select Players or Groups
4
4
5
a
If you do not see any players to choose from:
Click “+ Add Player” to create one
Press “Play” to start your session.
5
a
b
i. In the Play Screen
ii. In the Team Management screen in the App
iv. In Select Players/Groups step when starting session
iii.
Where to add players to your account:
NEW
If the ‘PLAY’ button is not blue, you are missing
a selection for at least one of the options listed above.
If the ‘NEXT’ button is not blue, you are missing
a selection for at least one of the options listed above.
PRO TIP
4
On cloud.rapsodo.com (recommended for adding rosters)