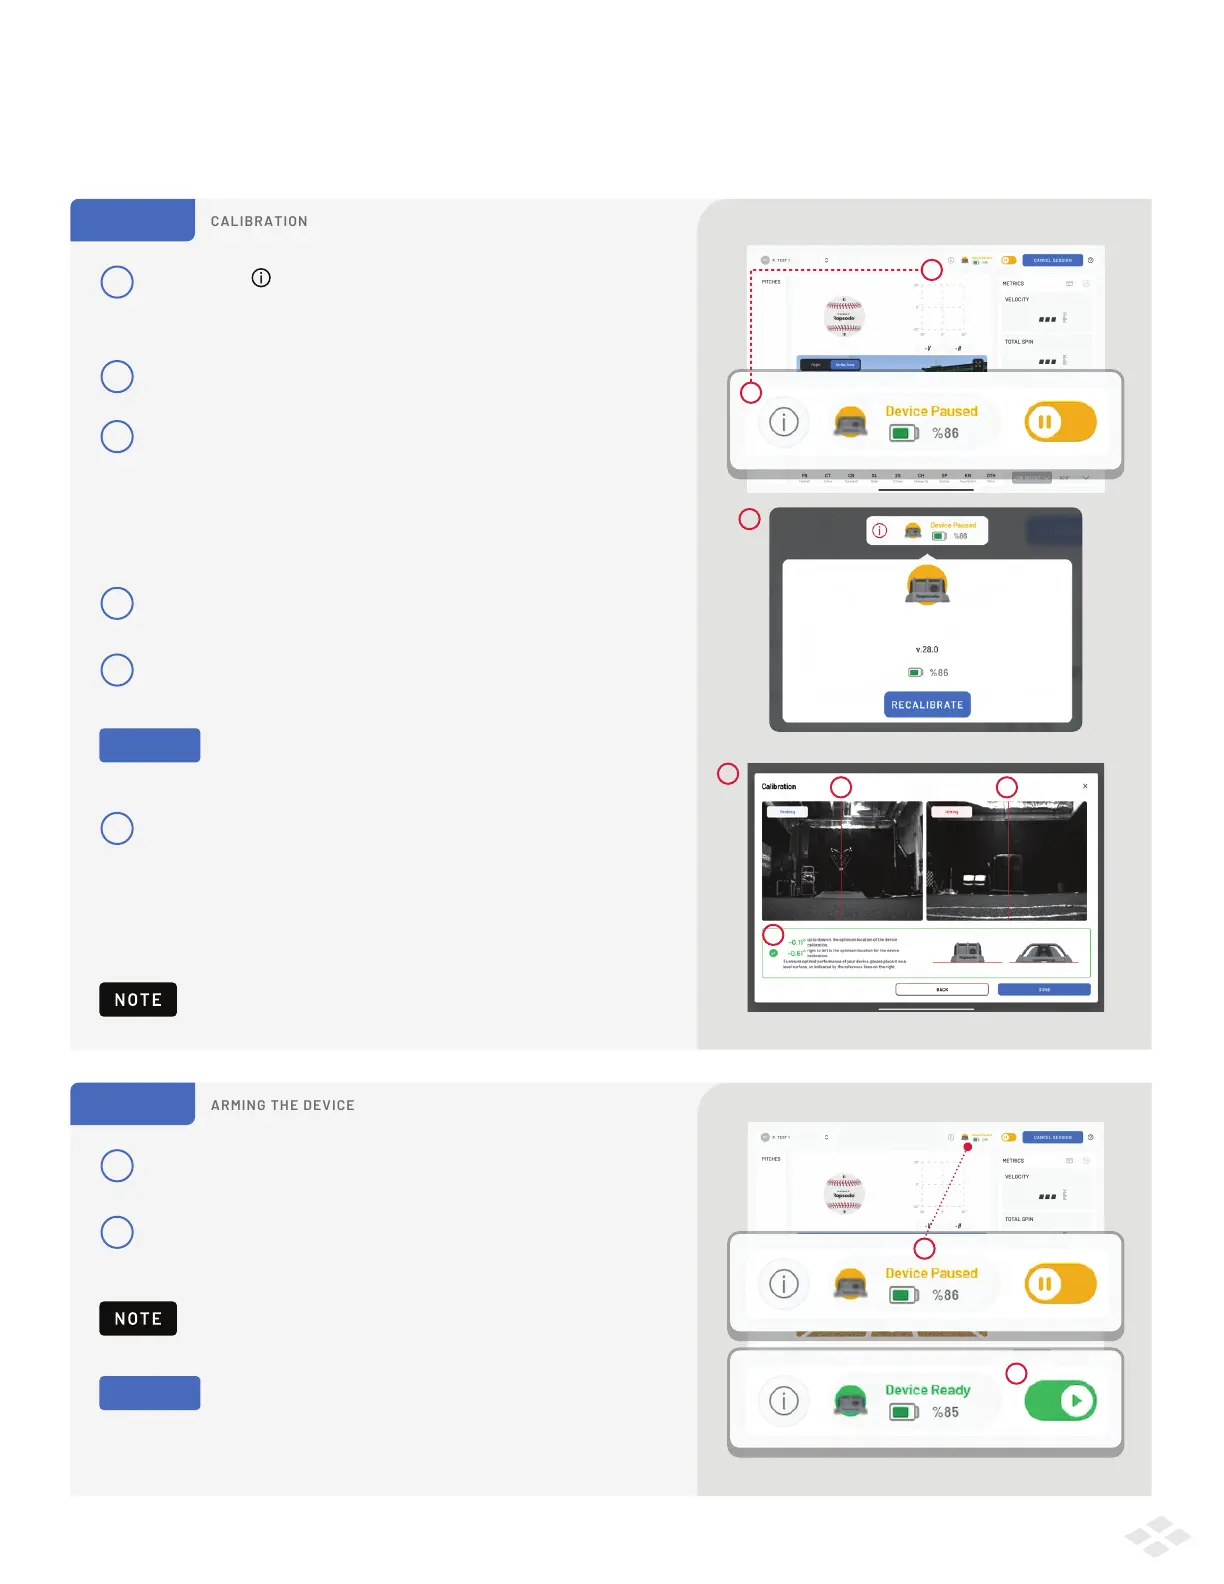
PLAY SCREEN USAGE / DATA COLLECTION
After clicking PLAY, you will see the Hitting or Pitching Play Screen depending on the license you have. You are almost ready
to begin using the PRO 2.0.
1
2
Calibration is important to produce accurate data. It is strongly
recommended that you calibrate before each session.
The light below the lenses will switch from RED to GREEN, indicating
the device is ready to collect data.
Leave the unit paused until your pitchers and hitters are fully
warmed up and ready to practice with high intent at full distance.
STEP 1
Tap the info logo at the top of the screen,
next to the PRO 2.0 device icon.
A menu will appear, select Recalibrate.
3
On the Calibration Screen you’ll see:
2 camera views: 1 towards home plate, and 1 towards
the pitcher’s mound.
2 measurements: 1 for device tilt left-to-right,
and 1 for device tilt up-to-down
4
Ensure that device is placed correctly at 20 feet
from the front of home plate.
1
1
2
3
2
5
Fine tune your Alignment. Make sure the red line is through
the center of home plate and through the center of the rubber.
6
Ensure the device is on flat ground
You will see a measurement of how much the device
is tilted left & right, and up & down. A GREEN check mark
will indicate that the device is within an acceptable range.
Tap “Done” when the device has reached an acceptable range.
1
2
STEP 2
By default, the device is 'paused' to begin the session.
Click the Pause/Play Toggle to arm the device. You are
now ready to collect data!
2
1
6
5 5
PRO TIP
b
Place an object like a bucket or a tee on home
plate, and on the rubber, so they’re easier to see.
PRO TIP
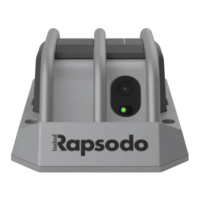
Pro 2.0 Device
5