Chapter 2: Installation 33
WARNING:
Always wearsafety gogglesanda dust mask.
3. This is the least desirable testing method, as it may be difficult to
removealltracesofthepetroleumjellybeforebondingthebaseto
the hull.
i. If the hull surface is not smooth,grind it with a disc sander.
ii. Coat the face of the sensor with petroleum jelly.
iii. Press it against the hull with a twisting motion (see Figure 2-
13 C).
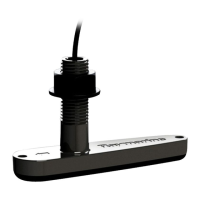
Figure 2-13: Testing the Transducer at the Selected Location
Observe the Fishfinder’s performance andcompare itto thebaseline.
Lookforastabledepthreadingthatissimilartothebaseline,compare
the thickness and intensity of the bottom trace.
If the performance is close to the baseline,this is a good mounting
location.Remember, someenergy is lost transmitting through the
hull.
Ifthetestreadingdiffersmarkedlyfromthebaseline,youneedtofind
another location to install the transducer.
Ifthereisno reading orit is erratic,the sensor may bepositionedover
coringwhich is absorbing the acoustic energy. Choose another
location. If no other spotis available,check with the boat
manufacturer to be certain coring is present before proceeding
with Installation in a Cored Fiberglass Hull on page 37.
D5001-2
ABC
 Loading...