GASKET & NEW CIRCUIT BOARD NEW BEZEL INSTALLATION - MODELS 206A, 207A,
266A, 267A, 336A, 337A, 406A, 407A:
Make sure the power and gas are off.
Note: Disregard window gasket installation if already present.
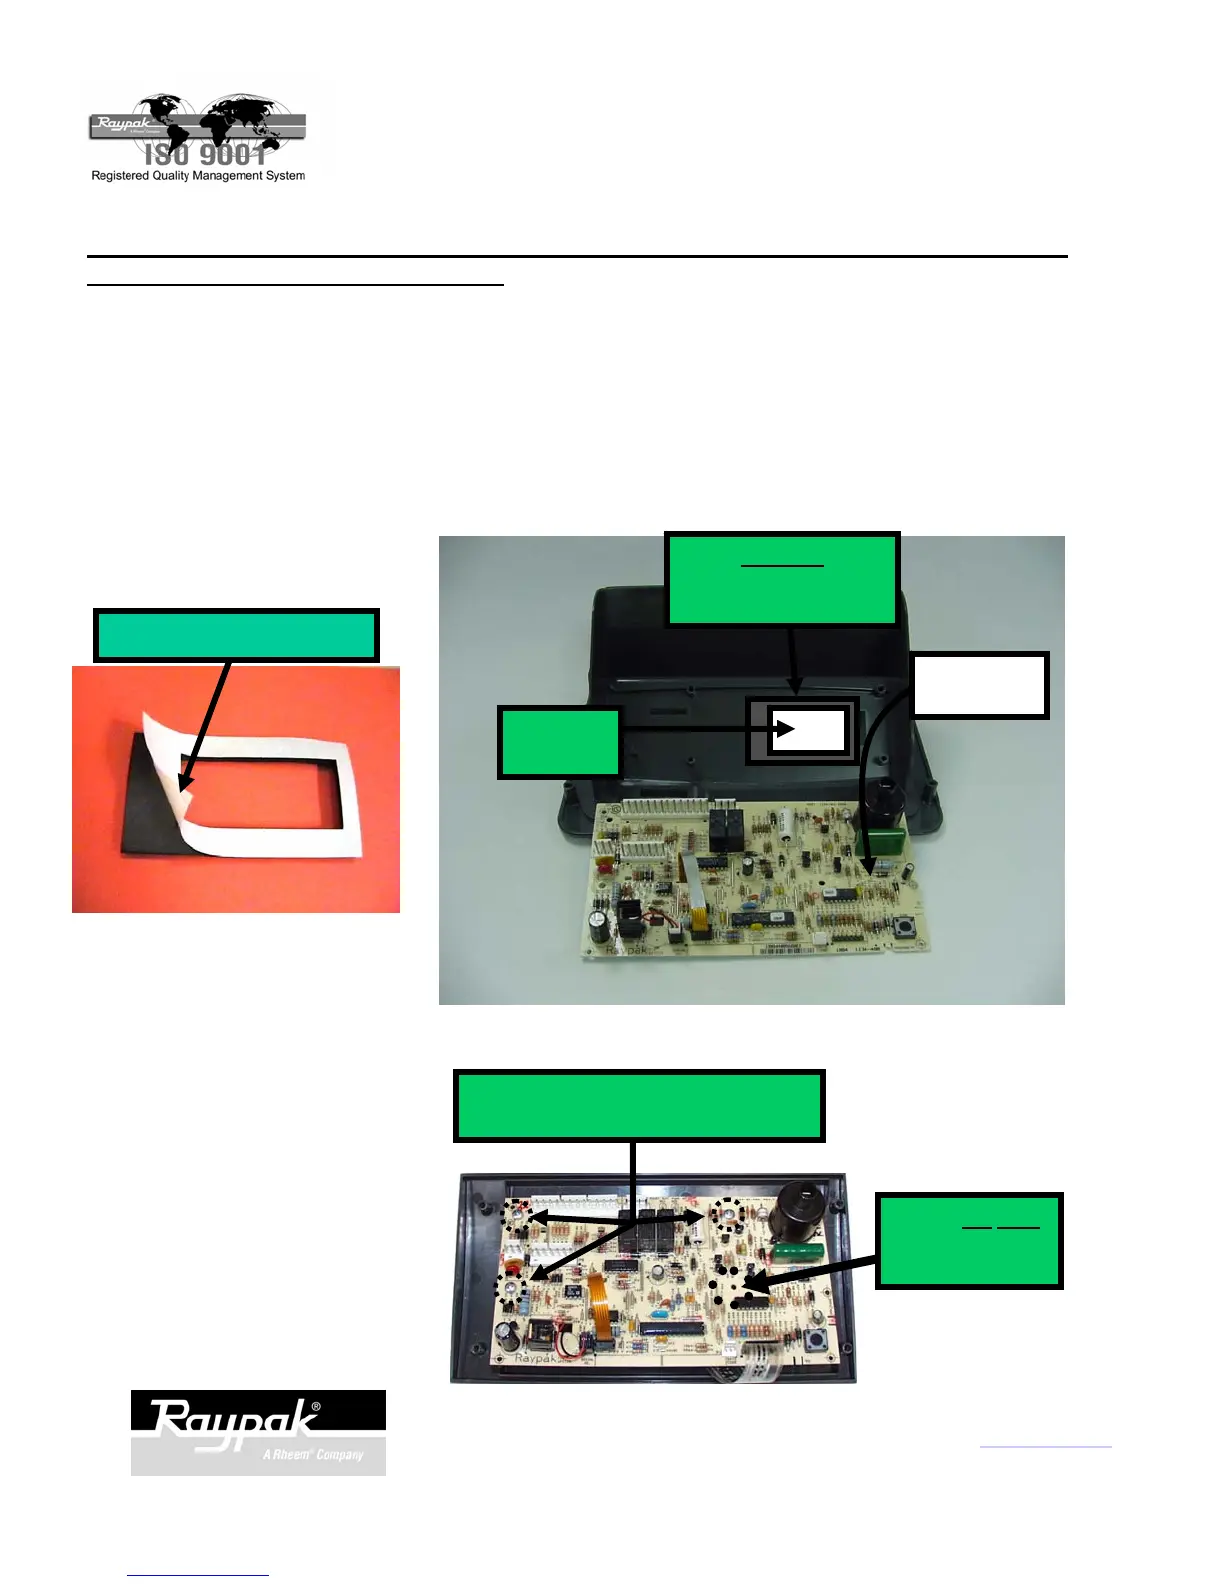
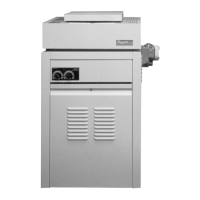
1. Remove backing on gasket and install adhesive side on the control panel bezel
as shown in Fig. 24 & Fig. 25.
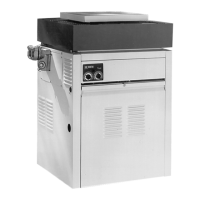
2. Re-assemble with new board to plastic bezel using the three mounting screws
as shown in Fig. 26.
RE-ASSEMBLE WITH NEW BOARD
MOUNTING SCREWS
Fig. 26
2151 Eastman Ave., Oxnard, CA 93030 805-278-5300 Fax 800-777-7026 www.raypak.com
Technical support is available M-F, 5:30 AM to 5:00 PM PST, at 800-947-2975 or 800-627-2975
LAY BEZEL
DOWN
Fig. 25
CLEAR
WINDOW
GASKET
ADHESIVE SIDE TO
PLASTIC BEZEL
REMOVE BACKING
Fig. 24
P/N 241169 Rev.-3
NOTE: DO NOT
RE-INSTALL
SCREW HERE
Page 10