r
r
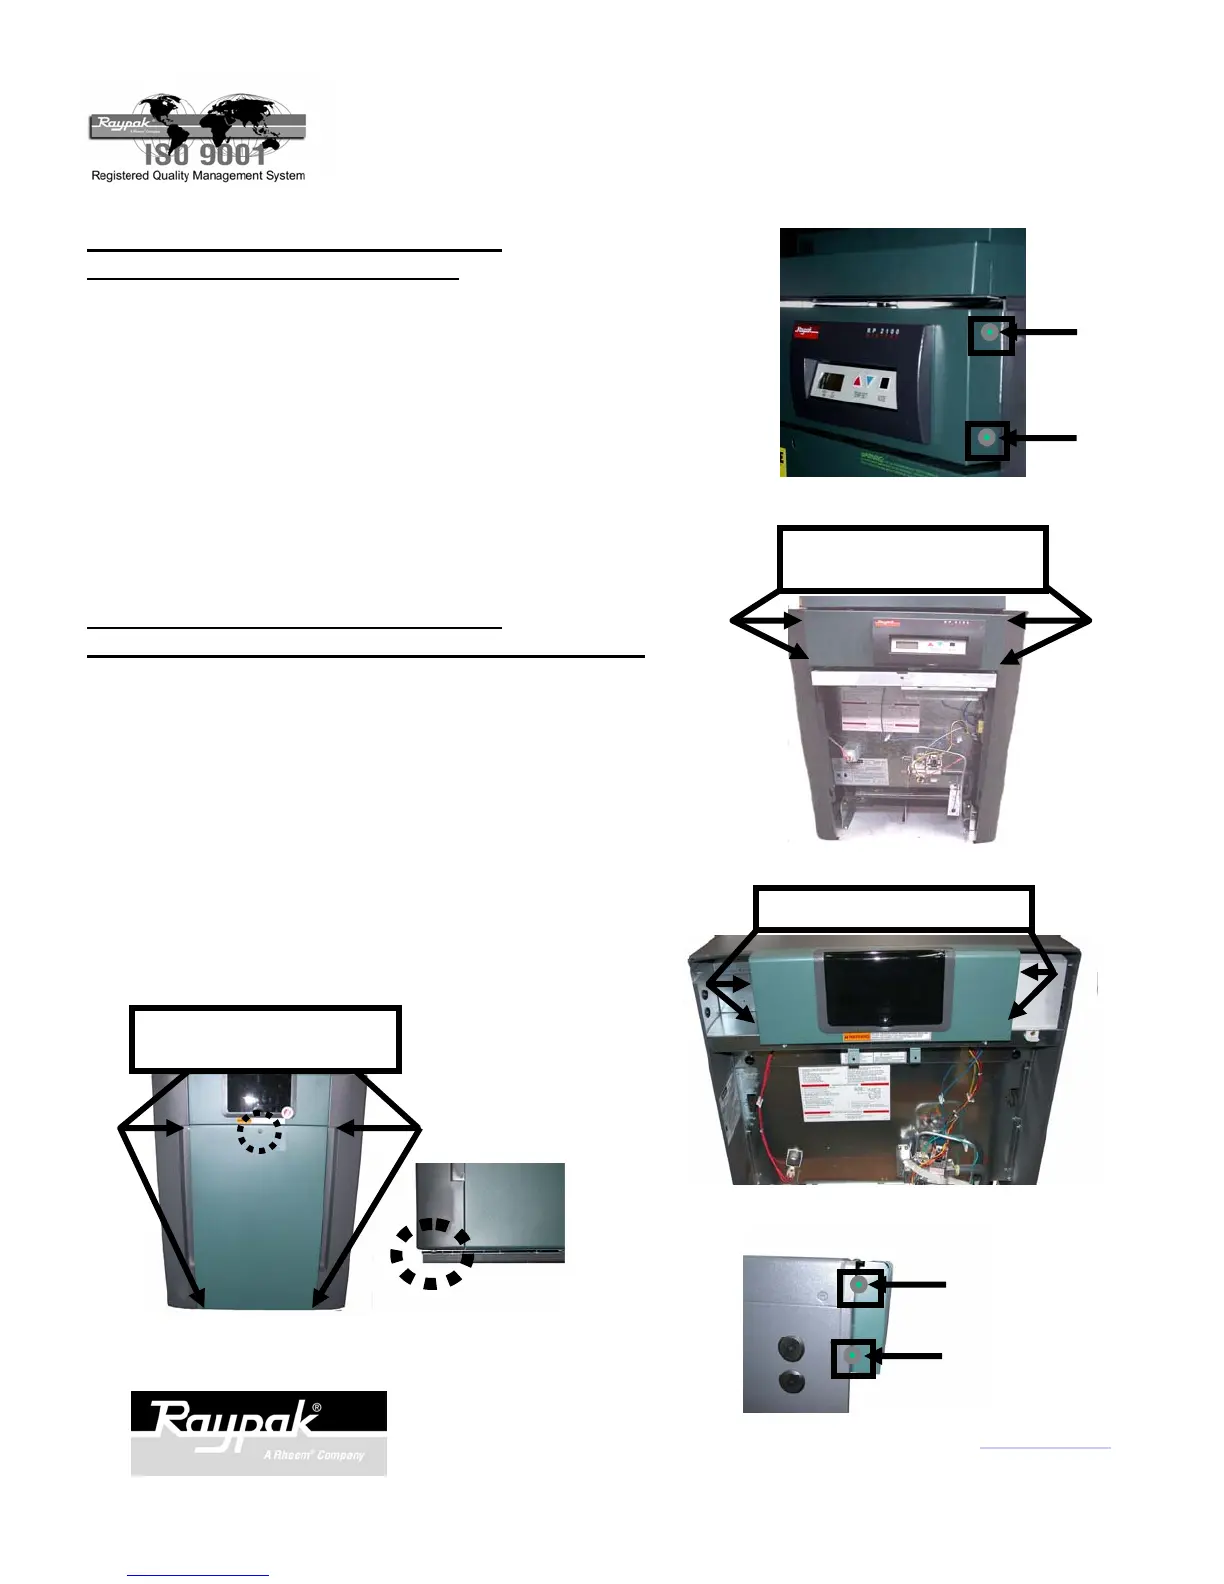
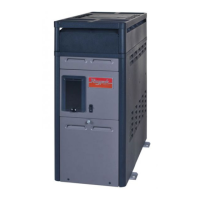
Fig. 1
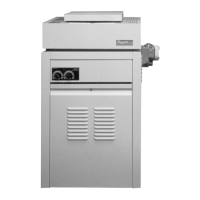
REMOVE THESE
SCREWS
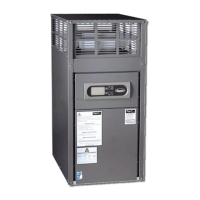
Fig. 2
Page 2
2151 Eastman Ave., Oxnard, CA 93030 805-278-5300 Fax 800-777-7026 www.raypak.com
Technical support is available M-F, 5:30 AM to 5:00 PM PST, at 800-947-2975 or 800-627-2975
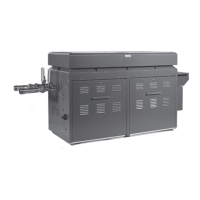
REMOVE THESE
SCREWS
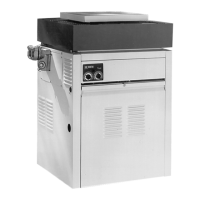
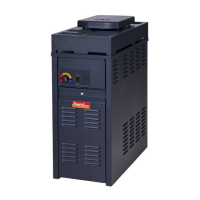
ACCESSING THE BOARD - MODELS
206A, 207A, 266A, 267A, 336A, 337A, 406A, 407A:
1. Turn off the power to the heater.
2. Turn off the gas to the heater.
3. Remove front door by removing the large door
screw shown in Fig. 3.
4. Remove the four screws on the side of the control
panel. See Fig. 5 and Fig. 6.
5. Lay control panel forward toward you to access the
back of the temperature control board.
r
r
REMOVE THESE SCREWS
Fig. 3
Fig. 4
Close-up
Fig. 5
Fig. 6
ACCESSING THE BOARD - MODELS
185A/B, 265A/B, 335A/B, 405A/B:
1. Turn off the power to the heater.
2. Turn off the gas to the heater.
3. Remove front door.
4. Remove the four screws on the side of the heater
holding the control panel. See Fig. 1 and Fig. 2.
5. Lay control panel forward toward you to access the
back of the temperature control board.
P/N 241169 Rev.-3
LARGE
DOOR
SCREW