HEADLINE
9
REPAIR AND MAINTENANCE
9
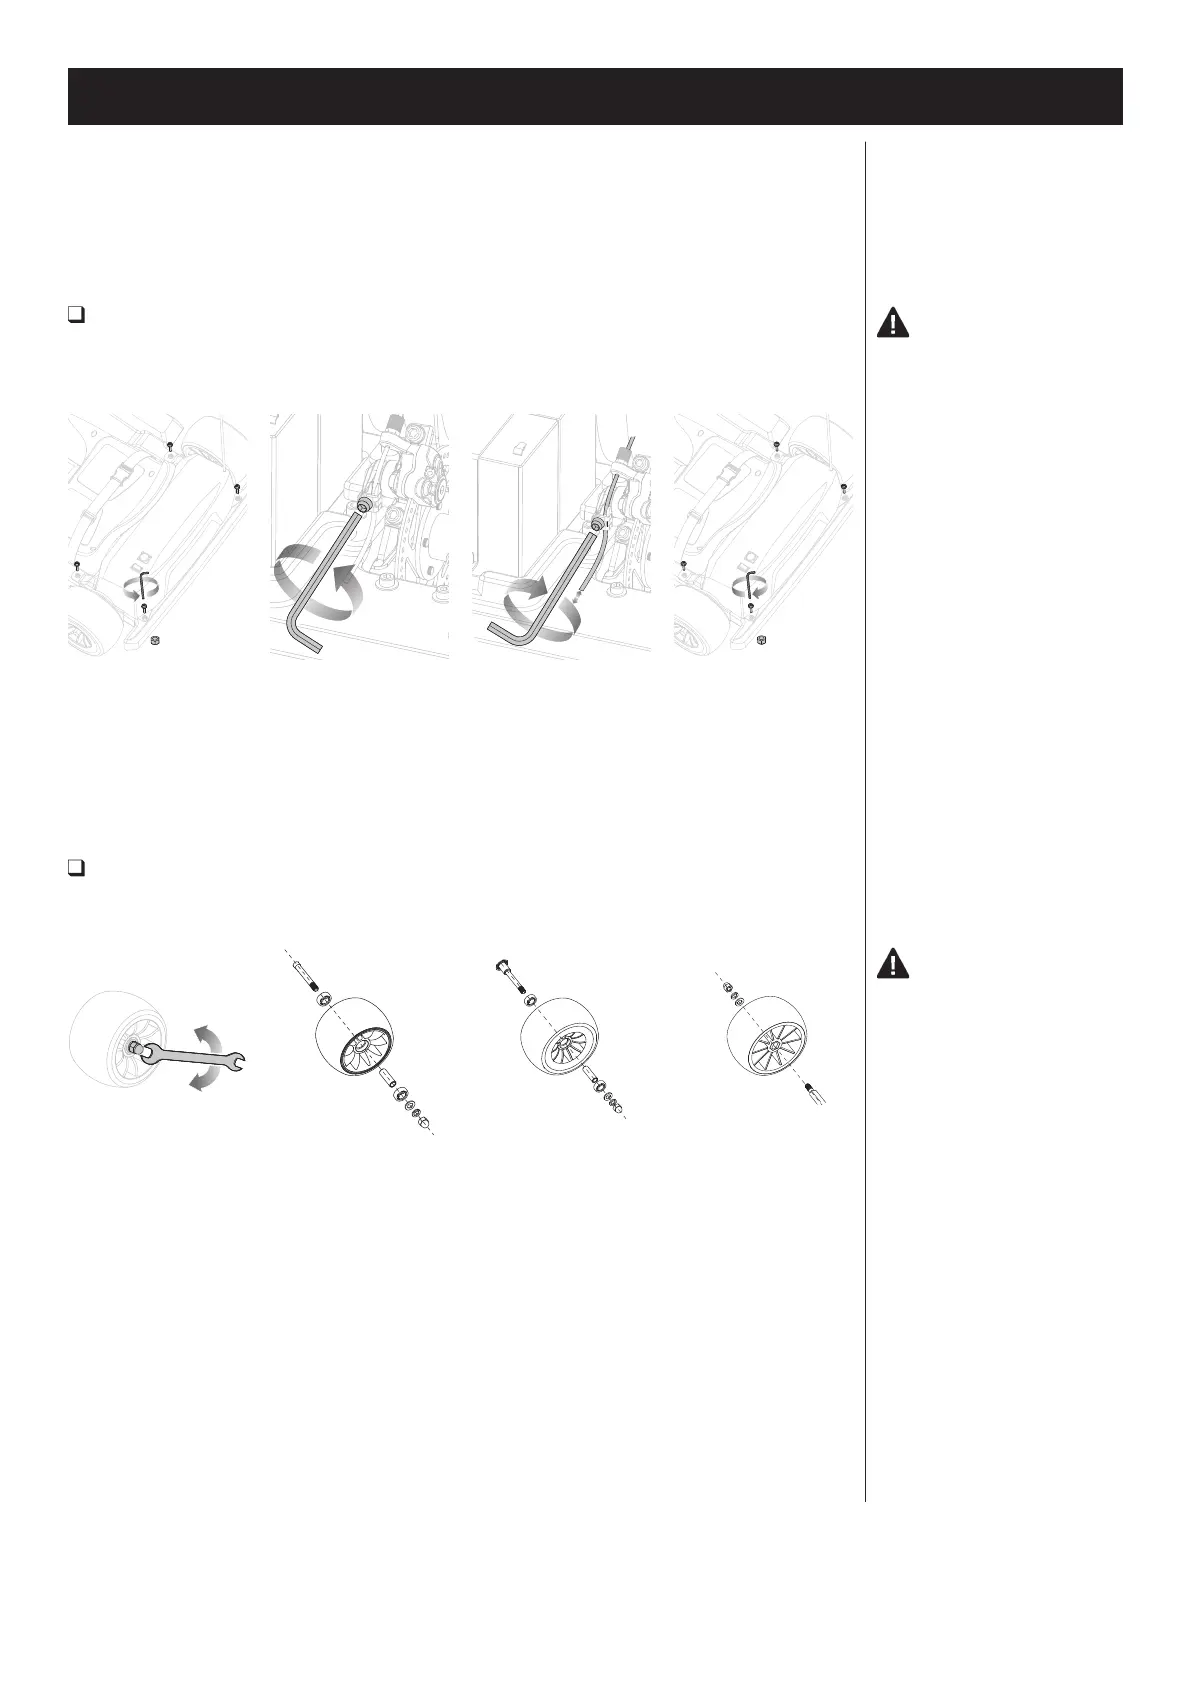
Adjusting the Brake
Required Tools: 4 mm Allen Wrench (included) and 5 mm Allen Wrench (not included)
The brake pedal is fitted with a cable adjuster to compensate for cable stretch and/or to fine tune the lever movement
to brake engagement.
Turn power switch “OFF” before conducting any maintenance procedures.
• Read the instructions.
• Remove charger plug.
• Turn the power switch OFF.
• Secure the product under repair.
• Exercise caution around
exposed parts.
• Contact Razor customer service
if unsure about any repair or
maintenance.
• Repair and maintenance should
be performed by an adult only.
1 Using a 4 mm Allen
wrench, remove the four
(4) bolts from the battery
cover. Note that the
bolts have nuts under the
frame. Set bolts, nuts and
battery cover aside.
2 Using a 5 mm Allen
wrench, loosen the bolt on
the brake caliper.
3 Pull or loosen the brake
cable to adjust the tension
of the brake. Using a 5 mm
Allen wrench, tighten the
bolt on the brake caliper.
4 Replace the battery
cover and reinstall the four
(4) bolts and nuts that
were removed in step 1.
Replacing the Wheels
Required Tool: 19 mm Wrench (not included)
Front and rear wheel installation and removal are the same.
Loosen
1.
1.
1.
2.
2.
2.
2.
2.
5.
5.
5.
6.
6.
7.
7.
3.
3.
3.
4.
4.
4.
Tighten
Note: Practice riding only in wide
open areas clear from curbs,
parking blocks and other obstacles.
Impacting the wheels against
any hard surface can damage the
wheels. Wheels are not covered
under your limited warranty.
WARNING: Failure to
properly adjust and tighten the
screws, nuts and bolts that affix the
wheels can cause you to lose control
and crash.
WARNING: Practice in
an open area free from obstacles
until you are familiar with the brake
function. DO NOT RUN OVER ANY
OBJECT AS IT COULD DAMAGE
THE BRAKE OR DRIVETRAIN.
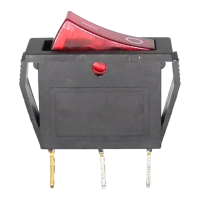
Note: The brake pedal contains
a safety switch to cut off power
to the motor when the brake is
applied. In an emergency, applying
the brake will always stop the
product from moving. Do not
disable or replace this pedal with
anything other than a genuine
Razor replacement part.
1
To remove a wheel,
remove the self-locking nut
with a 19 mm wrench. Tap
the wheel to remove.
2 Front Wheel
Installation: To replace
a front wheel, make sure
the bearings are seated
and the center spacer
is installed. Position the
wheel with the Razor
logo facing outward.
Install the washer and
tighten the self-locking
nut securely.
3 Rear Left Wheel
Installation: To replace
the left rear wheel, make
sure the bearings are
seated and the center
spacer is installed.
Position the wheel with
the Razor logo facing
outward.
Install the washer and
tighten the self-locking
nut securely.
4 Driving Wheel
Installation (Rear Right
Wheel): To replace
the driving wheel, make
sure the shaft and hub
insert are seated and
the spacer is installed.
Position the wheel with
the Razor logo facing
outward.
Install the washer and
tighten the self-locking
nut securely.
 Loading...