Do you have a question about the Razor Ground Force and is the answer not in the manual?
Remove foam separators, inspect for shipping damage, and contact Razor USA for issues.
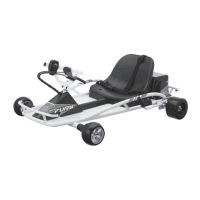
Attach the steering axle to the steering column, ensuring wires are untangled and correctly oriented.
Securely attach the seat to the frame using provided screws and washers with Allen keys.
Install the seat belt assembly for 'play' use only; it is not an approved safety system.
Adjust the hand-operated brake lever for proper engagement and practice in a clear area.
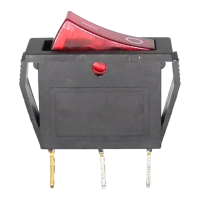
Charge the battery before first use; charging input, switch, and breaker are on the motor cover.
The circuit breaker protects the motor from overload; reset it if it trips due to excessive load.
Ensure there are no rattles from loose parts or broken components; consult a mechanic if unsure.
Check that the brake provides positive braking action when the lever is squeezed.
Check the frame and steering wheel for cracks or broken connections to prevent loss of control.
Adjust chain tension for proper operation, ensuring about 3/8-inch (10mm) of slack.
Learn how to remove and replace front and rear wheels, noting differences in attachment methods.
Procedure for removing and replacing the drive chain or belt, noting potential variations.
| Brand | Razor |
|---|---|
| Model | Ground Force |
| Category | Utility Vehicle |
| Language | English |