3
Getting Started
GETTING STARTED
Step 2: Test your WiFi signal
Your RCA WiFi Camera needs strong enough
signal from your WiFi router in order to send its
video signal. Here’s how to test it.
First, go to where you want to put the camera.
Make sure your smartphone or other portable
wireless device is connected to the WiFi network
you want to test.
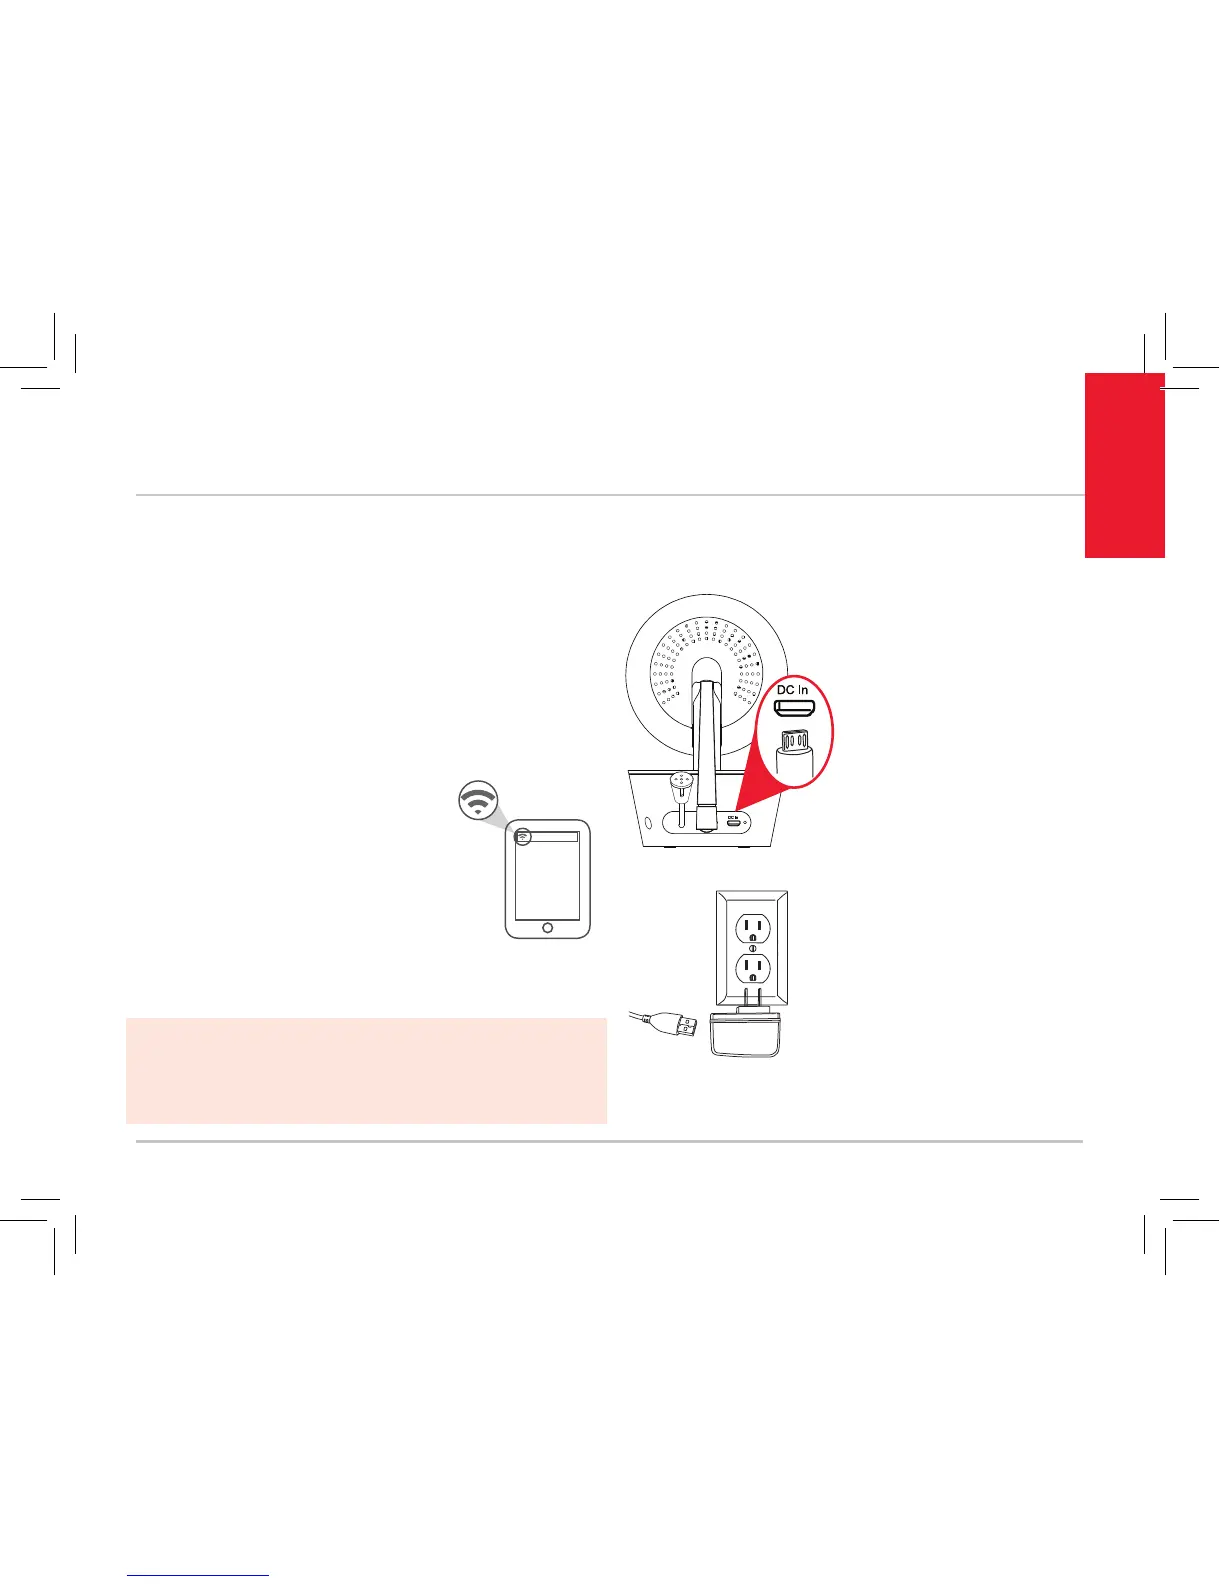
Look at the WiFi icon on your
device screen to see the strength
of the connection. For example,
on iOS devices look in the upper
left-hand corner of the screen for
the WiFi icon (shown here).
For best results, look for a
location with at least 50% strength to use the
WiFi camera.
Step 3: Plug in the camera
Plug one end of the
included power cable
into the DC In jack on
the back of the camera.
Plug the other end into
the included power
adapter. Then plug the
adapter into an outlet or
surge protector.
The camera turns on
automatically when you
plug it in (the indicator
light on its back panel
turns solid red).
IMPORTANT: The RCA WiFi Camera works with 2.4GHz
WiFi signals. If you have a dual-band router with separate
2.4GHz and 5GHz networks, make sure your phone is
connected to the 2.4GHz one!
 Loading...