Please note with activation/closure of dry contact the one shot
boost function will be activated so the system will stop once the
temperature of 59°C is reached. The boost function is triggered by
a change in state from open to closed contact. If the dry contact
remains closed, the system will go under the “temperature mode”
and the green light will be flashing and the next time the system
will be running if temperature drops below 37°C. With option 7, if
the dry contact does not get closed in a 18 hour cycle, the system
will automatically run to meet the legionella requirement 18 hours
after the last time that 59°C was reached.
Dry contact wiring between a dry
contact switch and controller
Reclaim Energy | Owners/Installation Manual – Controller v2
14
2
2.1.3 MODE 6 TIMER & TEMPERATURE
When option 6 is selected, the following menus are then
displayed to enter the timer 1 start times, stop times.
2.1.4 MODE 7 PV DEFAULT TIMER
When option 7 is selected, the following menus are
then displayed to enter the PV default timer start
times and stop times.
The input cursor will blink on the start hour; press
the ▲ / ▼ keys to change the time and press ENTER
to confirm. The cursor will then move to the stop hour
and so on to timer 2.
The input cursor will blink on the start hour; press the
▲ / ▼ keys to change the time and press ENTER to
confirm. The cursor will then move the stop hour.
• If PV input is not enabled, the PV input menu is
displayed to configure the PV input.
With option 7, following a remote
contact closure, it finishes the
heating cycle even if the contacts
open again. Also, it will remain in
Temperature mode so long as the
contacts remain closed.
Next, the timer 2 start times and stop times can
be changed in the same way, followed by the
timer 2 temperatures T-On and T-Off.
The input cursor will blink on the temperature;
press the ▲ / ▼ keys to change the temperature
and press ENTER to confirm.
SETUP CONT.
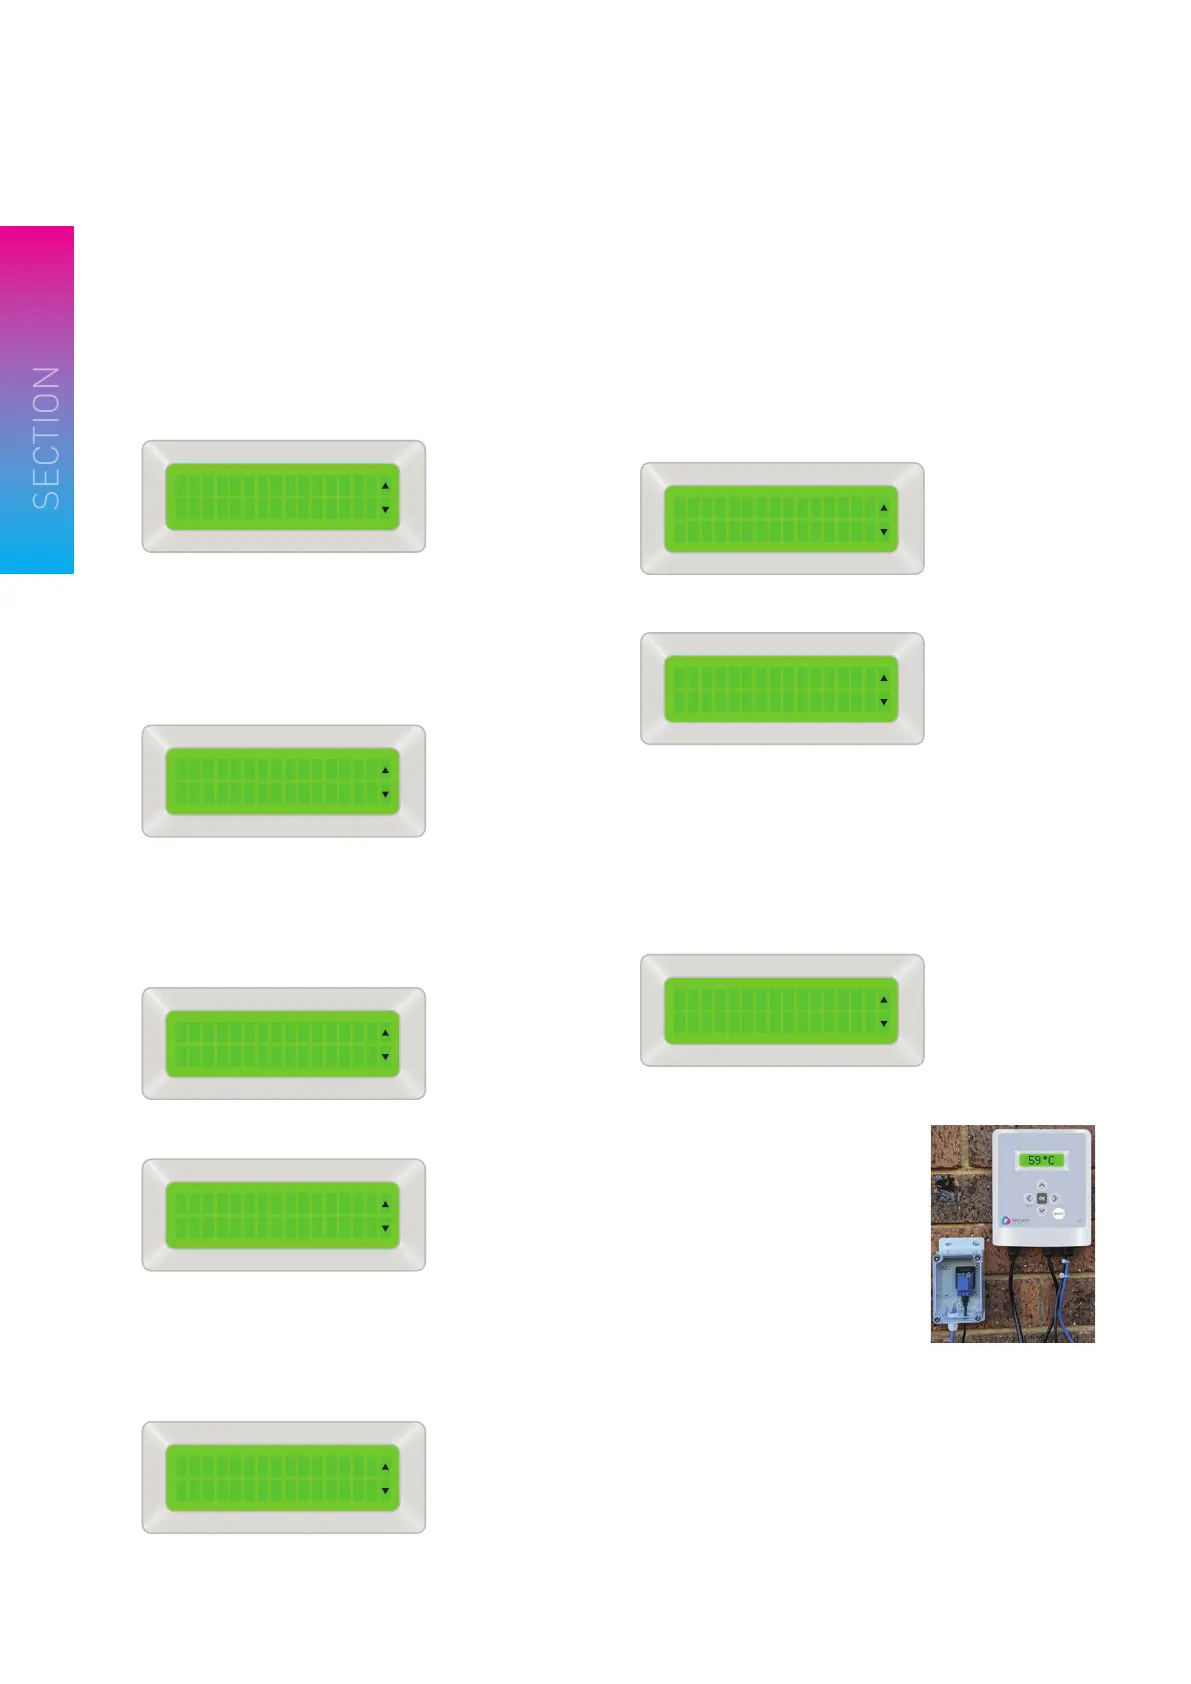
Figure 2-10: Setup operation to mode 6 – timer & temperature
OPERATION MODEOPERATION MODE
6.TIMER/TEMP6.TIMER/TEMP
Figure 2-15: Setup operation to mode 7 – PV default timer
OPERATION MODEOPERATION MODE
6.TIMER/TEMP6.TIMER/TEMP
Figure 2-16: Mode 7, set timer start time and run time
OPERATN MODE 7OPERATN MODE 7
10AM TO 4PM10AM TO 4PM
Figure 2-17: PV input setup menu
PV INPUTPV INPUT
ENABLEDENABLED
Figure 2-11: Mode 6, set timer 1 start time and stop time
OPERATN MODE 6OPERATN MODE 6
1:10AM TO 4PM1:10AM TO 4PM
Figure 2-12: Mode 6, set timer 2 start time and stop time
OPERATN MODE 6OPERATN MODE 6
2:10PM TO 4A M2:10PM TO 4A M
Figure 2-13: Mode 6, set timer 2 T-On temperature
OPERATN MODE 6OPERATN MODE 6
2:TON=402:TON=40
¯¯
Figure 2-14: Mode 6, set timer 2 T-Off temperature
OPERATN MODE 6OPERATN MODE 6
2:TON=602:TON=60
¯¯
 Loading...