26
Chapter 7
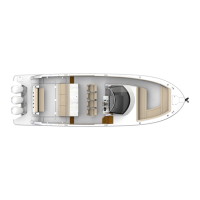
Doorstop-
Locked Position
Typical Control
CABIN DOOR/DRAIN
The cabin door features a lock
and recessed screen door.
Keep the cabin door com-
pletely closed when the boat is
moving.
When docked, the cabin entry
door can be held open by flip-
ping the door stop 180 degrees.
This will prohibit the door from accidentally closing, a
great feature with children on board. To use the screen
door, slide it into position and latch. It features a fine screen
to detour insects but yet a large enough screen grid to
promote cross ventilation. To provide the greatest seal
protection, close screen and entrance doors when leaving
your vessel.
Outside the cabin entrance door there is a fiberglass step
screwed in place. Periodically check the drain for debris
by removing the step to access the drain.
HELM SEAT ADJUSTMENT
Seat In Bolster
Position
Pull To Move Seat
Fore Or Aft
The helm seat features
a leaning bolster. To
change the seat position,
follow these steps:
Fore and aft movement
is controlled by a lever
at the starboard lower
seat. Pull the lever to-
ward the center of the
boat and move the seat
back or front according
to the direction desired.
Release the adjuster and
it will lock in the closest detent position.
To swivel the seat, first move the seat completely aft. Then
pull the stainless swivel rod to the port side and the seat
will swivel until you let go of the rod. At that point, the
swivel rod will seek the nearest detented position.
BehindIcemaker
Valve
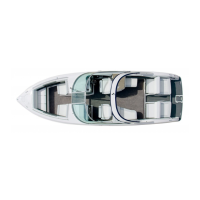
DECK WINDOWS (LOWER DECK)
CAUTION
!
AVOID BODILY INJURY!
DO NOT STEP ON WINDOW SURFACES
AS THEY MAY BE SLIPPERY AND
COULD CAUSE A FALL.
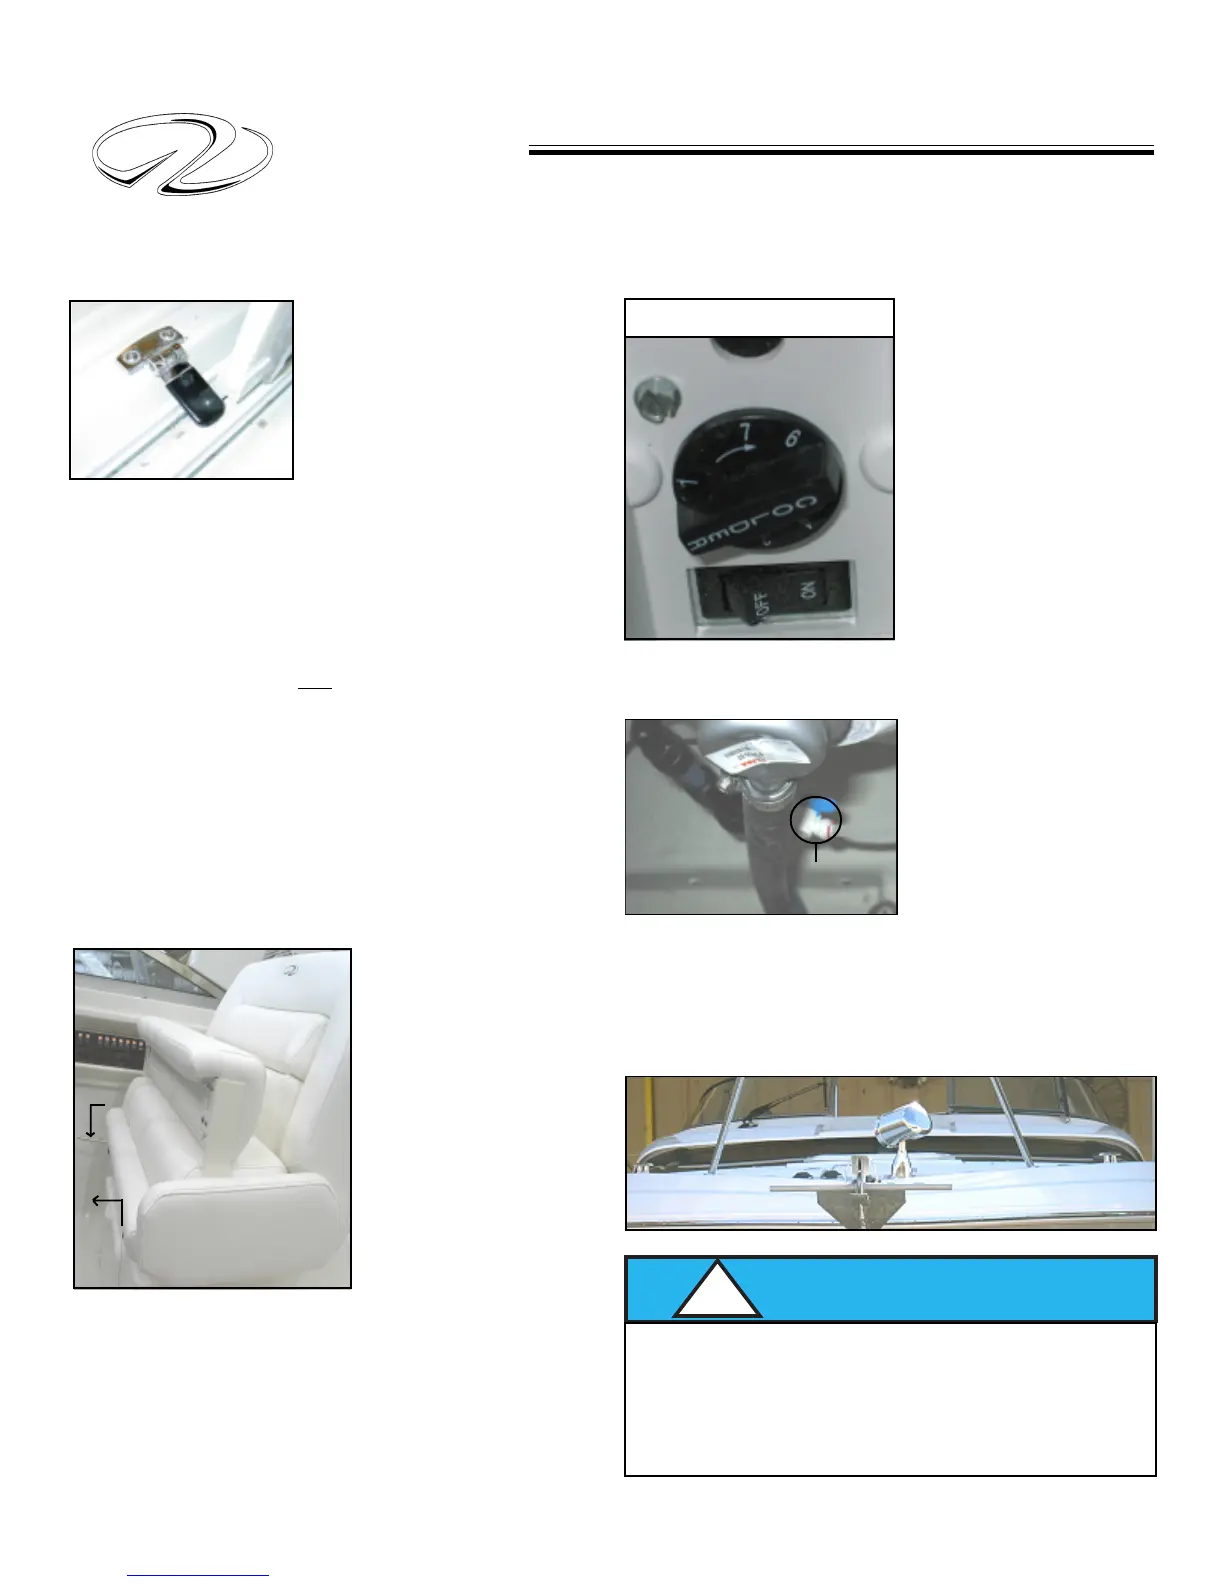
COCKPIT ICEMAKER
The cockpit icemaker is
installed as optional equip-
ment. On initial use make
sure the water inlet valve
is turned to the “on” posi-
tion. The inlet water valve
is located behind the
icemaker. Remove the 4
screws holding the
icemaker unit and carefully
slide it forward to gain ac-
cess. Secondary access to
the icemaker is through
the seat storage aft of the icemaker.
Make sure the icemaker
breaker is activated on the
main AC control panel.
Energize the on/off
switch. Find the tempera-
ture control knob. Turn it
clockwise for colder op-
eration and counterclock-
wise for warmer tempera-
tures. Adjust the control knob a few times to arrive at the
desired temperature.
Swivel
Rod
 Loading...