9
If a water heater is installed in a closed water supply system;
such as one having a back-flow preventer, check valve,
water meter with a check valve, etc. . . in the cold water
supply; means shall be provided to control thermal
expansion. Contact the water supplier or plumbing
contractor on how to control this situation.
2. The pipe cutter is simple to use, screw the adjustment
knob until the opening of the jaws will allow the cutters to
be placed around the pipe. Then close the adjustment
until the cutting blade is just tight against the pipe. Do not
over tighten. Make one or two revolutions of the cutter
around the pipe. Tighten the adjustment knob slightly, and
revolve the cutters around the pipe once again. Continue
this procedure until the pipe is completely cut in two.
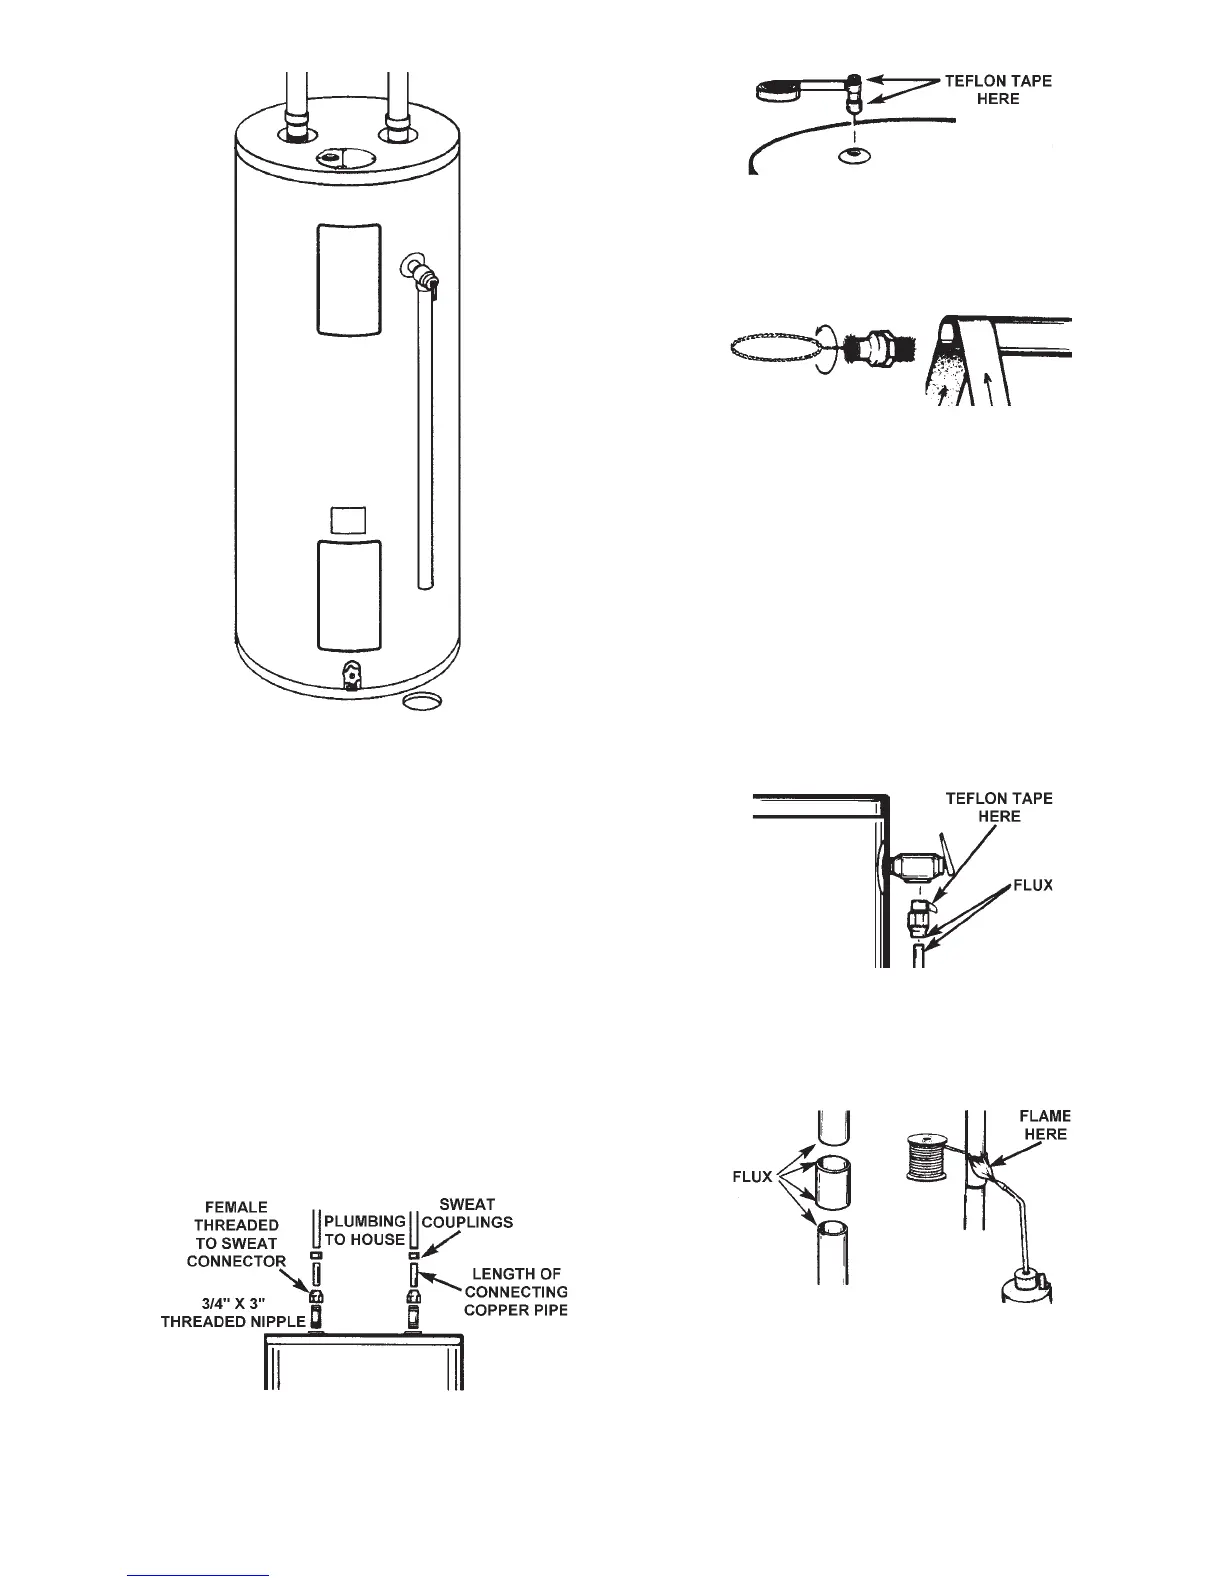
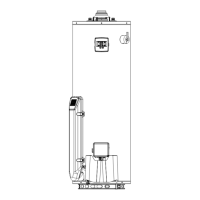
3. Using the diagram map out the installation. Screw the
nipples into the tank and the fittings onto the nipples, hand
tight. Then measure and cut the copper tubing. Remove
the nipples and fittings, then go to the next step.
4. Put two or three turns of Teflon tape or pipe joint compound
around both the threaded end of the 3/4” x 3” nipples, and
using a pipe wrench, tighten the nipples into the “HOT”
and “COLD” fittings on the water heater.
5. Cleaning and brushing the piping and fittings is one of the
most important aspects of sweat connections. Clean the
ends of each piece of copper with emery cloth as shown.
Clean the inside of each sweat fitting with a wire brush as
shown. Make sure you do not touch the cleaned areas.
6. The 3/4” female threaded to sweat connectors and two
pieces of copper pipe to connect the water heater to the
house plumbing should be cleaned, fluxed and
assembled. Do not screw the connectors into the
nipples in the tank before soldering.
7. Solder pipe/connector assembly as shown. When solder
flows into and completely around the joint, you should
remove the solder and the heat immediately.
8. Using your pipe wrench, secure the pipe/connector
assemblies onto the nipples.
9. Flux the ends of piping and inside the couplings.
10. Put the pipes and coupling together and solder as shown.
Solder the top first, and then quickly solder the bottom.
11. Flux the ends of the length of pipe cut for the T & P and the
inside of the 3/4” male threaded to sweat connector and
90° sweat elbow. Then solder this assembly together. Do
not screw the connector into the Temperature-Pressure
Relief Valve before the assembly is soldered together.
12. Using your pipe wrench, screw the assembly into the
Temperature-Pressure Relief Valve.
13. Flux the inside of the 90° elbow and the length of pipe to be
run to an adequate drain, and solder them together.
14. After checking that all connections are tight and the drain
valve near the bottom of the water heater is closed, go to
“Filling the Water Heater” section and then to “Wiring” in
the Installing the New Water Heater” section.