8
Section A: Using the Installation Kit
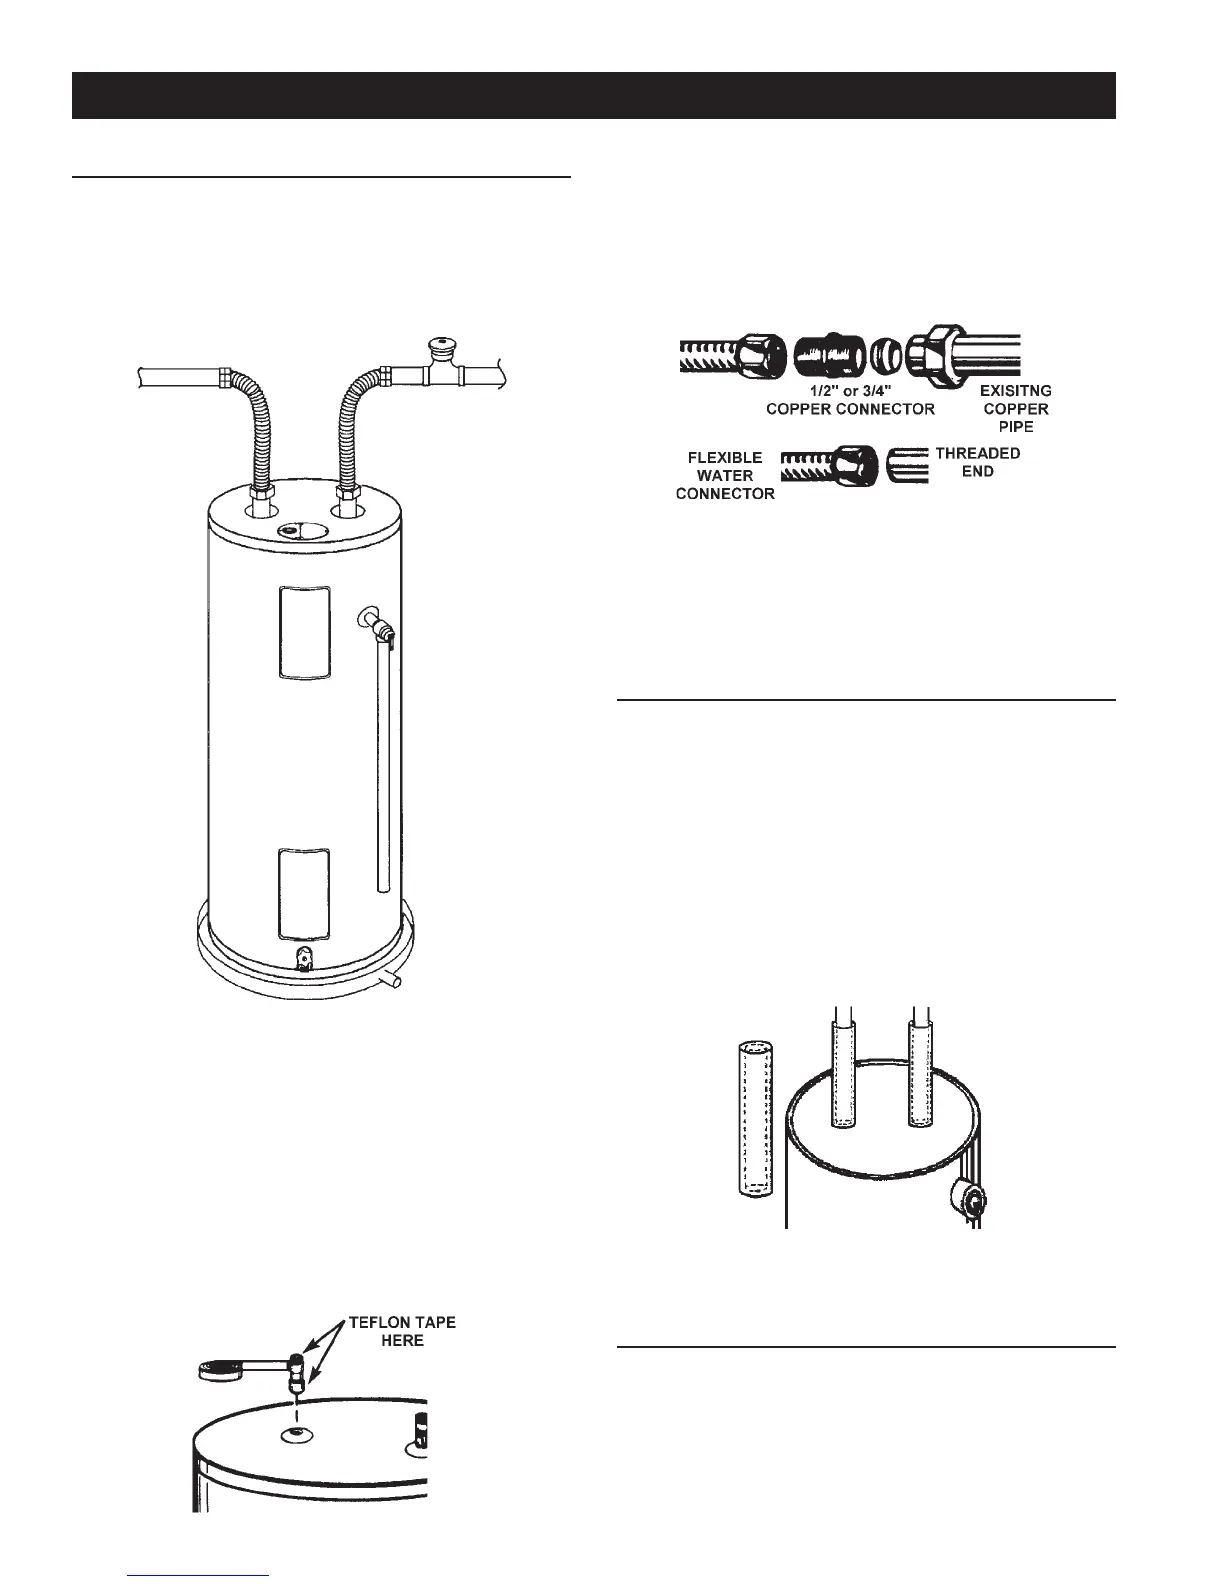
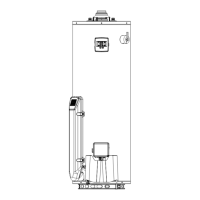
1. Position the water heater so that the existing piping and
electrical hookup will require the shortest distance between
connections. Make sure that you are able to reach the drain
valve and all access panels when the water heater is in
place. This will make it easy to service the water heater. The
water heater must be level before you begin the piping.
If a water heater is installed in a closed water supply system;
such as one having a back-flow preventer, check valve, water
meter with a check valve, etc. . . . in the cold water supply;
means shall be provided to control thermal expansion.
Contact the water supplier or plumbing contractor on how to
control this situation.
2. Wrap the 3/4” nipples with teflon tape or pipe joint compound
and screw into the water heater where it’s marked “HOT”
and “COLD”, wrap the other ends of nipples with Teflon tape
or pipe joint compound and screw one end of each flexible
water connector onto each nipple.
INSTINST
INSTINST
INST
ALLING THE NEW WALLING THE NEW W
ALLING THE NEW WALLING THE NEW W
ALLING THE NEW W
AA
AA
A
TER HEATER HEA
TER HEATER HEA
TER HEA
TERTER
TERTER
TER
3. If your home has 1/2” or 3/4” copper piping to the water
heater, use the correct size compression fittings to connect
both flexible water connector to existing copper pipes.
Connect fittings to existing piping first. If your home has 3/4”
galvanized piping to the water heater, simply apply Teflon
tape or pipe joint compound to the ends of the galvanized
pipes and screw flexible connector onto the pipes.
4. After checking that all connections are tight and the drain
valve near the bottom of the water heater is closed, go to
“Filling the Water Heater” section and the to “Wiring” in the
Installing the New Water Heater” section.
T & P Valve and Pipe Insulation
(For Section A and B)
Factory Supplied on Some Models
Remove insulation for T & P valve and pipe connections from
carton.
Fit pipe insulation over the incoming cold water line and the hot
water line. Make sure that the insulation is against the top
cover of the heater.
Fit T & P valve insulation over valve. Make sure that the insulation
does not interfere with the lever of the T & P valve.
Secure all insulation using tape.
Section B: Using the
(Sweat) Soldering Method
1. Position the water heater so that the existing piping and
electrical hookup will require the shortest distance
between connections. Make sure that you are able to reach
the drain valve and all access panels when the water
heater is in place. This will make it easy to service the
water heater. The water heater must be level before you
begin the piping.