Installation, start up and operating manual – version 5.3 Gen.10
Radio control BRICK and PAIL
Figure 16 as reference. Carefully reclose the cover and replace the
screws.
NOTE: change the frequency also of the receiver unit before using the
radio control unit, checking that the configuration of the microswitches is
compatible to both units.
SEQUENTIAL CHANGE OF FREQUENCY: 11 channels 870MHz or 60
channels on 434MHz
• the microswitches 1,2,3,4 both inside the transmitter unit and the
receiver must all be in the ON position
with Key Switch
BRICK and PAYL
• press the emergency stop mushroom
• turn the key to the ON position
• press and keep pressed the START command until it BEEPs and
until the red led (BATT) is off.
Without Key Switch
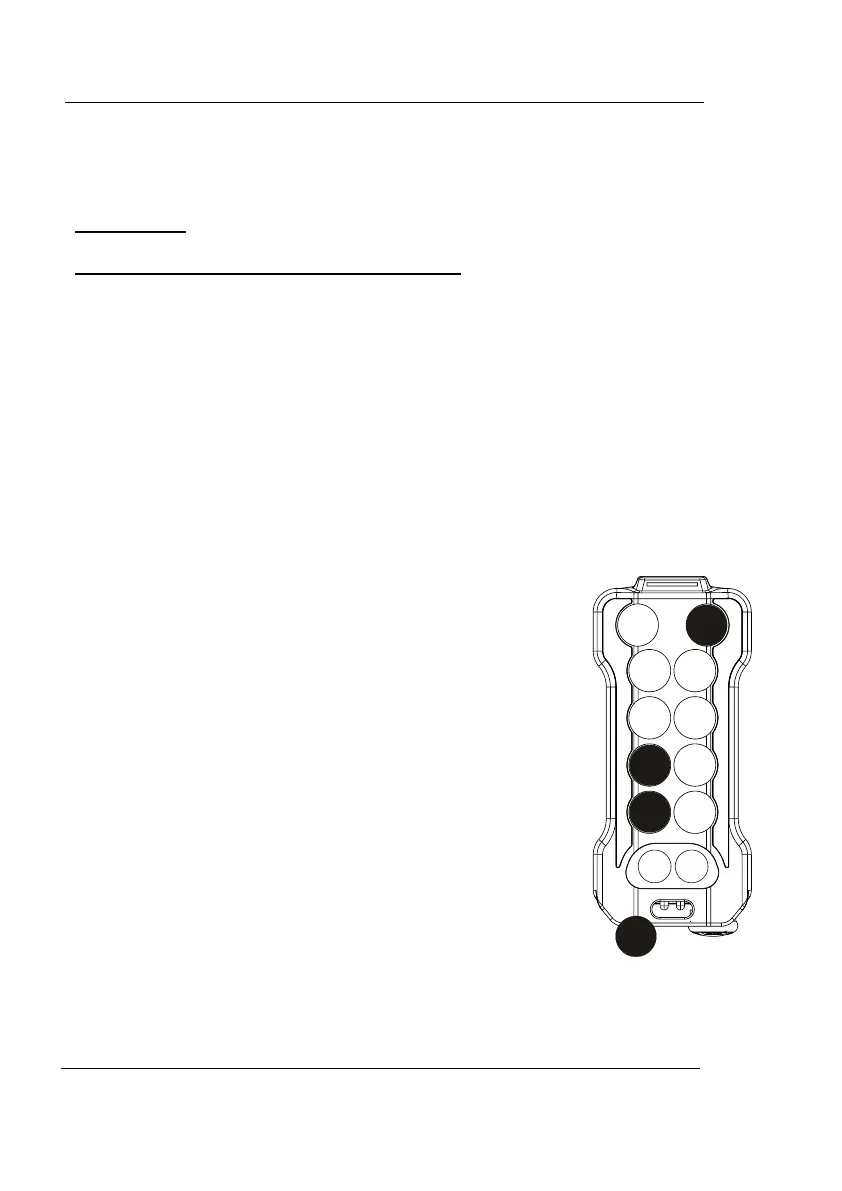
BRICK
• turn and disengage the EMERGENCY STOP button
• press pushbuttons 1, 3 at the same time and the
START button, and then release
• the channel set and the frequency are indicated by
the number of flashes of the green led for unit
and red led for tens: see table in Figure 15
The completion of this sequence accesses
“PROGRAMMING MODE”:
• with pushbutton 1 each press means one CHANNEL
down
• with pushbutton 2 each press means one CHANNEL
up
• with pushbutton 3 each press means ten CHANNEL
down (434MHz only)
• with pushbutton 4 each press means ten CHANNEL
up (434MHz only)
• When you have chose the needed frequency press and keep pressed
the EMERGENCY STOP button for a few seconds en then disengage
it.
REMdevice
®
- ITALY
23