8
7. Check whether the green control lights for phases
and control phase are lit up on the control box.
8. Open all shut-off mechanisms of the fuel supply.
9. Set the operating switch on the control box to
“I” (heating).
10. Remember that the forced-air oil burner does not
switch on immediately when heat is required, the air
supply fan only switches on once the target tem-
perature has been reached.
11. Check whether the operating lights for the burner
and fan are lit up on the control box.
12. Close the door.
13. Lock the door to protect the unit from unauthorised
operation.
Operating mode
The unit operates fully automatically according to the
pre-selected room temperature.
If the suction temperatures or resistance on the unit
output increased, the burner can be temporarily
switched off during heating mode by the temperature
monitor (TW).
After the temperature has fallen, the burner automati-
cally starts again. You should avoid starting the burner
frequently during unit operation.
If the temperature increases too much on the air outlet,
the STB interrupts heating mode permanently!
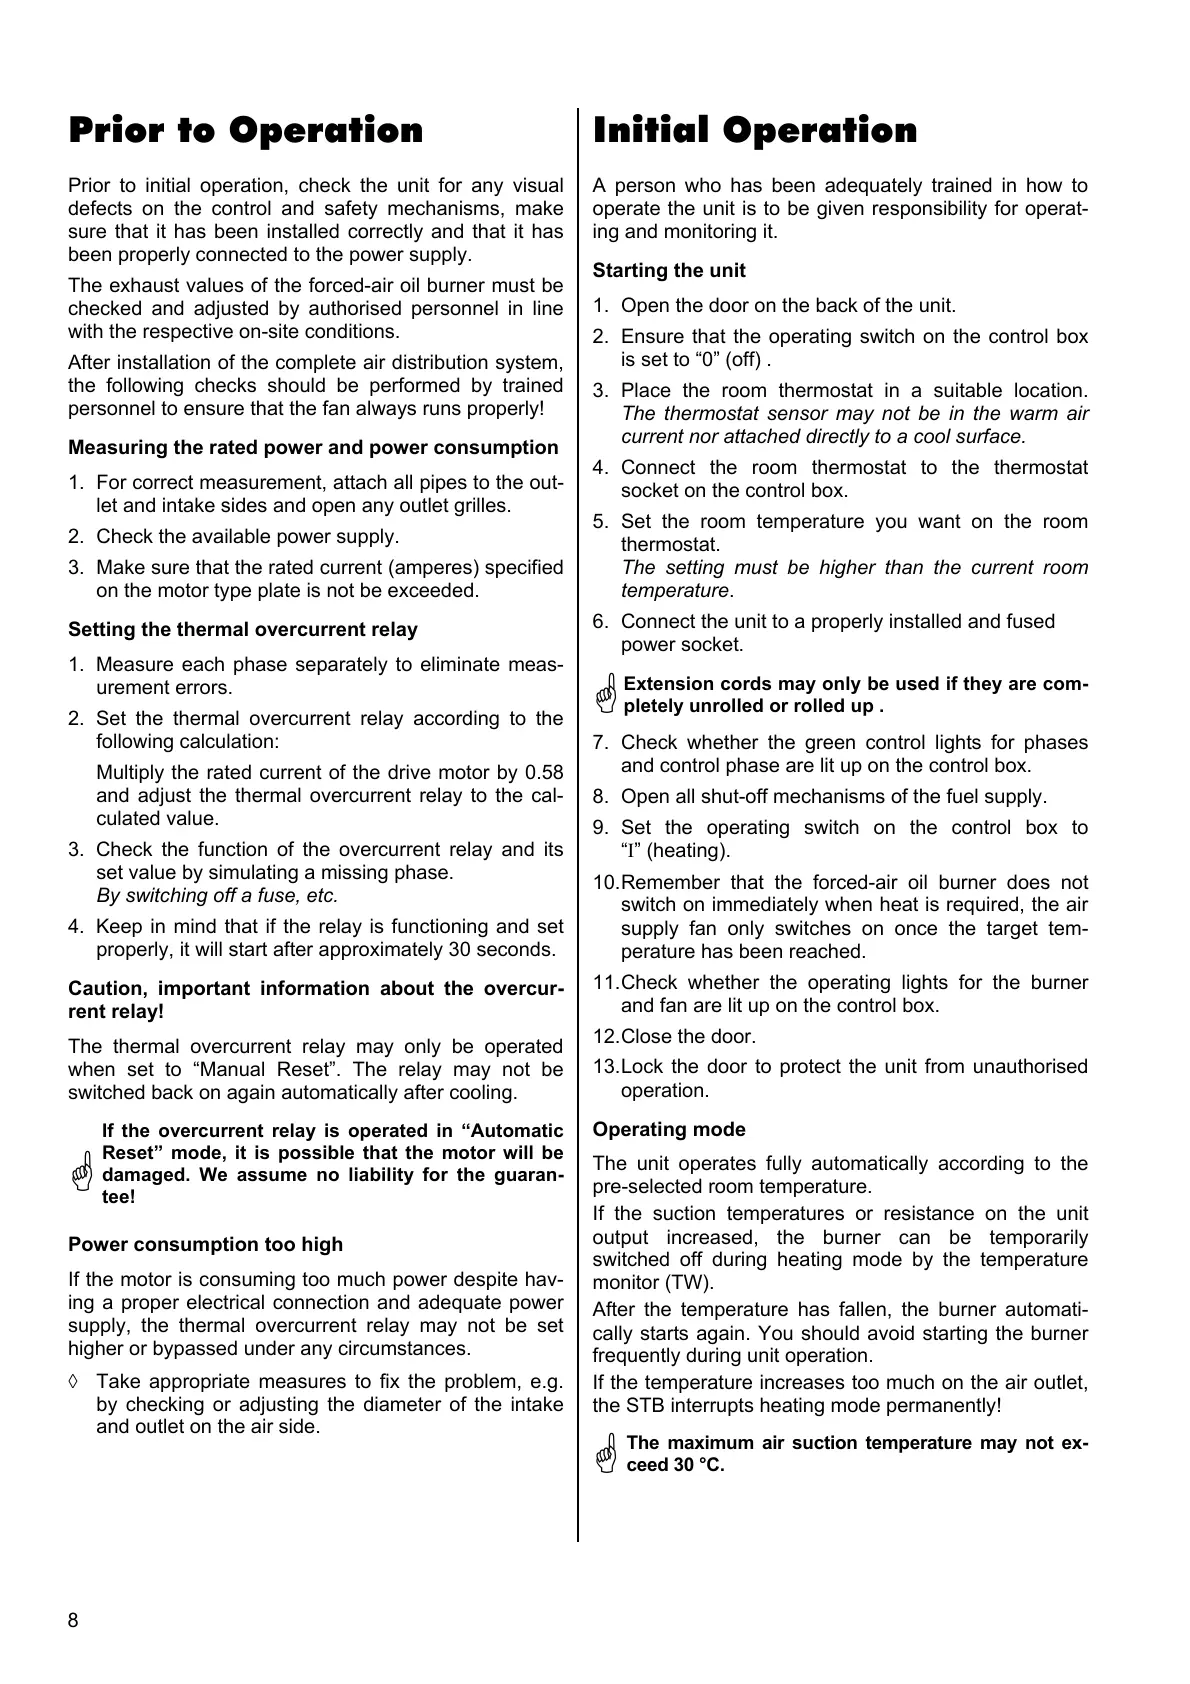
Prior to Operation
Prior to initial operation, check the unit for any visual
defects on the control and safety mechanisms, make
sure that it has been installed correctly and that it has
been properly connected to the power supply.
The exhaust values of the forced-air oil burner must be
checked and adjusted by authorised personnel in line
with the respective on-site conditions.
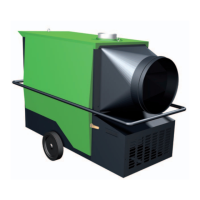
After installation of the complete air distribution system,
the following checks should be performed by trained
personnel to ensure that the fan always runs properly!
Measuring the rated power and power consumption
1. For correct measurement, attach all pipes to the out-
let and intake sides and open any outlet grilles.
2. Check the available power supply.
3. Make sure that the rated current (amperes) specified
on the motor type plate is not be exceeded.
Setting the thermal overcurrent relay
1. Measure each phase separately to eliminate meas-
urement errors.
2. Set the thermal overcurrent relay according to the
following calculation:
Multiply the rated current of the drive motor by 0.58
and adjust the thermal overcurrent relay to the cal-
culated value.
3. Check the function of the overcurrent relay and its
set value by simulating a missing phase.
By switching off a fuse, etc.
4. Keep in mind that if the relay is functioning and set
properly, it will start after approximately 30 seconds.
Caution, important information about the overcur-
rent relay!
The thermal overcurrent relay may only be operated
when set to “Manual Reset”. The relay may not be
switched back on again automatically after cooling.
Power consumption too high
If the motor is consuming too much power despite hav-
ing a proper electrical connection and adequate power
supply, the thermal overcurrent relay may not be set
higher or bypassed under any circumstances.
◊ Take appropriate measures to fix the problem, e.g.
by checking or adjusting the diameter of the intake
and outlet on the air side.
*
If the overcurrent relay is operated in “Automatic
Reset” mode, it is possible that the motor will be
damaged. We assume no liability for the guaran-
tee!
Initial Operation
A person who has been adequately trained in how to
operate the unit is to be given responsibility for operat-
ing and monitoring it.
Starting the unit
1. Open the door on the back of the unit.
2. Ensure that the operating switch on the control box
is set to “0” (off) .
3. Place the room thermostat in a suitable location.
The thermostat sensor may not be in the warm air
current nor attached directly to a cool surface.
4. Connect the room thermostat to the thermostat
socket on the control box.
5. Set the room temperature you want on the room
thermostat.
The setting must be higher than the current room
temperature.
6. Connect the unit to a properly installed and fused
power socket.
*
Extension cords may only be used if they are com-
pletely unrolled or rolled up .
*
The maximum air suction temperature may not ex-
ceed 30 °C.