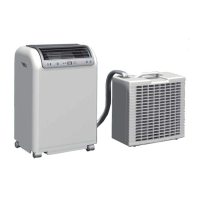
6 Connecting line
The connecting line is connected to the outdoor
unit in the factory with quick-release couplings.
This facilitates disconnection of the connecting line
from the outdoor unit for assembly purposes
without losing refrigerant.
DANGER!
The unit must be disconnected from the mains
supply during the entire process! It may only be
switched back on when all of the connections
have been made and checked. The fastenings
and all of the covers must be attached before-
hand.
DANGER!
Suitable protective gear must be worn when
connecting or disconnecting the connection
pipe.
NOTICE!
The escape of refrigerant contributes to climatic
change. In the event of escape, refrigerant with
a low greenhouse potential has a lesser impact
on global warming than those with a high
greenhouse potential.
This unit contains refrigerant
with a greenhouse
potential of 675. That means the escape of 1 kg
of this refrigerant has an effect on global
warming that is 675 times greater than 1 kg
CO
2
, based on 100 years. Do not conduct any
work on the refrigerant circuit or dismantle the
unit - always enlist the help of qualified experts.
Instructions for disconnecting the connecting
line:
n Disconnect the units only immediately before
assembly and only leave the units discon-
nected for as long as is absolutely necessary
.
n Before the pipes are reconnected, it is to be
ensured that there is no dirt, moisture or other
foreign bodies in the quick release couplings
which could impair their function.
n Always mount the fastening clip as soon as the
lines are connected.
n The pipelines may only be disconnected and
connected by authorised specialist engineers.
In doing so, the following procedure must be
adhered to:
1. Switch the unit of
f.
2. Pull the power plug out of the socket.
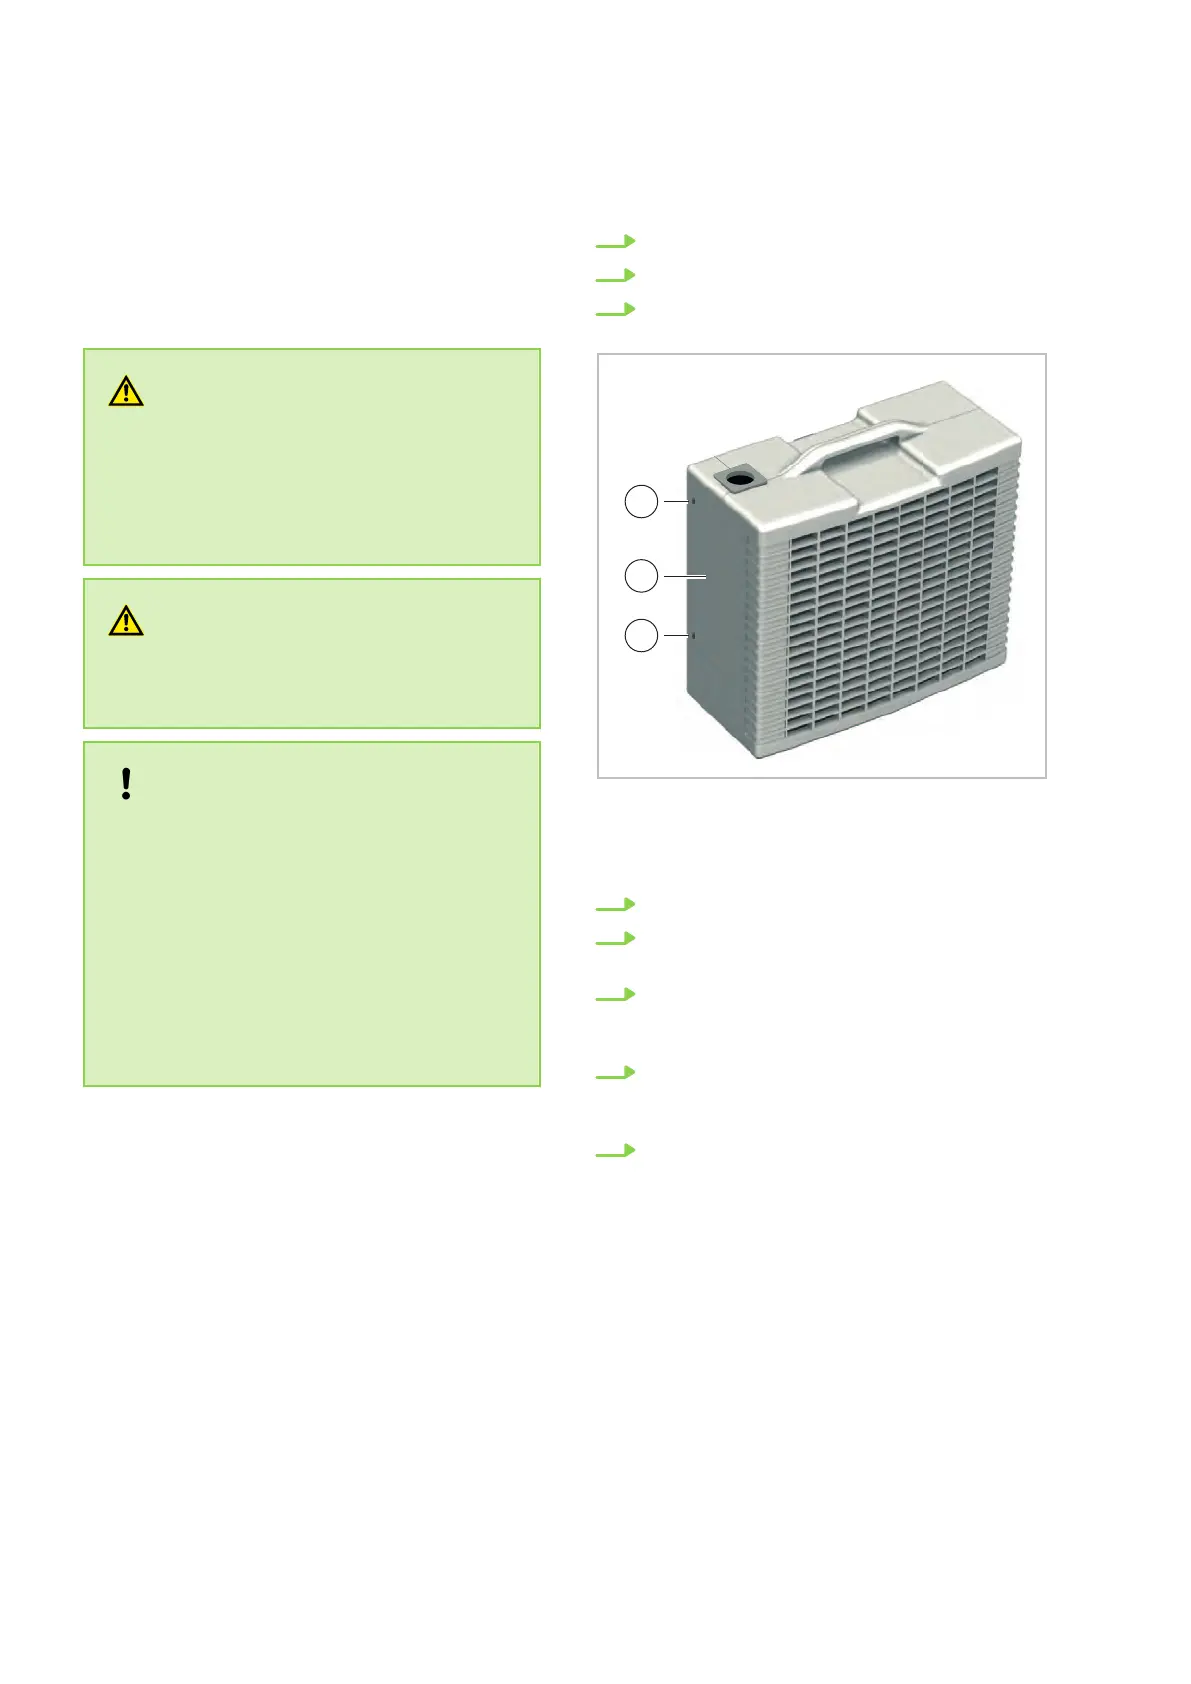
3. Remove the 2 screws from the cover on the
rear side of the outdoor unit (
Fig. 12).
Fig. 12: Remove cover
1: Cover
2: Screws
4. Remove the cover from the unit.
5. Unscrew the fastening clip from the con-
necting line (
Fig. 13).
6. Push in the side clips on the plugged connec-
tion and pull the plug out of the socket
(Fig. 13).
7. Remove the upper section from the bracket
by means of unscrewing the two screws
(Fig. 13).
8. Pull of
f the condensate drainage hose
(Fig. 13).
REMKO RKL DC series
14
 Loading...