EasyManuals Logo

Reolink Argus 3 User Manual

Reolink Argus 3
115 pages
To Next Page IconTo Next Page
To Previous Page IconTo Previous Page
Page #21 background imageLoading...
Page #21 background image
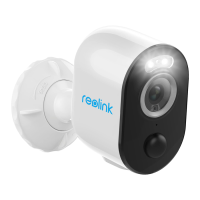
Reolink Wireless Battery-powered Camera
20
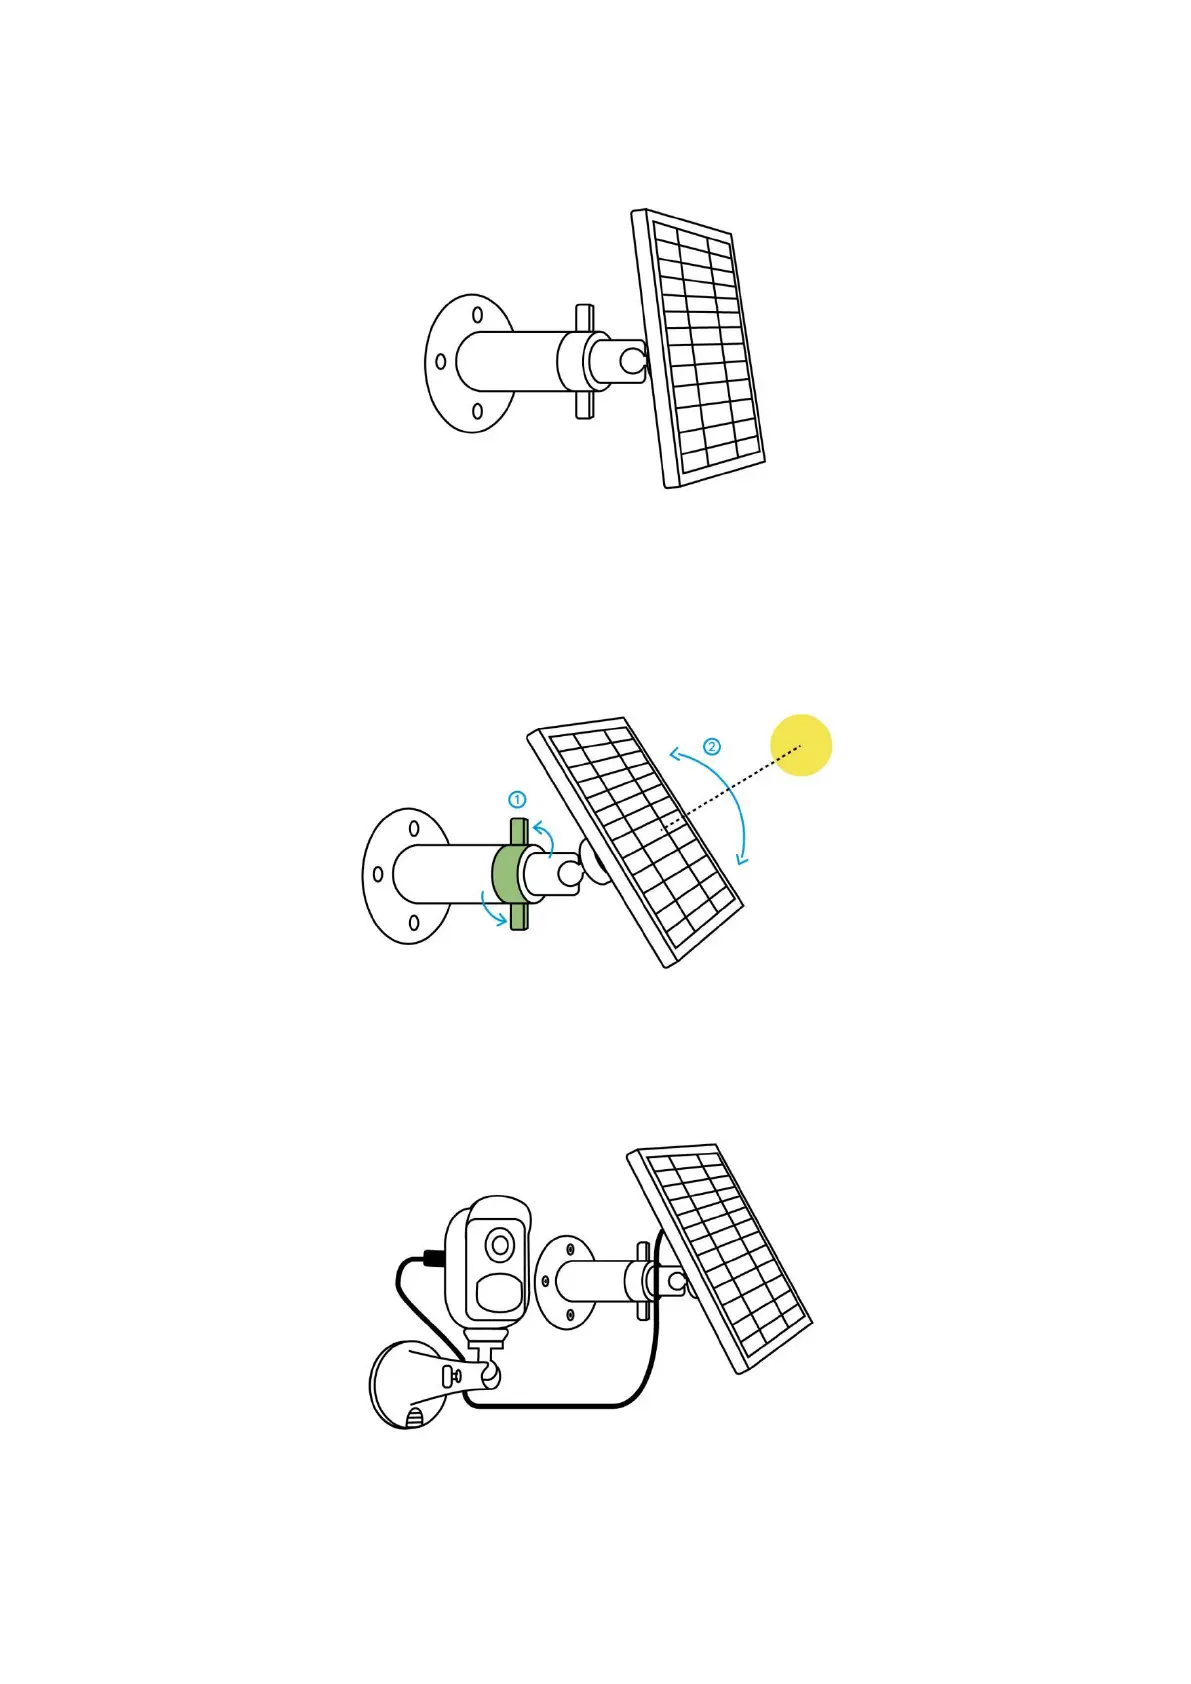
3. Slot the solar panel into the bracket and make sure that it's secure.
4. Loosen the adjusting control on the bracket and adjust the angle of the solar
panel to make it receive direct sunlight exposure, then tighten the adjusting
control to fix the solar panel.
5. Connect the solar panel to a Reolink camera with the micro USB cable.

Other manuals for Reolink Argus 3

Questions and Answers:

Question and Answer IconNeed help?

Do you have a question about the Reolink Argus 3 and is the answer not in the manual?

Reolink Argus 3 Specifications

General IconGeneral
Field of View120°
AudioTwo-Way Audio
WeatherproofIP65
Wireless StandardIEEE 802.11b/g/n
Operating Temperature-10°C to 55°C (14°F to 131°F)
Dimensions121 x 90 x 56 mm
Resolution2K (4MP)
Power SourceRechargeable battery or solar panel
ConnectivityWi-Fi (2.4GHz)
Image SensorCMOS Sensor
Video Resolution2560 x 1440
Infrared Night VisionUp to 10 meters (33ft) (IR LED)
Color Night VisionYes
PIR Detection DistanceUp to 10 meters
PIR Detection Angle100°
Wireless SecurityWPA-PSK/WPA2-PSK
Battery5200mAh Rechargeable Battery
PowerSolar panel compatible
Local StoragemicroSD card (up to 128GB)
StorageMicro SD card
Motion DetectionPIR motion detection
Weight330g
LensFixed Lens, f=2.8mm

Related product manuals