EasyManuals Logo

Reolink E1 User Manual

Reolink E1
109 pages
To Next Page IconTo Next Page
To Previous Page IconTo Previous Page
Page #12 background imageLoading...
Page #12 background image
Reolink Wireless Camera
User Manual
6
2. Setup and Installation
Set up the Camera
Set up the Camera Without Ethernet port
Please follow the steps below to do initial setup for the WiFi cameras without an
Ethernet port via the Reolink App.
1. Connect the power adapter to the camera and wait for it starting up. After
hearing a startup sound, you will hear repeated Ding sounds or "Please run Reolink
App, add the camera and set it up", which means you can scan the QR code on the
camera and start the setup process.
Note:
If you are not sure whether you hear the right sound, you may tap "Demo" to hear
the sample sound. If you couldn't hear the repeated Ding sounds, please reset your
camera.
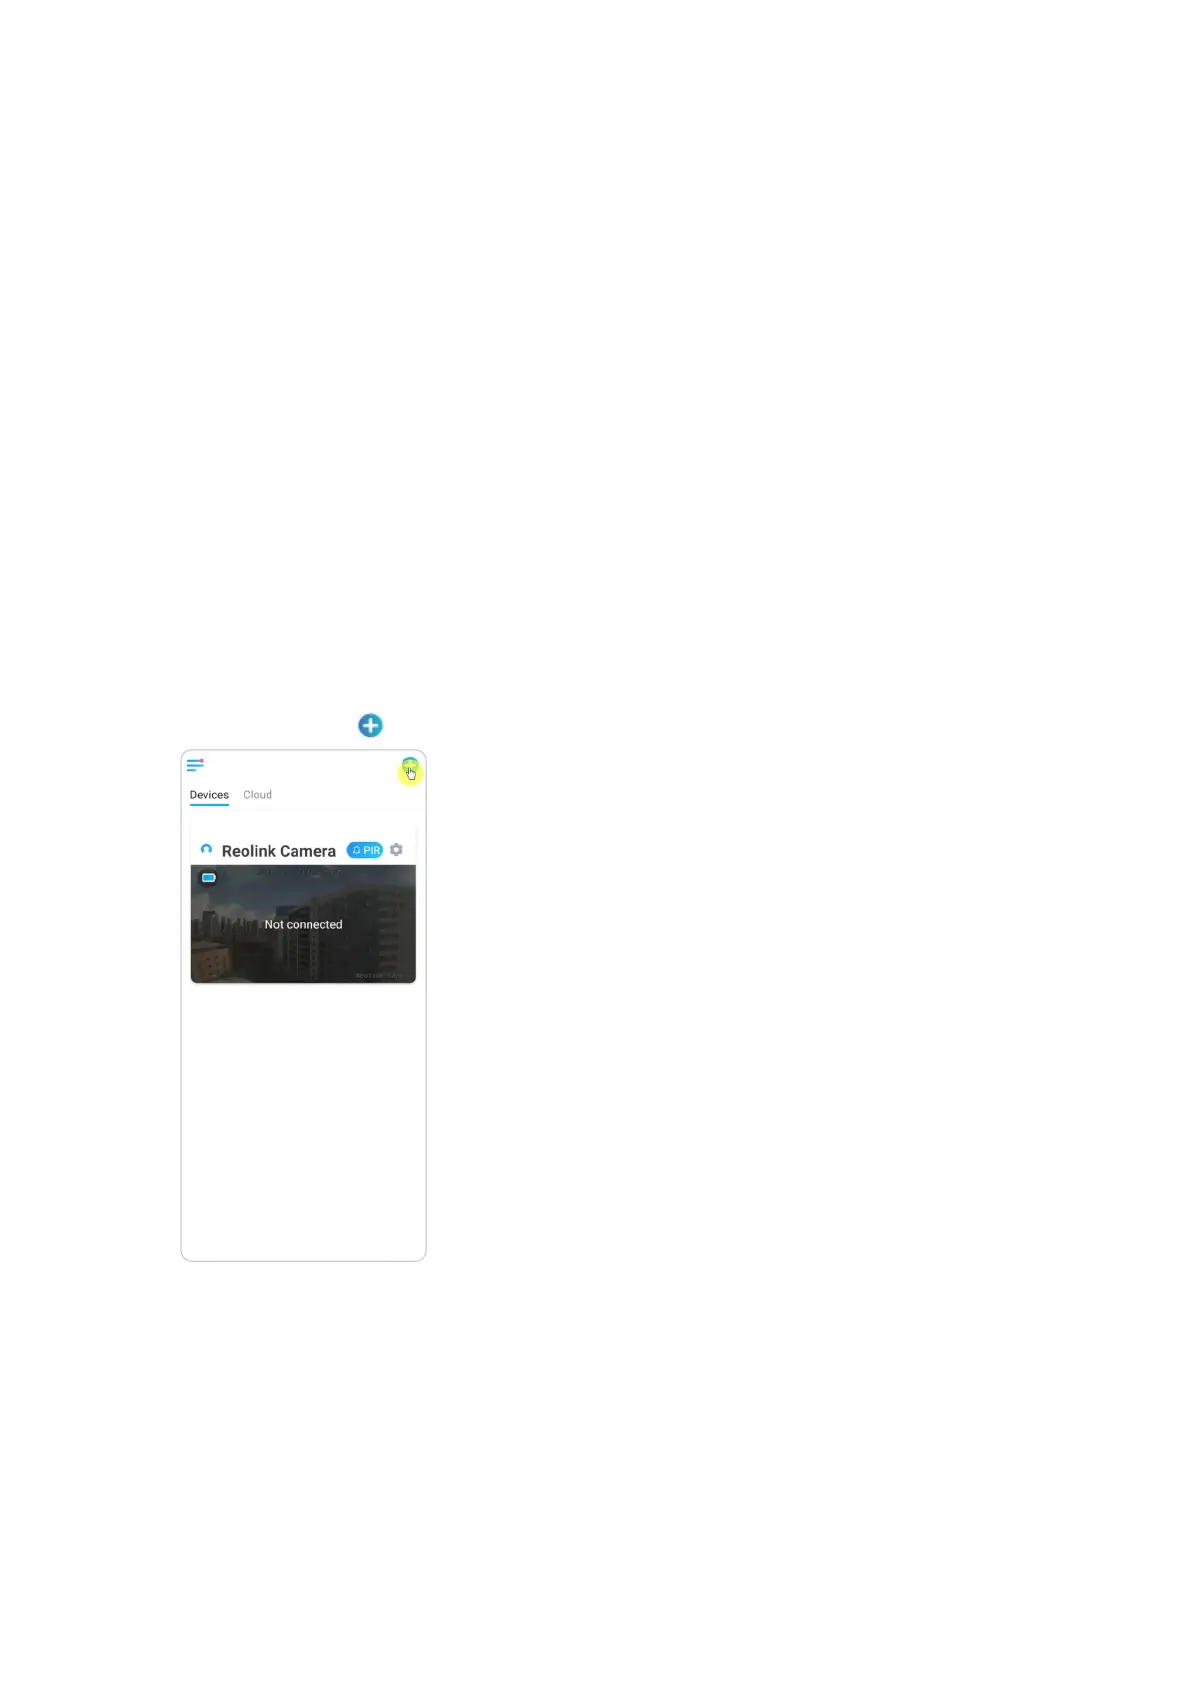
2. Tap on the icon in the top right corner to start the initial setup.

Other manuals for Reolink E1

Questions and Answers:

Question and Answer IconNeed help?

Do you have a question about the Reolink E1 and is the answer not in the manual?

Reolink E1 Specifications

General IconGeneral
Pan & Tilt355° Pan, 50° Tilt
AudioTwo-way audio
StoragemicroSD card slot (up to 128GB)
Image Sensor1/2.7" CMOS Sensor
Wireless StandardIEEE 802.11b/g/n
Wireless SecurityWPA-PSK/WPA2-PSK
EthernetNo
Operating Temperature-10°C to 55°C (14°F to 131°F)
Weight200g
Motion DetectionYes
Resolution2304x1296 (3MP)
Night Vision40 ft (12m)
ConnectivityWi-Fi
PowerDC 5V/1A
IR Distance40 ft (12m)
Day/Night ModeAuto-switching
Viewing AngleHorizontal: 87.5°, Vertical: 47°, Diagonal: 100°

Related product manuals