6English5 English
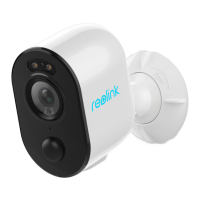
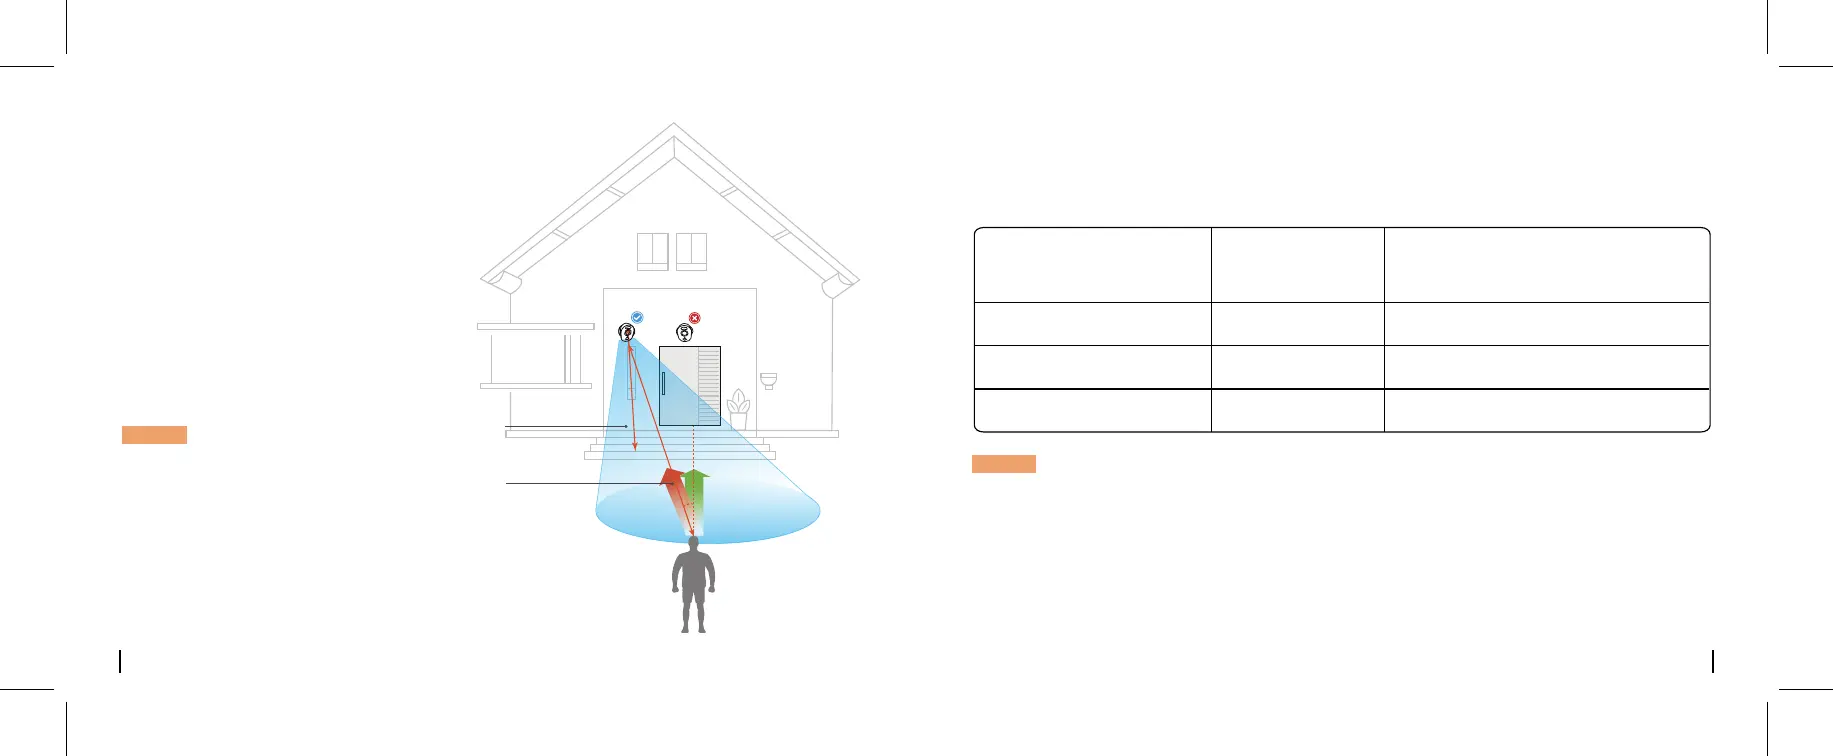
Select an Install Height
Please install the camera 2-3 meters (7-10
ft) above ground. This height maximizes
the detection range of the motion sensor.
PIR Sensor Detecting Range
For eective motion detection, please
install the camera angularly and the angle
between the PIR sensor and the detected
object must be larger than 10°.
NOTICE: Due to the limitation of PIR sensor
detection, if a moving object approaches
the PIR sensor vertically (the direction of
the orange arrow in the image), the
camera may fail to detect motion.
Attention for Camera
Installation
Sensitivity
High
Mid
Low
Up to 7 meters (21ft)
Up to 4 meters (12ft)
Up to 2 meters (3ft)
Value
31 - 50
11 - 30
0 - 10
Detecting Distance
(For moving and living things)
The PIR detection range can be turned to meet your specific needs. You can refer to the following
table to set it up in Reolink App Device Settings.
NOTICE: The path to adjust the Sensitivity on Reolink App: Device Settings-> MD Settings-> Sensitivity
B
θ
Mounting Height:
2-3 Meters
PIR Detecting Distance:
2-7 Meters
A
 Loading...