8English7 English
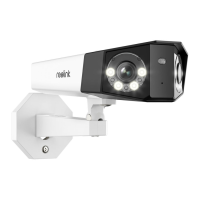
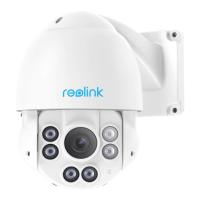
Mounting the Camera
Important Notes for Reducing
False Alarms
!
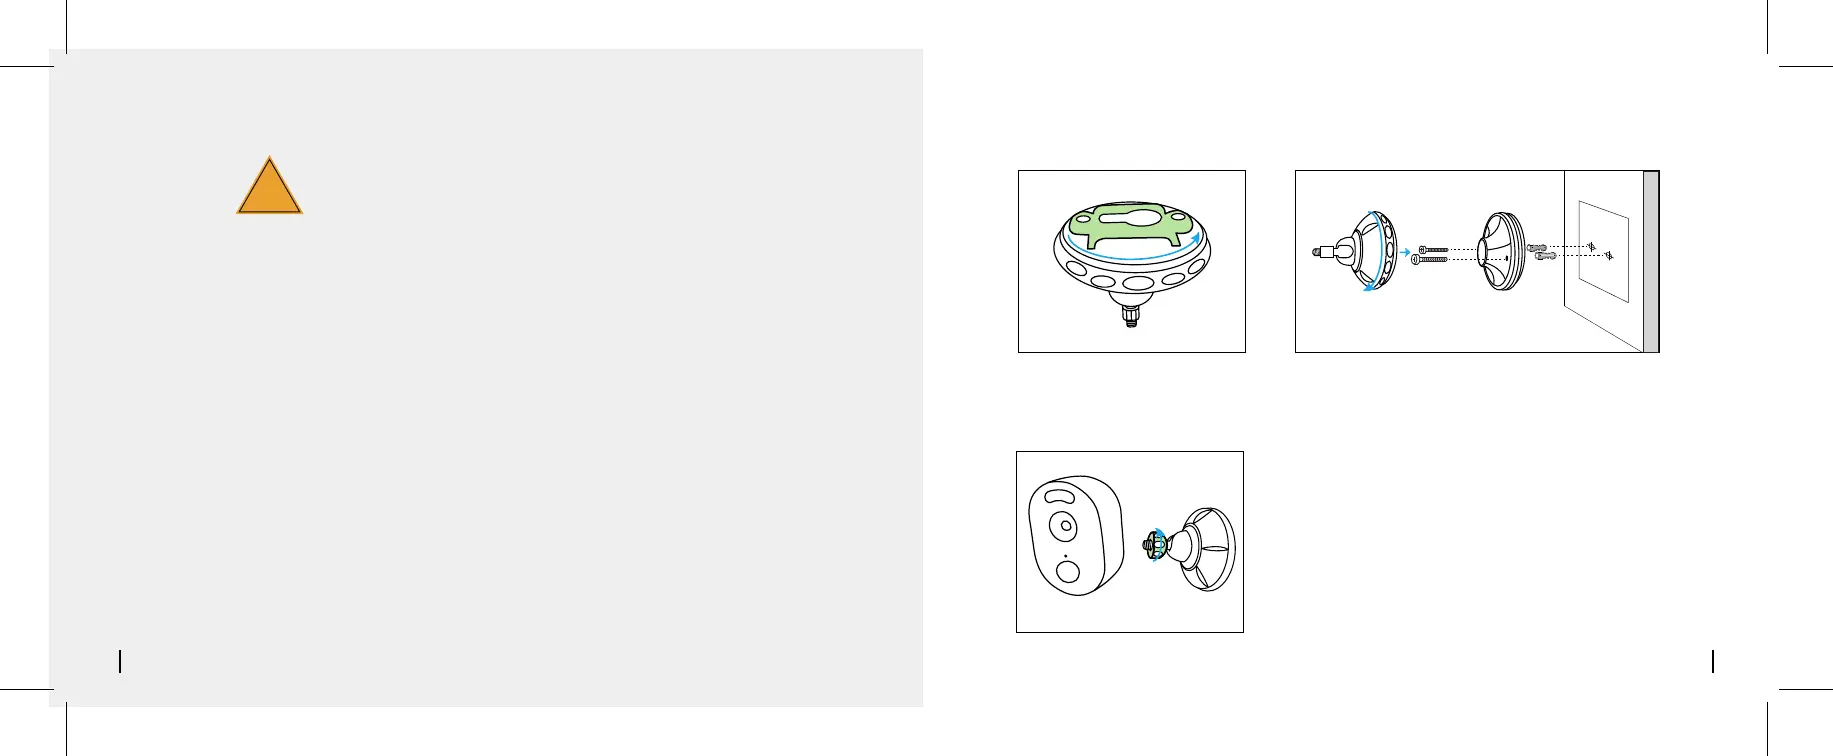
Step 1
Rotate and open the bracket.
Step 2
Drill holes in terms of the provided mounting hole
template and insert the plastic anchors into the
hole. Screw the bottom of the bracket onto the
wall and then attach the other part of the bracket
onto the bracket bottom.
Step 3
Fasten the camera to the bracket by turning the
screw identified in the following chart anticlockwize.
To reduce false alarms, please note that:
• Do not install the camera facing any objects with bright lights, including sunshine,
bright lamp lights, etc.
• Stay away from the outlets, including the air conditioner vents, humidifier outlets, the
heat transfer vents of projectors, etc.
• Do not install the camera where there are strong winds.
• Do not install the camera facing the mirror.
• Keep the camera at least 1 meter away from any wireless devices, including Wi-Fi
routers and phones in order to avoid wireless interference.
 Loading...