Troubleshooting
IP cameras is not powering on
If your camera is not powering on, please try
the following:
• Plug the camera into another outlet.
• Use another 5V power adapter to power up
the camera.
If it doesn’t work, please contact Reolink
Support https://support.reolink.com/.
If the camera failed to scan the QR code on
your phone , please try the following:
• Remove the protective film on the lens of
the camera.
• Wipe the camera lens with a dry paper/
towel/tissue.
• Vary the distance (about 30cm) between
your camera and the mobile phone which
enables the camera to focus better.
• Try scanning the QR code in a brighter
atmosphere.
If it doesn’t work, please contact Reolink
Support https://support.reolink.com/.
If the camera fails to connect to Wi-Fi , please
try the following:
• Please make sure the band of the Wi-Fi
network meet the requirement of the camera.
• Please ensure you have entered the correct
Wi-Fi password.
• Put your camera close to your router to
ensure a strong Wi-Fi signal.
• Change the encryption method of the Wi-Fi
network to WPA2 -PSK/WPA -PSK (safer
encryption) on your router interface.
• Change your Wi-Fi SSID or password and
make sure that SSID is within 31 characters and
password is within 64 characters.
• Set your password using only the characters
on the keyboard.
If it doesn’t work, please contact Reolink
Support https://support.reolink.com/.
Wi-Fi connection failed during the
initial setup process
Fail to scan the QR code on the phone
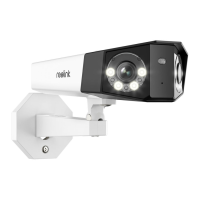
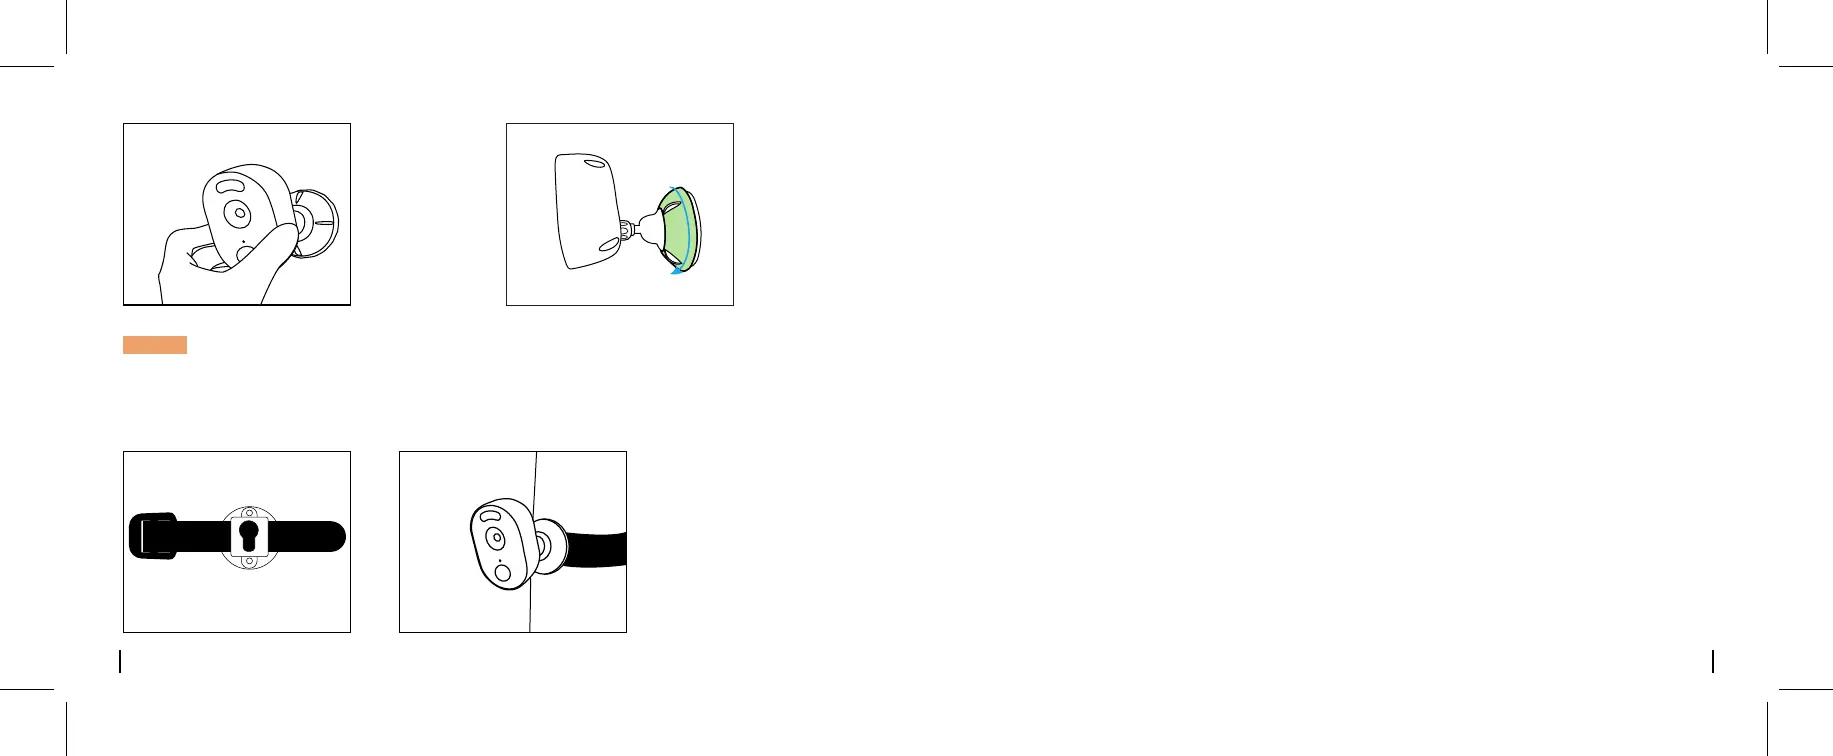
Install the Camera with Loop Strap
Step 5
Secure the
camera by
turning the part
on the bracket
identified in the
chart clockwise.
Thread the loop strap
through the slots and
fasten the strap. It is ideal
for installation on the tree.
NOTICE: In case you will need to adjust the camera angle later, please loosen the bracket by turning
the upper part anti- clockwise.
10English
9 English
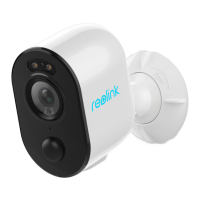
Step 4
Adjust the
camera angle,
and get the best
field of view when
you see live feed
in your Reolink
App.
 Loading...