6
• The H4i is contraindicated for invasive use. An external humidifier approved for
invasive use is recommended according to EN ISO 8185 with an absolute
humidity of > 33 mg/L.
• For optimal accuracy and synchrony, perform a Learn Circuit when a new circuit
is used or with a change of the circuit configuration, in particular when adding or
removing high impedance components (eg, antibacterial filter, external
humidifier, water trap or different type of air tubing). Do not connect patient
interfaces prior to performing the Learn Circuit. Patient interfaces include any
components placed after the ResMed Leak Valve (eg, HMEF, catheter mount,
tracheostomy tube). See “Setup menu: Options” on page 18.
CAUTION
When using a humidifier check the breathing system regularly for accumulated water.
Notes:
• When the Mask type is set to Tr a c h , the Non-Vented Mask alarm will be automatically
enabled to alert you when the ResMed Leak Valve has no vent holes or when the vent
holes are blocked.
• When the Mask Type is set to Tr a c h AutoEPAP has to be turned off.
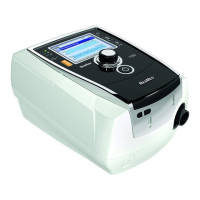
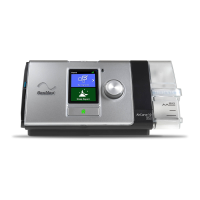
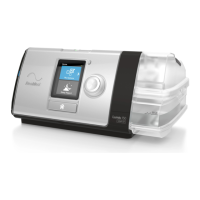
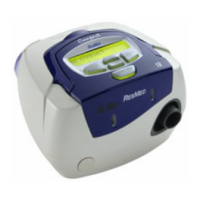
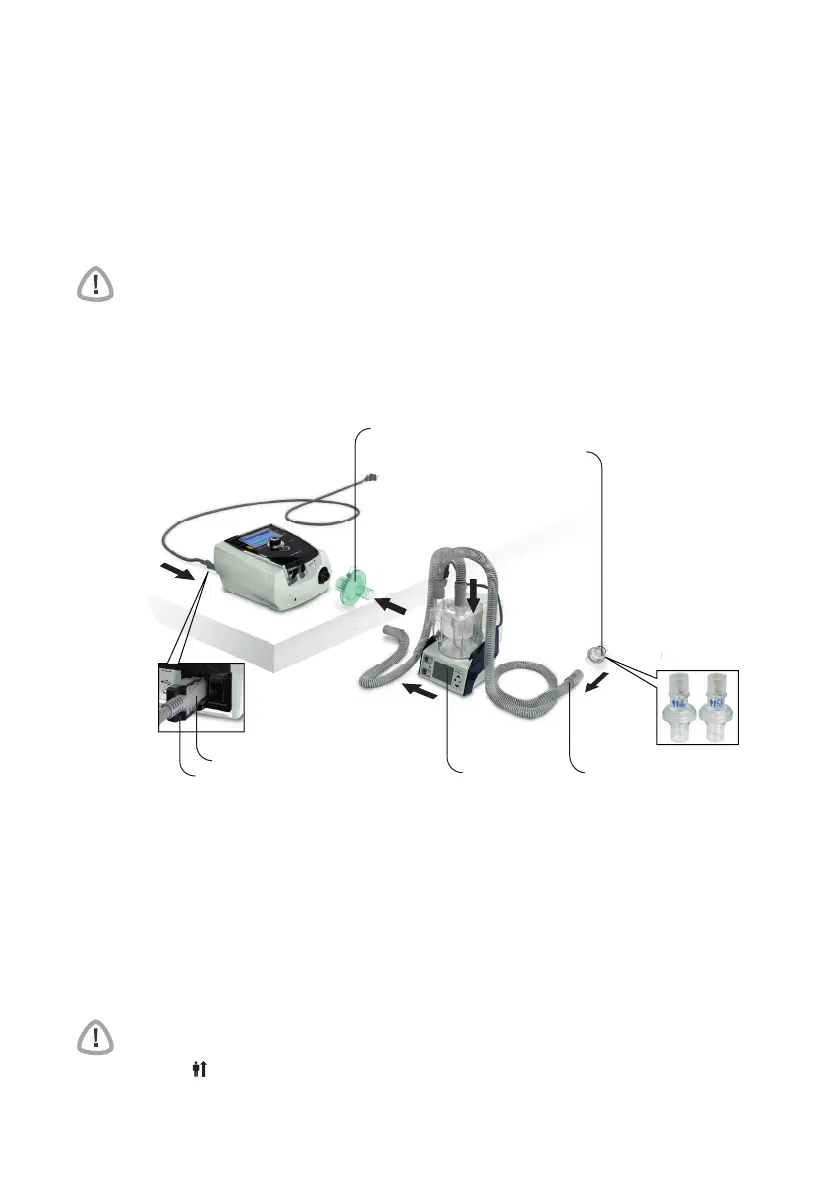
1 Connect the power cord.
2 Plug the free end of the power cord into a power outlet.
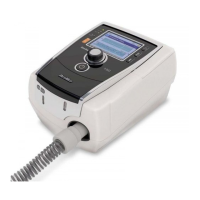
3 Connect the antibacterial filter firmly onto the air outlet of the device.
4
Connect the external humidifier to the other side of the antibacterial filter.
*If not using an external humidifier, the HMEF can be connected to the ResMed Leak Valve
(at step 10).
5 Connect the air tubing to the external humidifier.
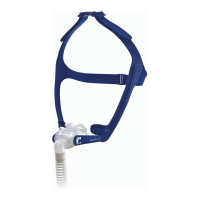
6 Connect the ResMed Leak Valve to the air tubing. Position the ResMed Leak Valve so that
air from the vent holes does not blow directly onto the patient's chest.
WARNING
Always set up the ResMed Leak Valve in the breathing circuit with the arrows and the
symbol pointing in the direction of air flow from the Stellar to the patient.
7 Press the power switch on the back to turn on the device.
8 Select the mask type Tr a c h (select Setup menu, then Clinical Settings, then Advanced
Settings).
1
2
3
4
5
6
External
humidifier*
Air tubing
ResMed Leak Valve
1
2
3
4
5
6
AC locking clip
AC power cord
Antibacterial filter
 Loading...