Connecting the Machine to a Wireless Network
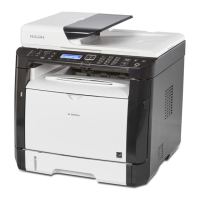
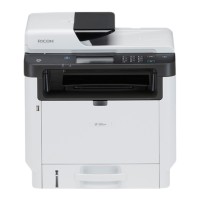
You can use this function on SP 377SNwX and SP 377SFNwX only.
There are four methods for connecting the machine to a wireless network:
• Using the Wi-Fi Setup Wizard
See page 313 "Using the Wi-Fi Setup Wizard".
• Using the WPS button
See page 314 "Using the WPS Button".
• Using a PIN code
See page 316 "Using a PIN Code".
Installing the Printer Driver
The following procedure is explained using OS X 10.11 as an example.
1. Turn on your computer.
2. Insert the provided CD-ROM into the CD-ROM drive of the computer.
If your computer does not have a CD-ROM drive, download a setup file from our website (http://
www.ricoh.com/printers/sp310/support/gateway/).
3. Double-click the CD-ROM drive icon.
4. Double-click the [Mac OS X] folder.
5. Double-click the folder of driver you want to install.
6. Follow the instructions in the setup wizard.
7. Click [Close] in the [Summary] dialog box.
Installing Smart Organizing Monitor
The following procedure is explained using OS X 10.11 as an example.
1. Turn on your computer.
2. Insert the provided CD-ROM into the CD-ROM drive of the computer.
If your computer does not have a CD-ROM drive, download a setup file from our website (http://
www.ricoh.com/printers/sp310/support/gateway/).
3. Double-click the CD-ROM drive icon.
4. Double-click the [Mac OS X] folder.
5. Double-click the [Utility] folder.
11. Configuring Network Settings Using OS X
312
 Loading...
