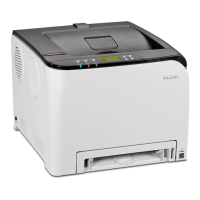
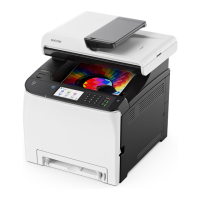
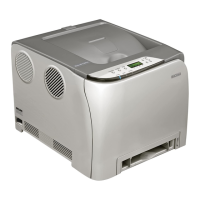
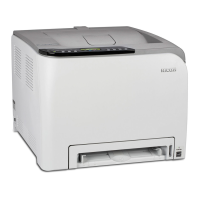
RICOH SP C250SF/SP C252SF Color Multifunction Printers
Getting Started Guide
11
Enable Wi-Fi Settings
Ensure that the printer’s Wi-Fi function is enabled, as follows:
1. Press [User Tools].
2. Scroll [
] to [Network Settings], and press [OK].
Note: If prompted for password, enter via numeric keypad, and press [OK].
3. Scroll [
] to [Wi-Fi Configuration], and press [OK].
4. Select [Wi-Fi], and press [OK].
5. Select [Active], and press [OK].
6. To exit, press [User Tools]. Display reads, Please Restart Machine.
7. Turn printer power switch Off. Wait a moment, and then turn On.
8. Continue with .
Configure IP Address Settings
Choose automatic or manual method for configuring the printer’s IP address.
Automatic
1. Press [User Tools].
2. Scroll [
] to [Network Settings], and press [OK].
Note: If prompted for password, enter via numeric keypad, and press [OK].
3. Scroll [
] to [IPv4 Configuration], and press [OK].
4. Select [DHCP], and press [OK].
5. Scroll [
] to [Active], and press [OK].
6. Press [User Tools] to exit. Display reads, Please Restart Machine.
7. Turn printer power switch Off. Wait a moment, and then turn On.
8. Continue with .
Manual
1. Press [User Tools].
2. Scroll [
] to [Network Settings], and press [OK].
Note: If prompted for password, enter via numeric keypad, and press [OK].
3. Scroll [
] to [IPv4 Configuration], and press [OK].
4. Scroll [
] to [IP Address], and press [OK].
5. Enter IP address via numeric keypad, and press [OK].
Note: Press [] or [] to move between fields.
6. Select [Subnet Mask], and press [OK].
7. Enter Subnet Mask via numeric keypad, and press [OK].
8. Repeat steps 6-7 for [Gateway Address].
9. Press [User Tools] to exit. Display reads, Please Restart Machine.
10. Turn printer power switch Off. Wait a moment, and then turn On.
11. Continue with .
 Loading...

