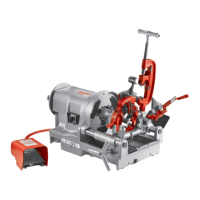
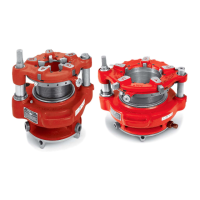
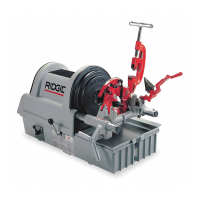
1215 Threading Machines
999-997-051.10_REV B
14
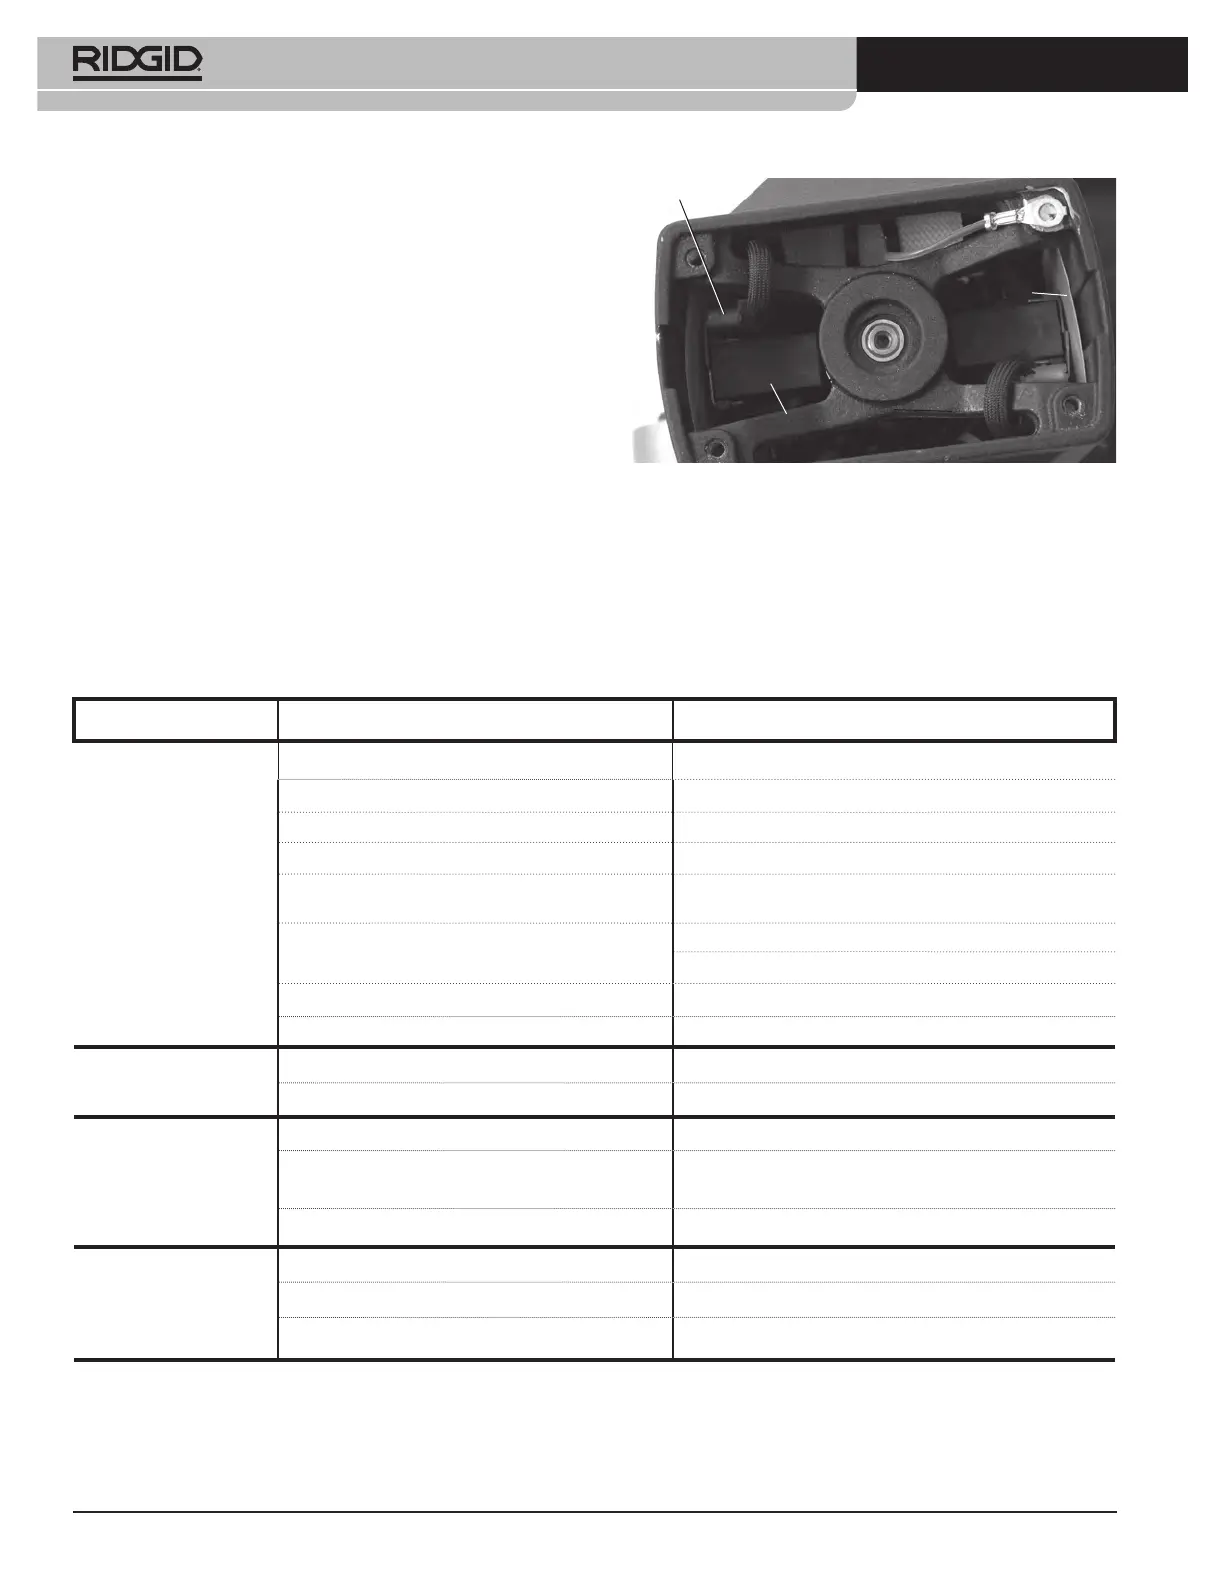
Figure 19 – Brush Placement - Motor Cover Removed
retained – do not back all the way out) and remove
motor cover.
3. Loosen the four screws to open the end cover
(screws are retained – do not back all the way out).
4. Using a pair of pliers, pull the motor brushes straight
out. Detach the connector. (See Figure 19.)
5. Inspect the commutator for wear. If excessively worn,
have tool serviced.
6. Depress the brush into the holder and insert into the
motor housing. Inspect to make sure insulator sheets
are properly positioned between brush holder and
housing. Attach the connector.
7. Reassemble unit. Install all covers before operating
machine.
Troubleshooting
PROBLEM POSSIBLE REASONS SOLUTION
Torn Threads. Damaged, chipped or worn out dies. Replace dies.
Incorrect cutting oil. Only use RIDGID
®
Thread Cutting Oil.
Insufficient cutting oil. Fill oil reservoir.
Dirty or contaminated oil. Replace the RIDGID Thread Cutting Oil.
Die head not properly aligned with pipe. Clean chips, dirt or other foreign material from be-
tween die head and carriage.
Improper pipe. Recommend using with black or galvanized steel pipe.
Pipe wall too thin – use schedule 40 or heavier pipe.
Die head not properly set. Adjust die head to give proper size thread.
Carriage not moving freely on rails.
Clean and lubricate carriage rails.
Out-of-round or
Crushed Threads.
Die head set undersize.
Adjust die head to give proper size thread.
Pipe wall thickness too thin. Use schedule 40 or heavier pipe.
Thin Threads.
Dies inserted into head in wrong order. Put dies in proper position in die head.
Forcing carriage feed handle during threading. Once dies have started thread, do not force carriage
feed handle. Allow carriage to self-feed.
Die head cover plate screws are loose. Tighten screws.
No cutting oil flow. Low or no cutting oil. Fill oil reservoir.
Oil Filter Screen Plugged. Clean Screen.
Die head not in the threading (DOWN) position. Move die head to the threading position.
Connector
Insulator
Sheet
Brush


 To Next Page