19
20063692
Installation
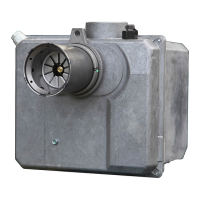
5.10.3 Electrical diagram
Key (Fig. 16)
C Motor capacitor
CN1 Ionisation probe connector
E Ignition electrode
h1 Hour counter (230V - 0.1A max.)
MV Fan motor
PA Air pressure switch
PG Min. gas pressure switch
RS Remote reset connection
SB Lockout light (230V - 0.5A max.)
SM One-stage damper conn.
SO Ionisation probe
TB Burner earth
TL Limit thermostat
TS Safety thermostat
T6A Fuse
V1 Adjustment valve
VS Safety valve
XP6 6 pin plug/socket
XP7 7 pin/plug socket
Testing
Check the shut down of the burner by opening the thermo-
stats.
Check that the burner is blocked while working by opening
the connector (CN1) inserted in the probe red wire and
located outside the control box.
5.10.4 Ionisation current
The minimum current necessary for the control box operation is
5 µA. The burner normally supplies a higher current value, so that
no check is needed.
Anyway, if you want to measure the ionisation current, you need
to open the connector (CN1)(Fig. 16) on the red wire and insert a
microammeter as shown in Fig. 17.
CONTROL BOX
Black
White
Blue
Main switch
D7057
Fig. 16
MG557-3
Fig. 17
D4625
+
Probe
Connector
Control box
-