3. Check the Fuse
The instrument has been equipped with the specified fuse when it leaves factory.
Please make sure that the fuse matches the actual input voltage by referring to
“Input power requirement” or
Replacing the Fuse
.
4.
Connect to AC Power
Please connect the instrument to AC power using the power cord provided in the
accessories.
WARNING
To avoid electric shock, please make sure that the instrument is correctly grounded.
5.2 Power-on Inspection
Press the power key on the front panel to switch on the instrument. During the start-
up process, the instrument performs a series of self-tests. If the instrument passes the
self-test, the welcome interface will be displayed; otherwise, the corresponding self-
test failure information will be displayed.
TIP
If you want to power on the instrument again after powering it off, please make sure that the
time interval between the two power-on operations is greater than 5 s.
5.3 Connecting the Outputs
This series power supply is equipped with front and rear output terminals. This
section describes how to make front and rear connections.
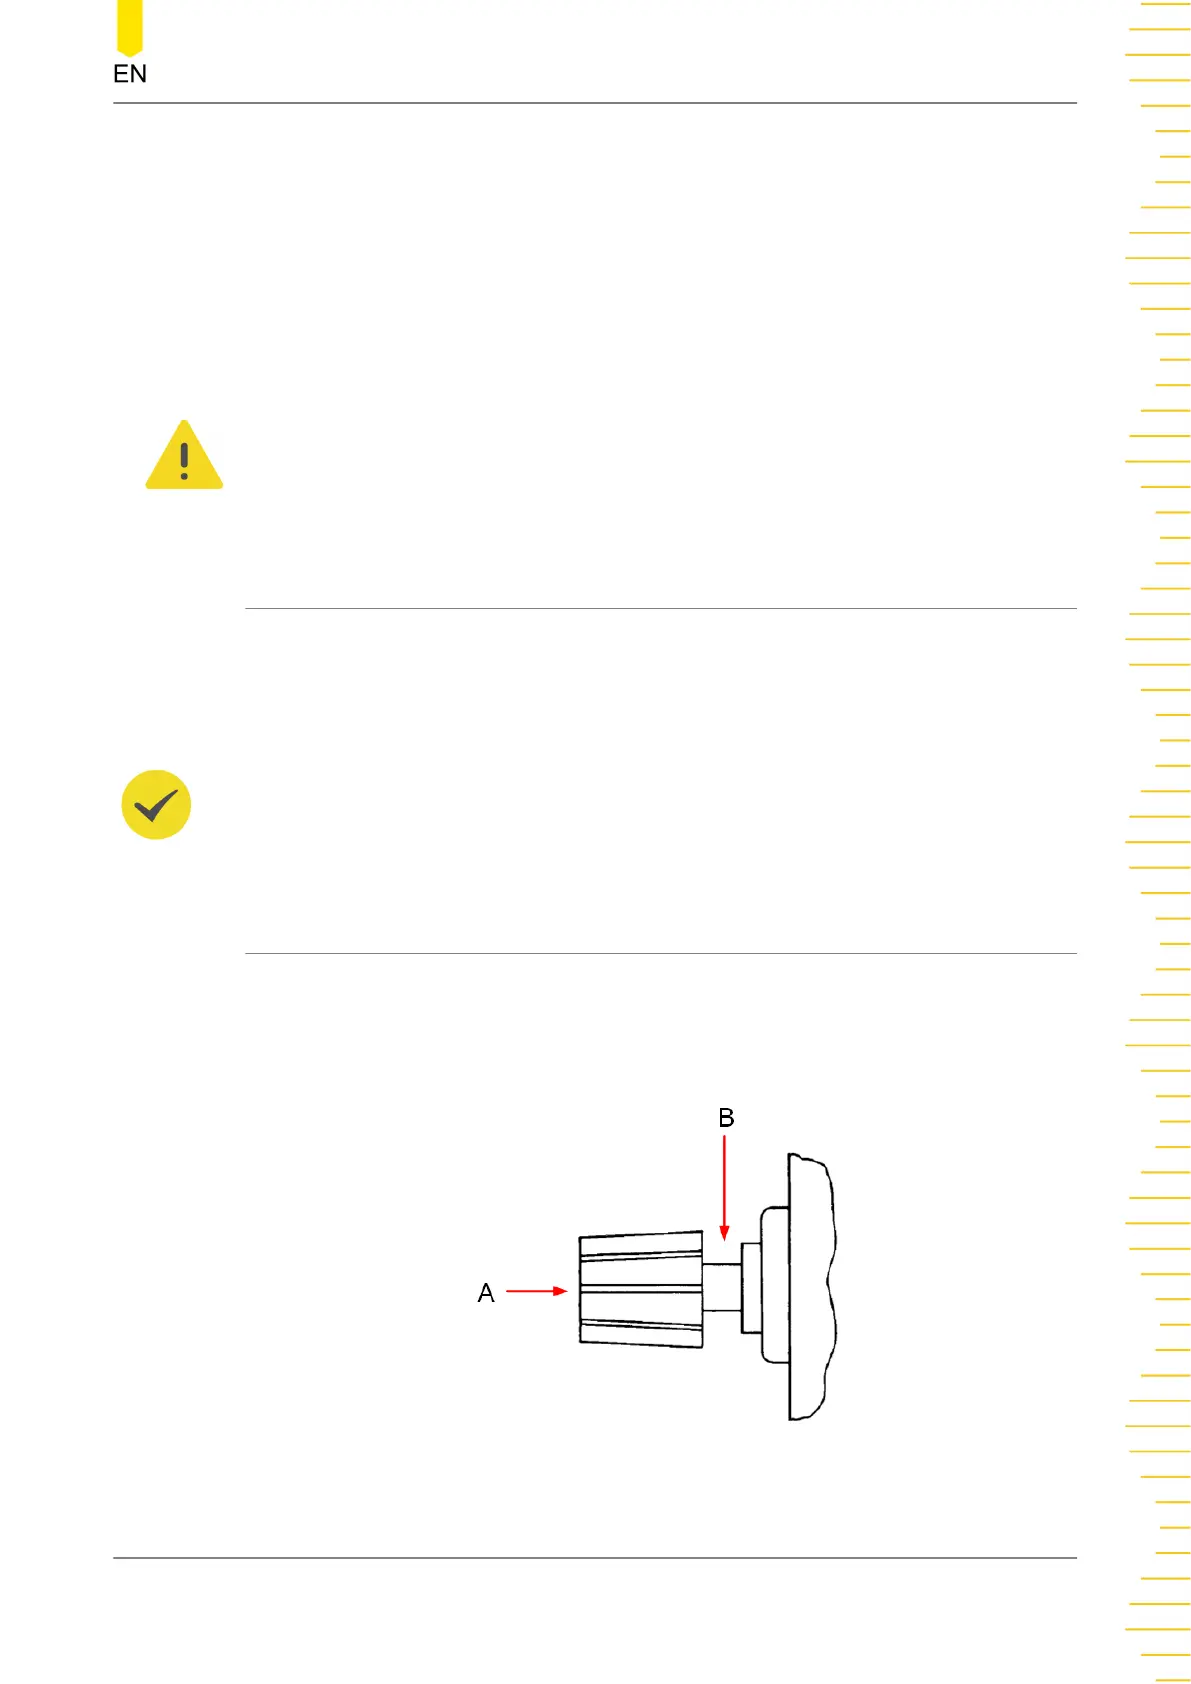
Front Outputs Connections
Method 1: Connect wires to the front of the terminals as shown in (A).
To Prepare for Use
Copyright ©RIGOL TECHNOLOGIES CO., LTD. All rights reserved.
17
 Loading...