Welcome
Hi, I’m Jamie Siminoff,
inventor of your Ring Video
Doorbell Pro.
Congratulations on
purchasing the world’s most
advanced doorbell!
With Ring, you’ll always
know who’s at your door,
whether you’re across town,
on vacation, or just can’t
come to the door. As my
wife likes to say, “Ring is like
caller ID for the front door.”
Setup and
Installation Guide
VIDEO DOORBELL PRO
If you need extra
help…
Our support team is
available 7 days a week, and
our online help center is
accessible 24/7.
Visit our online help
center at: ring.com/help
Contact our support team
directly at:
800-656-1918
help@ring.com
Step 1
Download the Ring app
The Ring app will walk you through the
entire process outlined in this manual,
but in case you like reading small print
we’ve included this manual as well.
Visit: ring.com/app
Visit the online setup guide
We have an online guide with videos
and tutorials on setting up and using
your Ring Video Doorbell Pro.
View the online setup guide at:
ring.com/setup
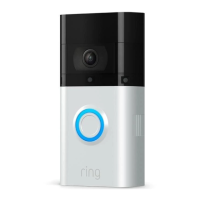
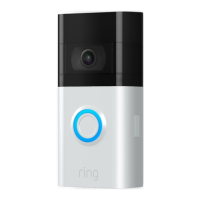
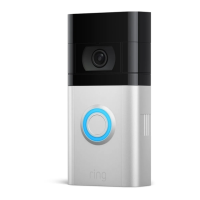
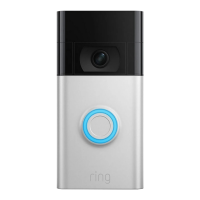
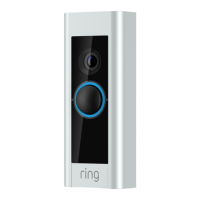
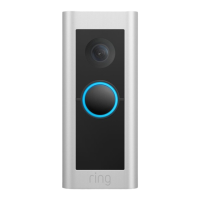
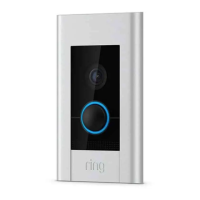
4 Faceplates
Pick the one that
best matches your
home…or your mood.
Change it any time.
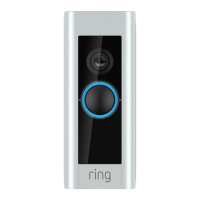
Step 2
Say “Hello” to your Ring Video Doorbell Pro
Terminals
(attach your
existing wiring
here)
Back
Front
Setup
button
Mounting
holes
Step 3
Check out all the cool stuff in the box
1 Ring Screwdriver - Use the Phillips end for tightening the
screws that hold the doorbell wiring and the doorbell in place,
and the star-shaped end for tightening the security screw.
3 Anchors - For concrete, stucco, or brick installs.
1 Drill Bit - Use to drill holes if using the anchors.
3 Screws - For attaching Ring Doorbell to your wall.
2 Security Screws - Use one to secure the faceplate.
2 Extra Wires - Use these if you have trouble attaching your
existing wiring to the back of your Ring Doorbell.
2 Wire connectors - Use to connect the extra wire (above)
to your existing wiring.
1 Pro Power Kit - Install the Pro Power Kit after installing
your Ring Doorbell. It’s got its own manual.
What You’ll Need to Install Your Ring Doorbell
Step 4
Remove your existing
doorbell
To get started, shut off
power at the breaker.
Then remove your existing
doorbell from the wall and
disconnect the wires.
As a reminder, this
entire process is
explained in a video inside
the Ring app.
Installing Anchors (optional)
Step 5
Install anchors (on
stucco, brick, or
concrete)
On stucco, brick, or
concrete, use the provided
bit to drill two holes in your
wall, and install the anchors.
If you’re installing on wood
or siding, put the anchors
in that drawer of stuff you
never use and skip this step.
2 3 4 5 6 7 82 3 4 5 6 8